
What Quick Setup actually does
Wiring an AI client to WordPress normally means generating an application password, finding the right JSON file on your machine, getting the top-level key right, and restarting the app. Quick Setup collapses that into a guided flow inside wp-admin. It picks or creates your MCP server, sets who can reach it, turns on the abilities you want AI to have, enables the endpoint, and then hands you the exact connection instructions for whichever client you use.
The wizard adapts as it goes. Steps you have already satisfied are skipped automatically — if you only have one server and it is already enabled, you will see far fewer than the thirteen steps documented below.
How long it takes. On the one-click OAuth path it is genuinely about sixty seconds: paste one URL into your AI client and approve it. On the free config-file path, budget three to five minutes for your first site — mostly spent finding the config file. Both paths are covered below.
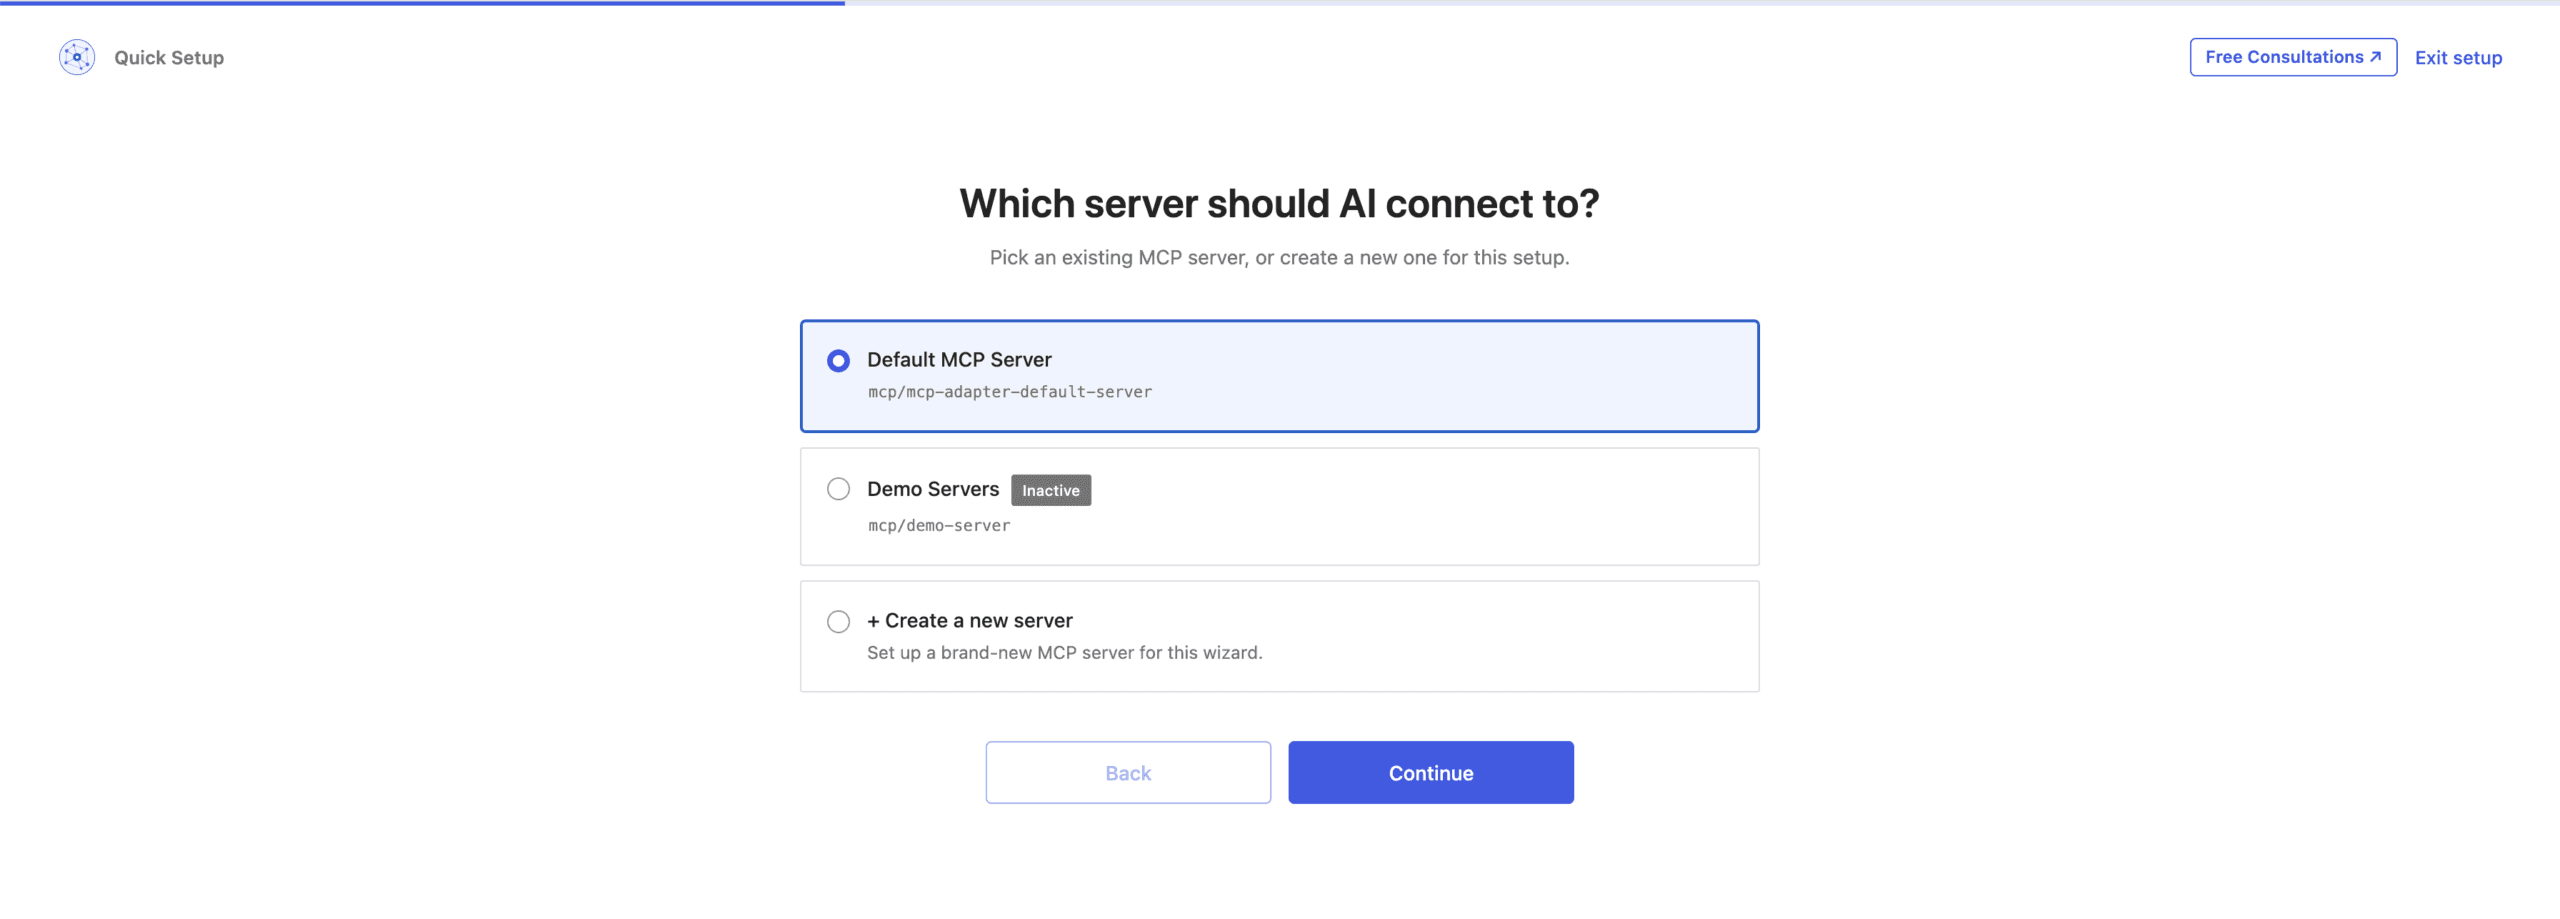
Step 1 — Choose which MCP server AI connects to
An MCP server is the endpoint your AI client talks to. One WordPress site can run several — a locked-down one for a content team, a wider one for your own use — each with its own route, its own access rules, and its own set of abilities.
The wizard lists every server already registered on the site, showing its route (something like mcp/default) and flagging any that are currently inactive. Pick one, or choose Create a new server. If the site has no servers at all, the wizard skips ahead to creation on its own.
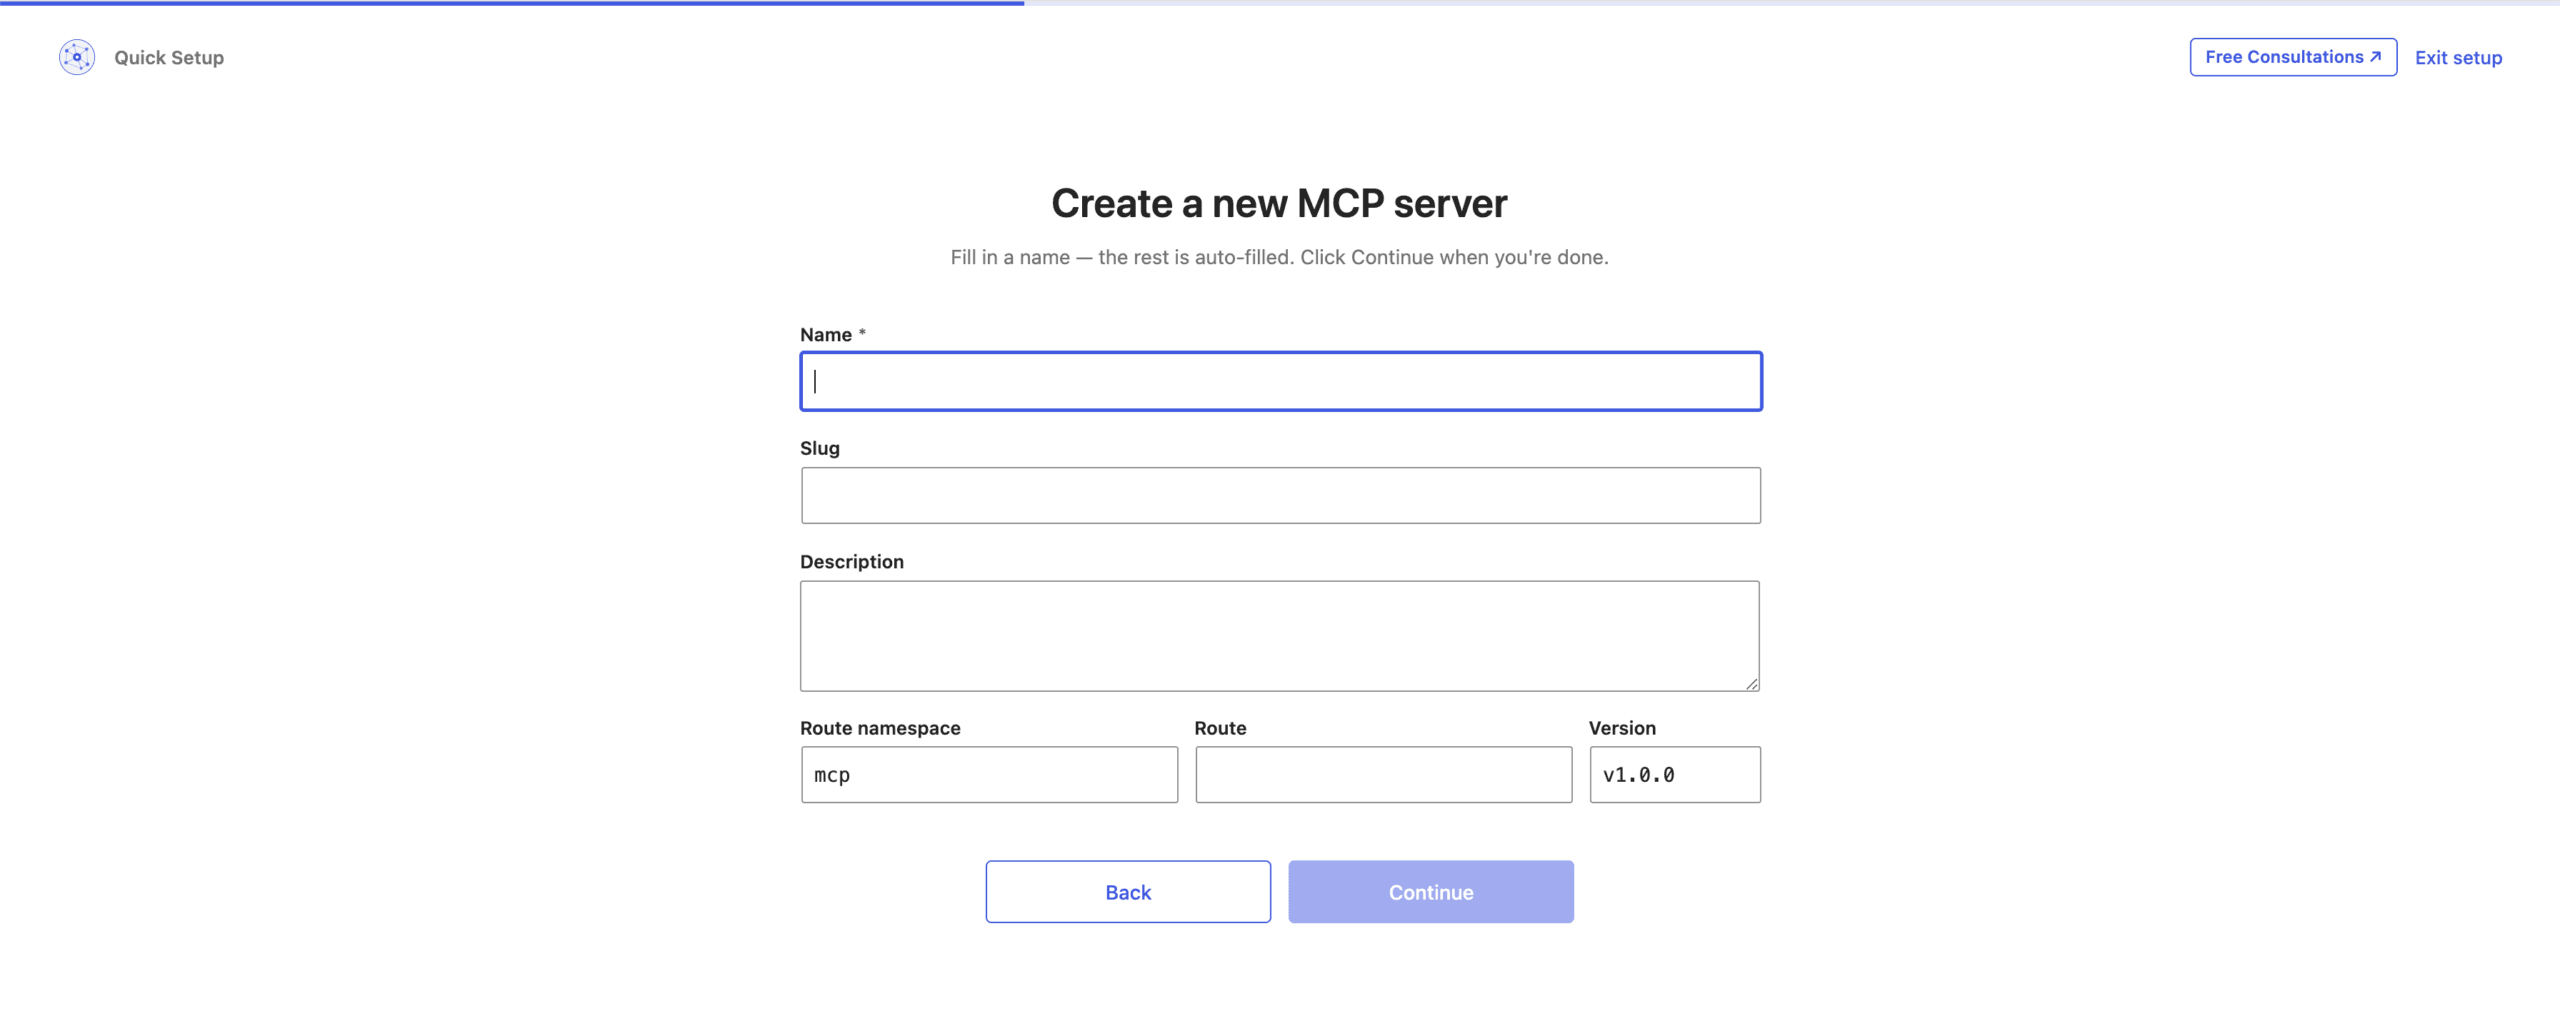
Step 2 — Create a new MCP server
Only the name is required. The slug and route fill themselves in as you type, the namespace defaults to mcp, and the version defaults to v1.0.0. Override any of them if you have a naming convention to follow — once you edit a field by hand, the wizard stops auto-filling it.
The finished endpoint is your site URL plus /wp-json/ plus the route. This step is skipped entirely if you selected an existing server.
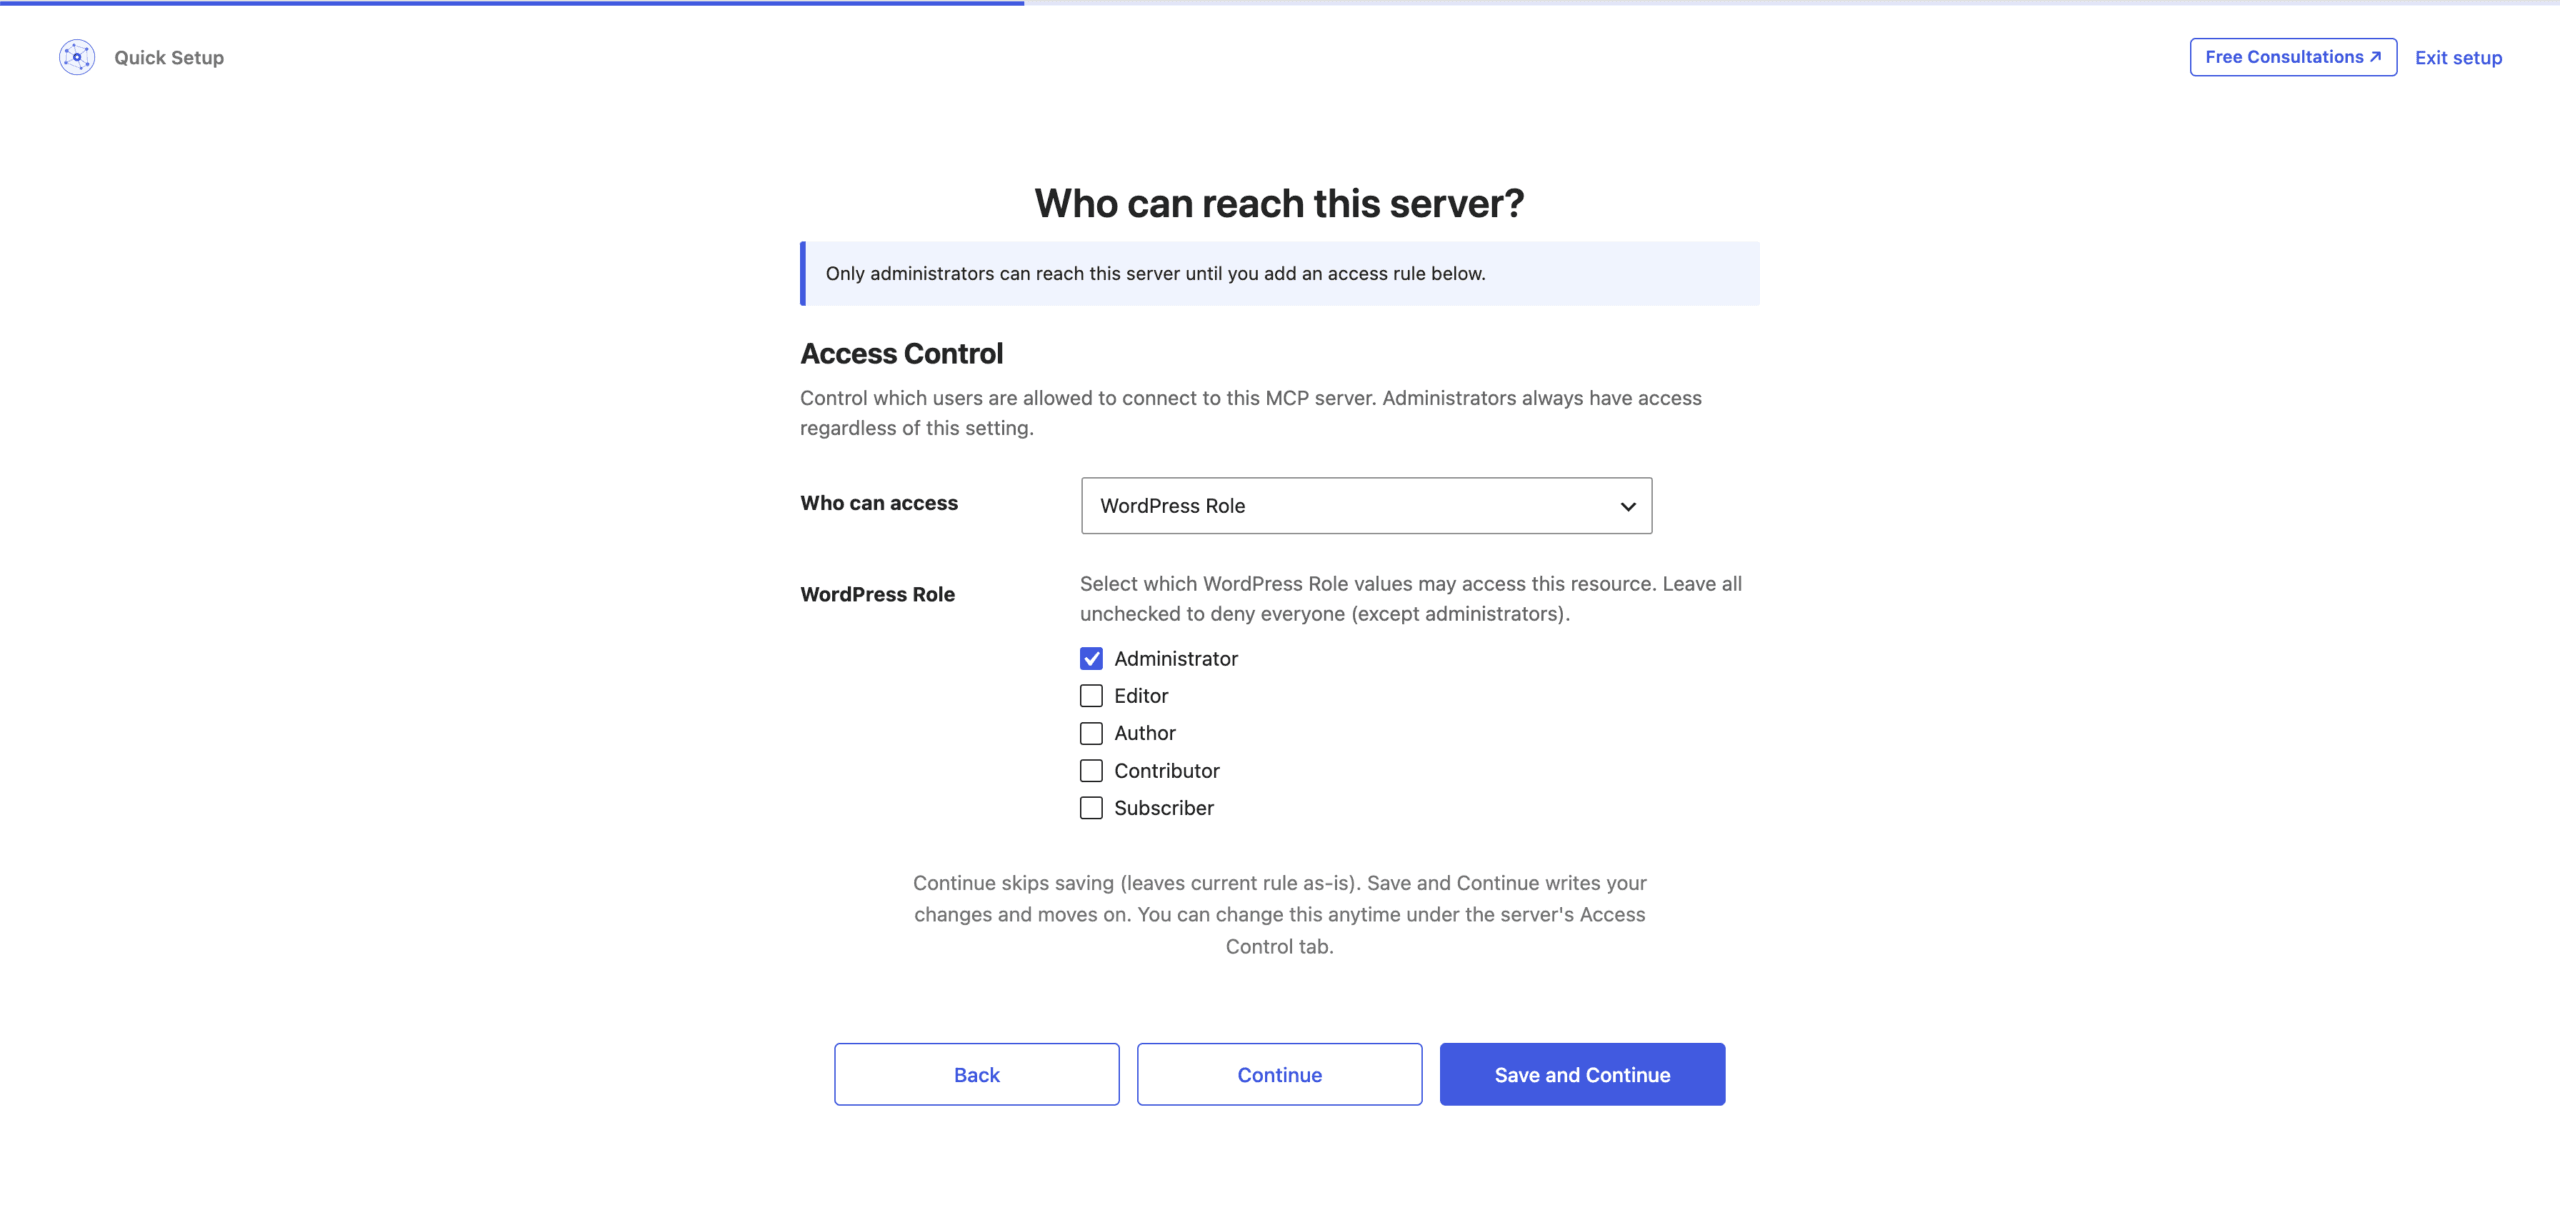
Step 3 — Decide who can reach it
Until you add a rule, the server answers to administrators and nobody else. That is deliberate — a half-configured endpoint should never be reachable by accident.
The Who can access dropdown covers the WordPress basics: public with no login, any logged-in user, specific roles, named users, or a capability. With AcrossAI Pro the same dropdown gains membership-aware providers, so access can follow what someone has actually bought or enrolled in rather than the blunt instrument of a WordPress role:
- MemberPress, Paid Memberships Pro, Restrict Content Pro, WooCommerce Memberships
- LearnDash groups and LifterLMS memberships
- BuddyBoss profile types
- Memberium, s2Member and Wishlist Member levels
Continue leaves the current rule untouched; Save and Continue writes your change. Either way you can revisit this any time from the server’s Access Control tab. Administrators always retain access regardless of what you set here.
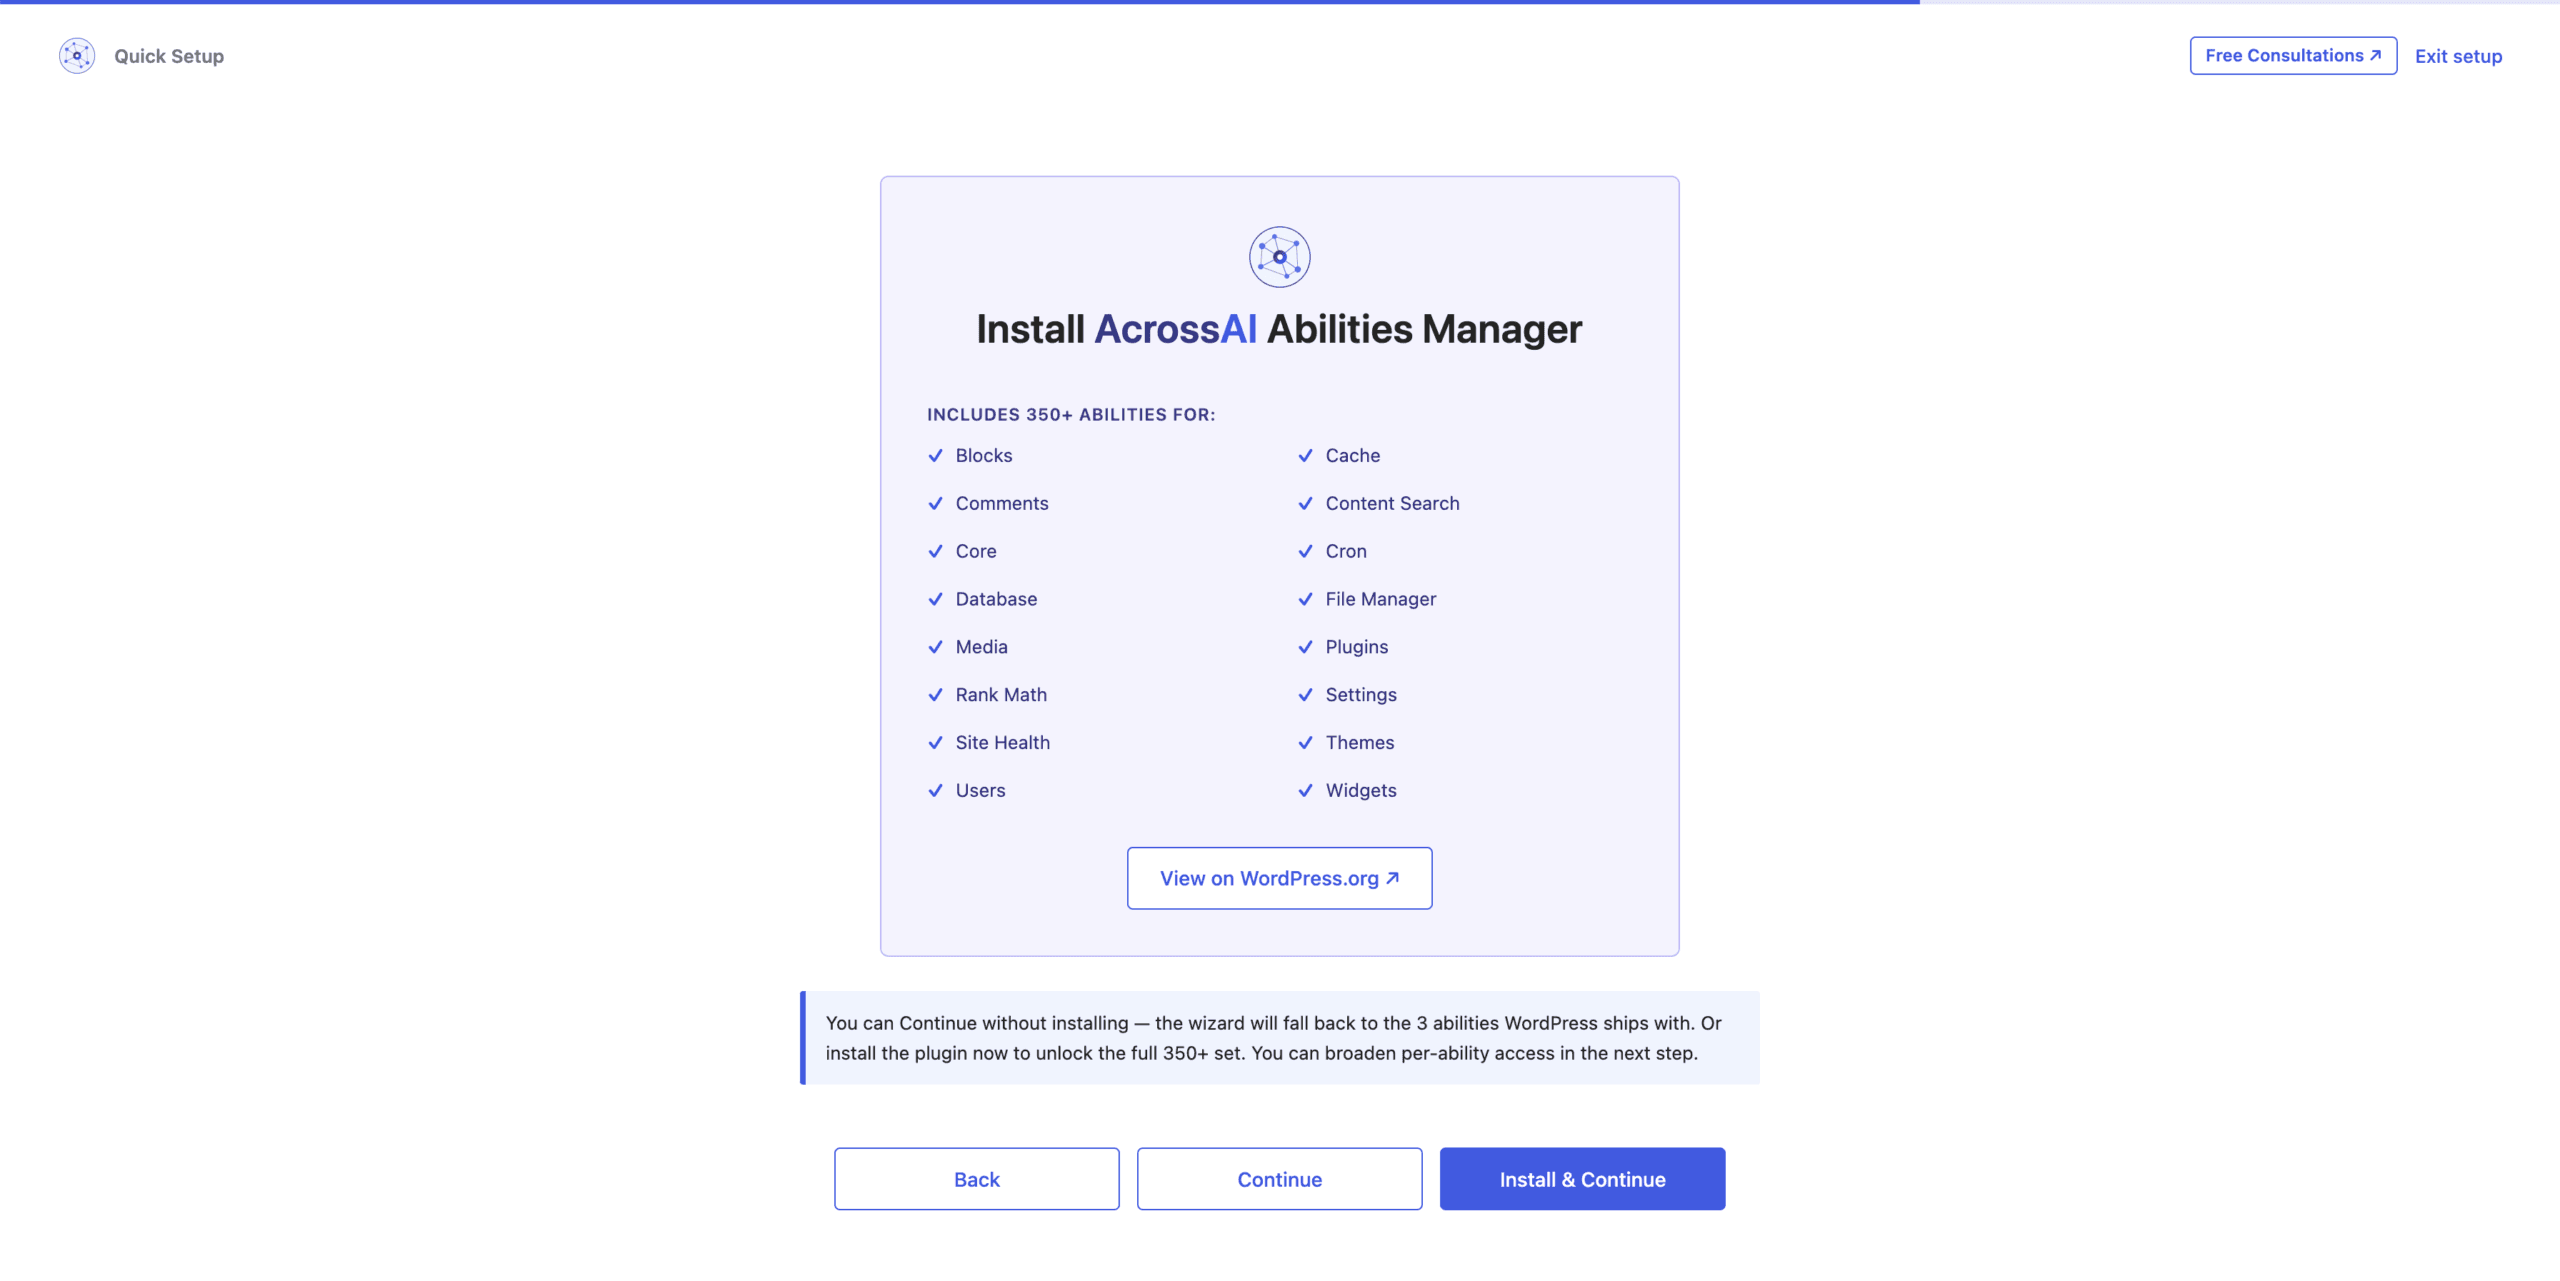
Step 4 — Install Abilities Manager
WordPress ships with three abilities out of the box — read the site info, read the environment info, read the current user. Useful for a handshake, useless for actual work.
AcrossAI Abilities Manager takes that to more than 350: creating and editing posts, pages and custom content, managing users, roles, taxonomies and media, and installing or updating plugins, themes and core. The wizard installs and activates it for you in one click.
You can skip this and continue with the three core abilities, but there is little reason to — the plugin is free on WordPress.org.
Step 5 — Choose what AI is allowed to do
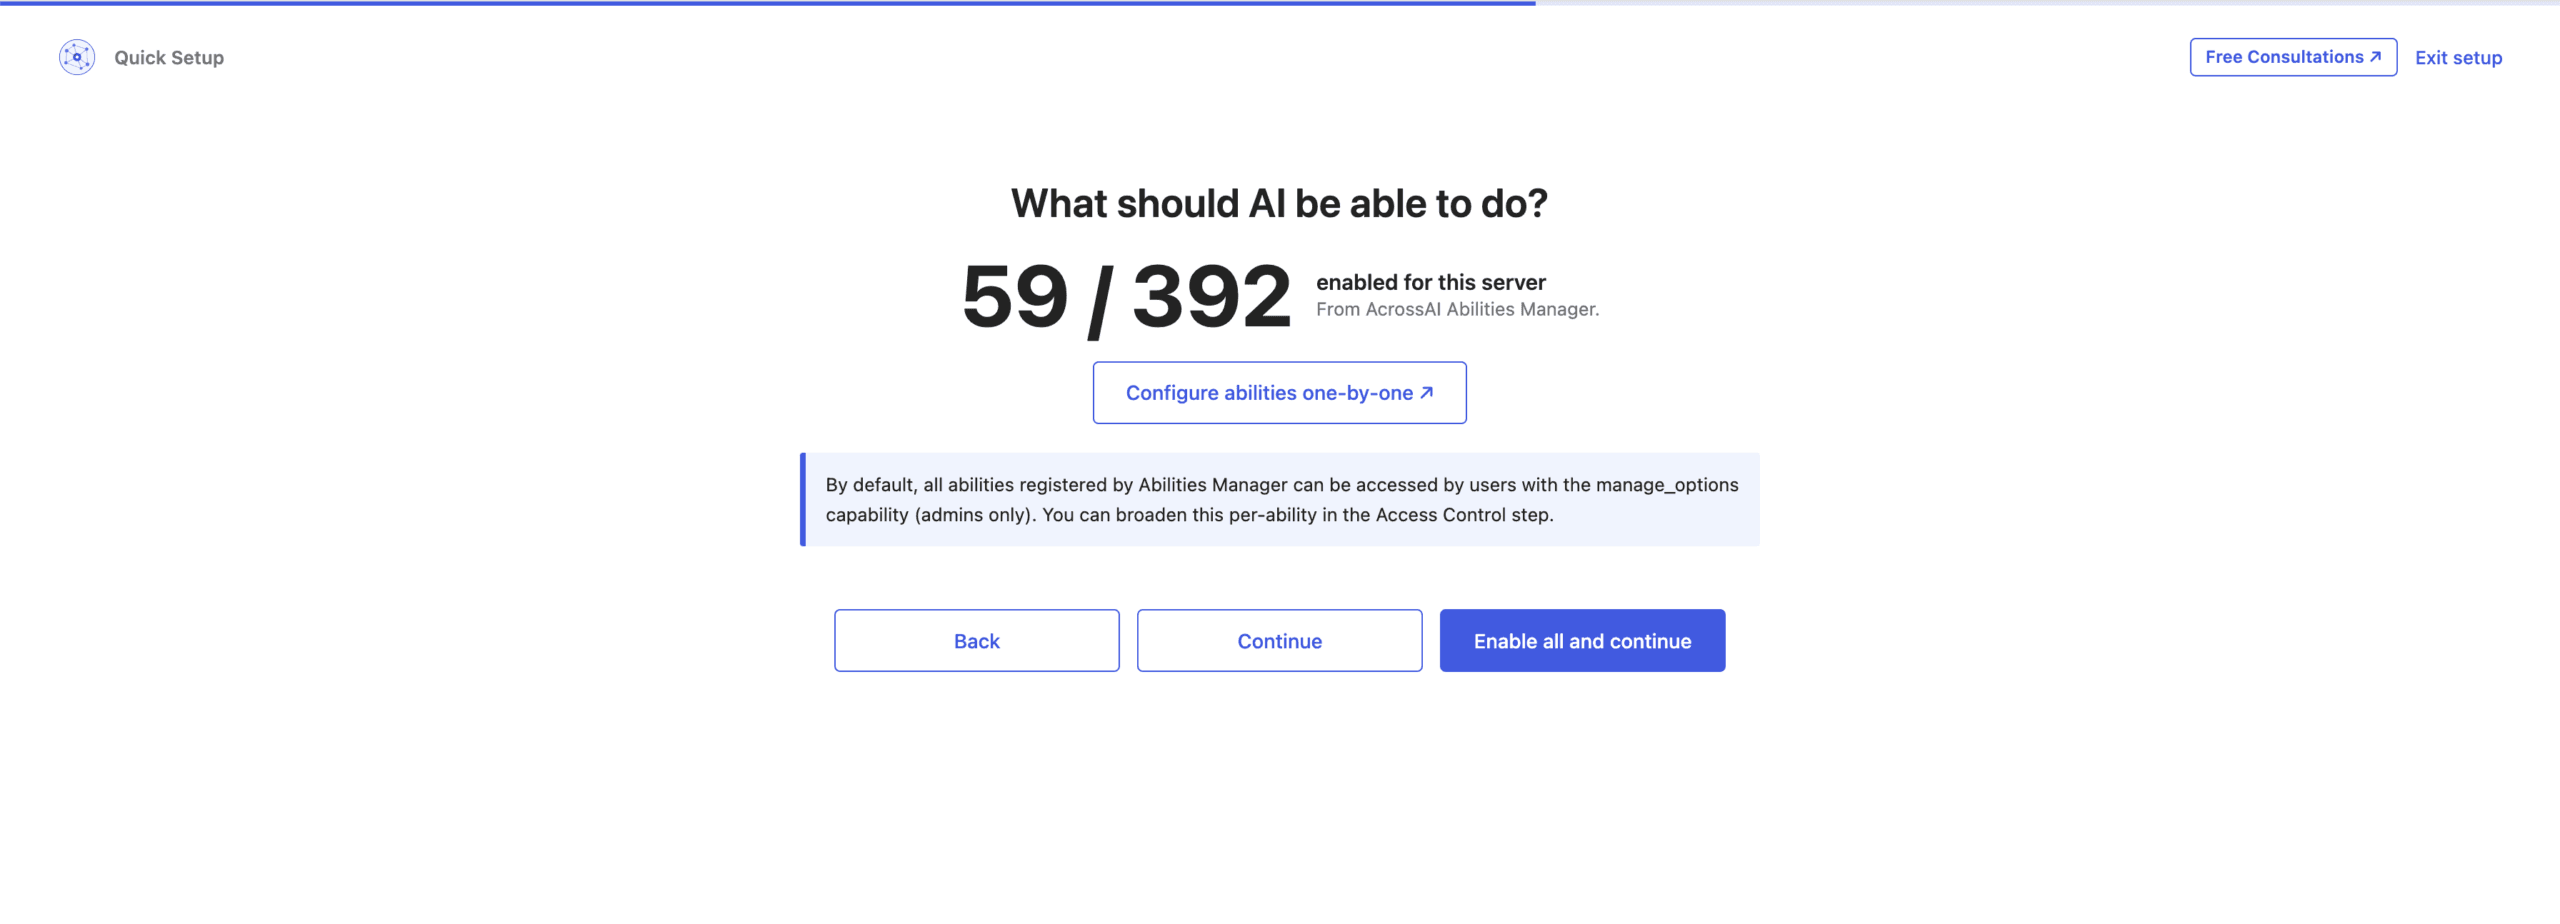
A counter shows how many abilities are enabled for this server out of the total available. Enable all and continue switches on the full set in one go; the link beside it opens the full table if you would rather go through them one at a time.
Enabling an ability is not the same as exposing it to everyone. By default every ability registered by Abilities Manager still requires the manage_options capability, so only administrators can invoke it. Broadening that is a separate, deliberate decision you make per ability in Access Control.
Step 6 — Turn the endpoint on
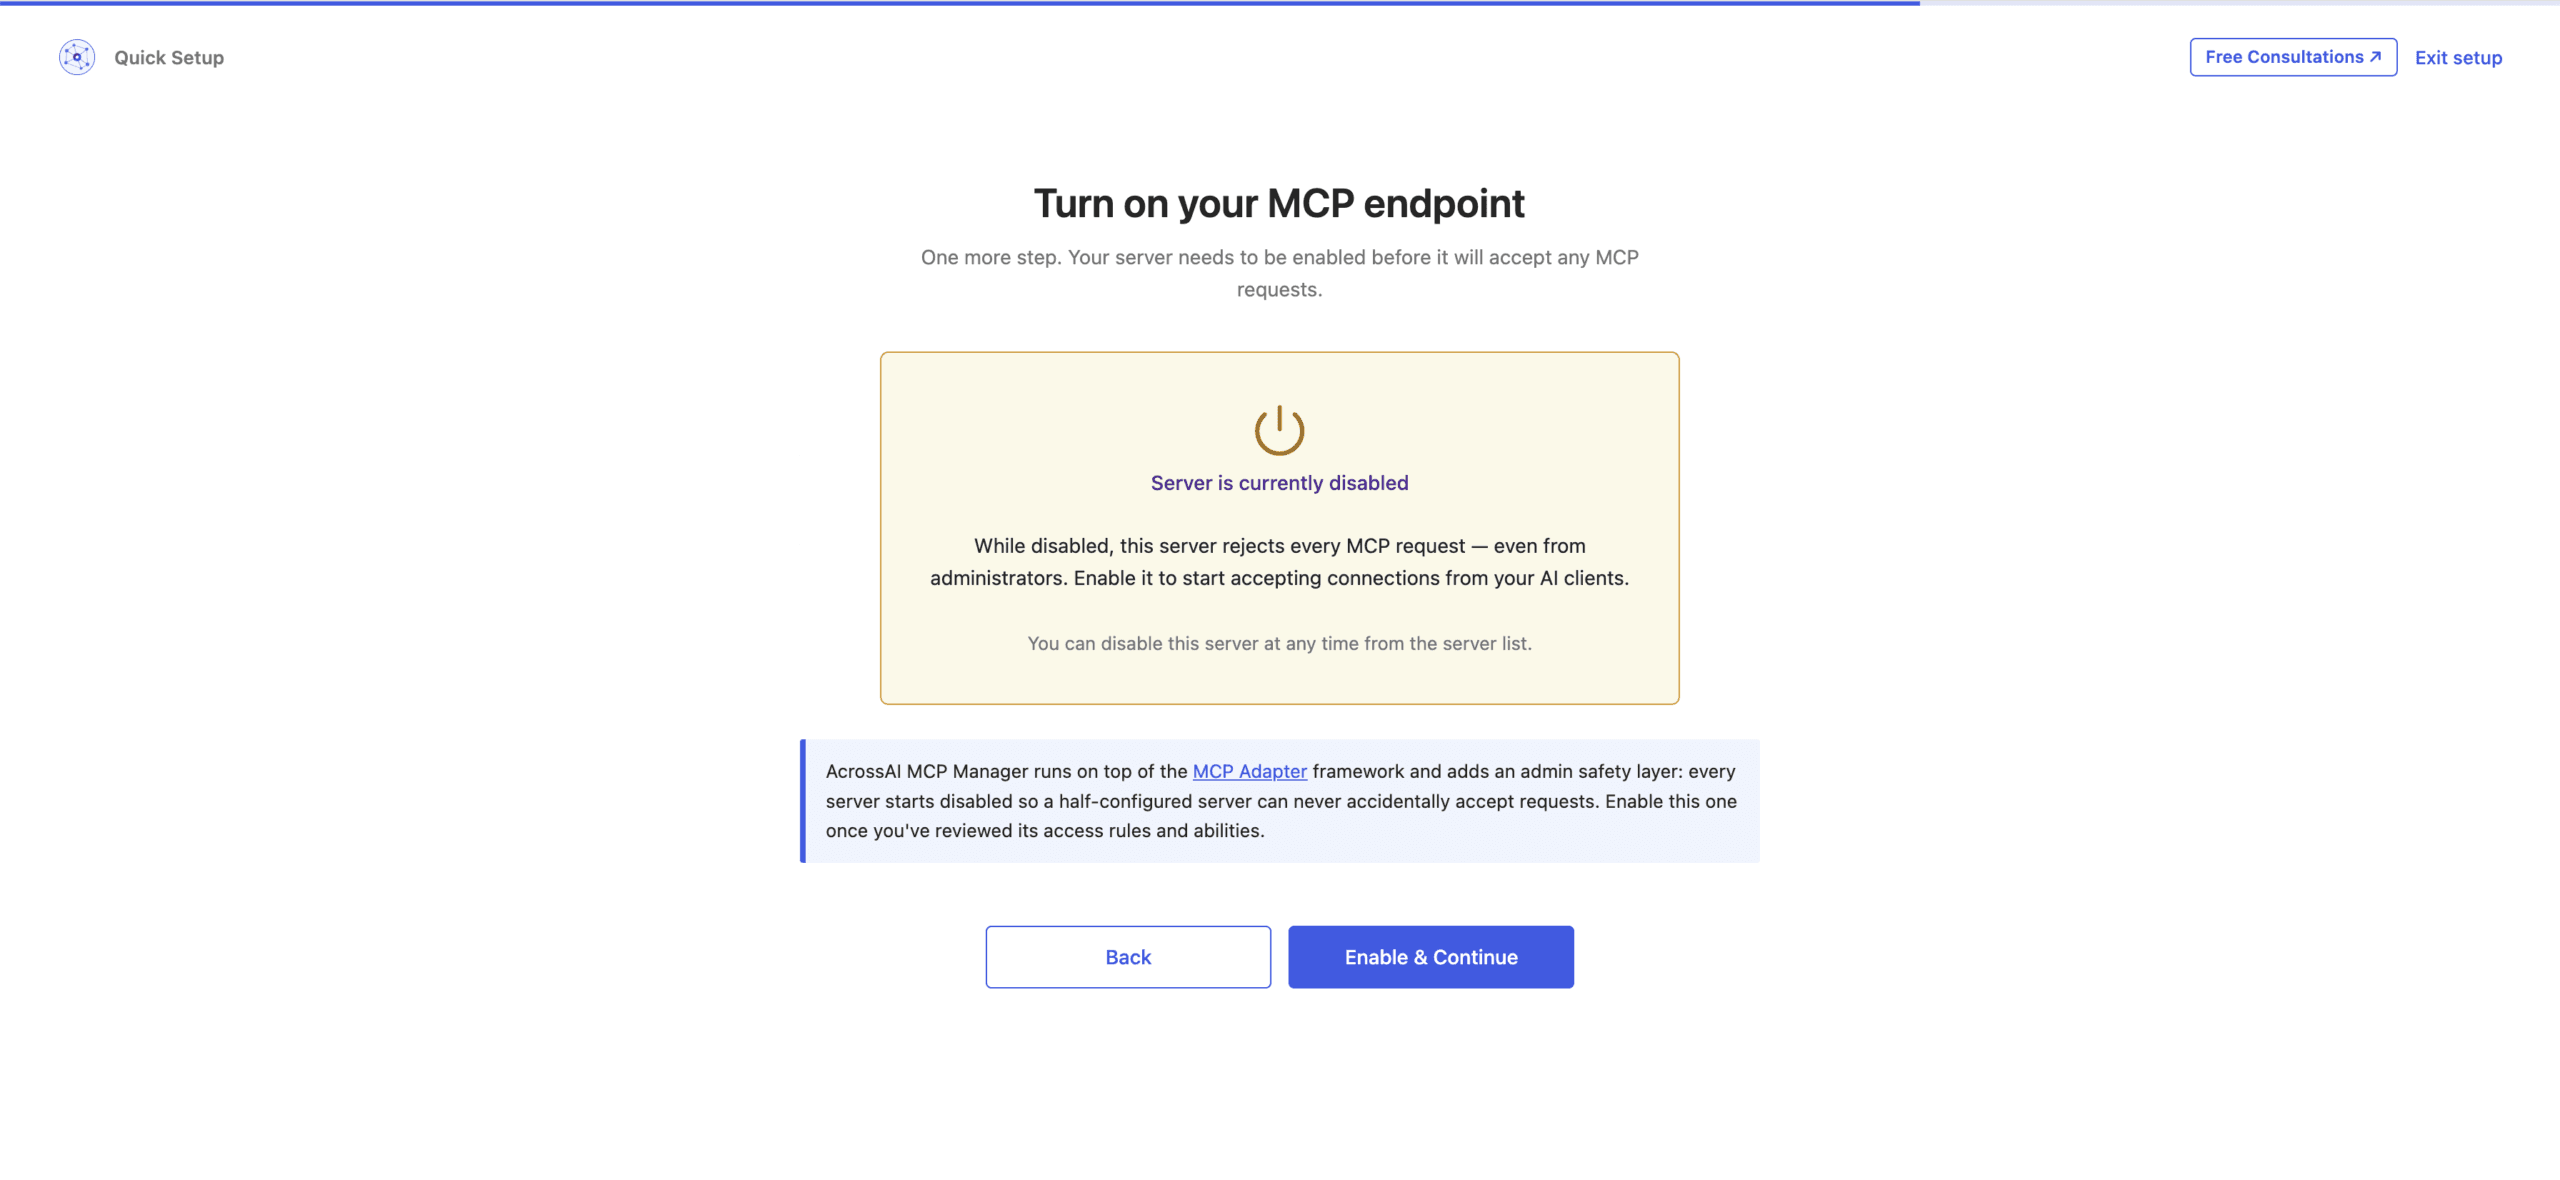
Every server starts disabled. While it is off it rejects every MCP request, including yours as an administrator — there is no back door.
MCP Manager runs on top of the official WordPress MCP Adapter framework and adds this admin safety layer on top of it, so a server you are halfway through configuring can never quietly start accepting traffic. Enable it once you are happy with the access rules and abilities. You can switch it back off from the server list at any time.
Step 7 — Pick how you want to connect
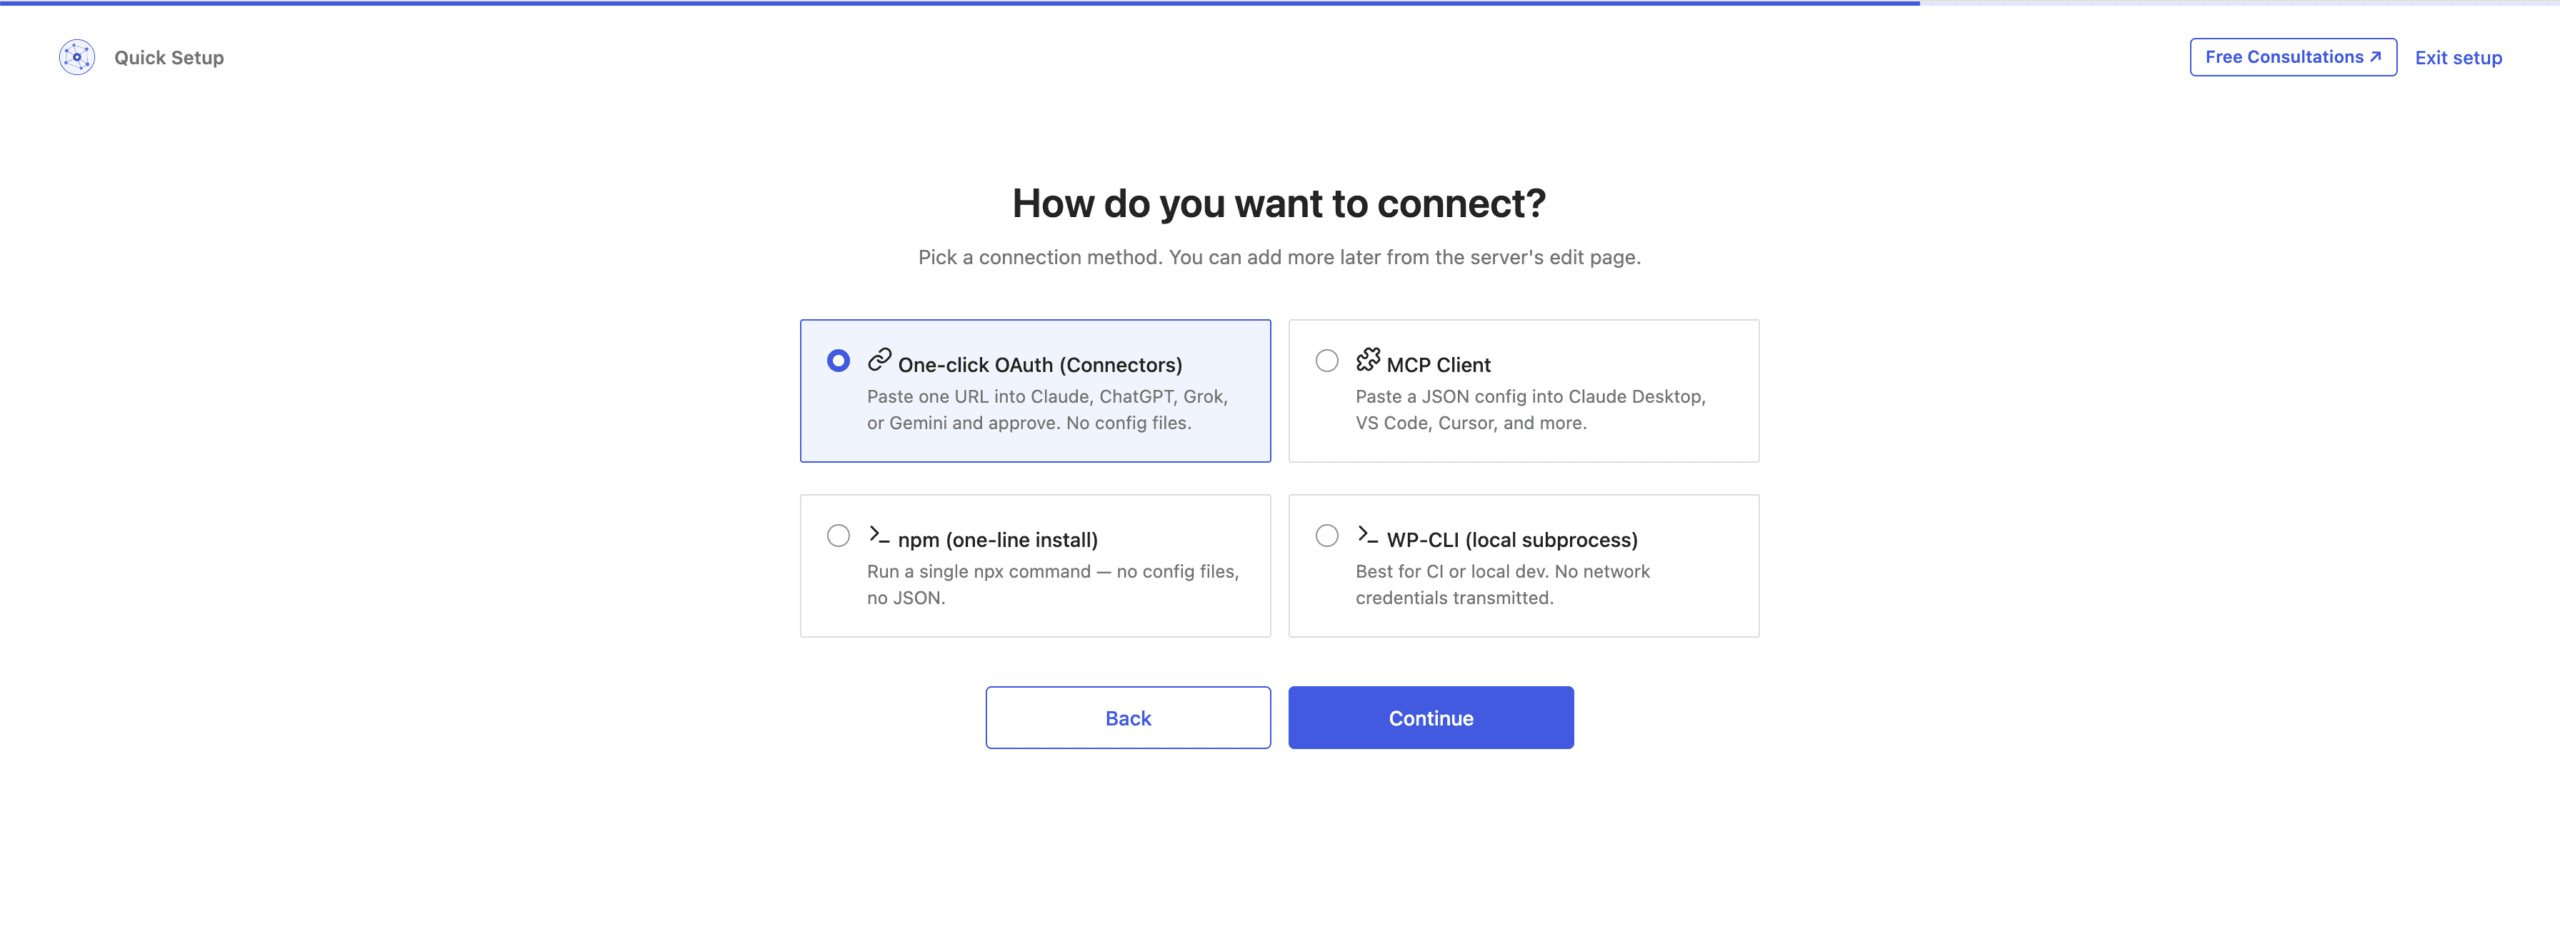
Four routes to the same endpoint. Choose one now; you can add the others later from the server’s edit page.
- One-click OAuth connectors — paste a URL, approve, done. No files.
- MCP client config — paste a JSON block into your editor or desktop app.
- npm — one
npxcommand in a terminal. - WP-CLI — a local subprocess, no credentials over the network.
Path A — One-click OAuth, in about sixty seconds
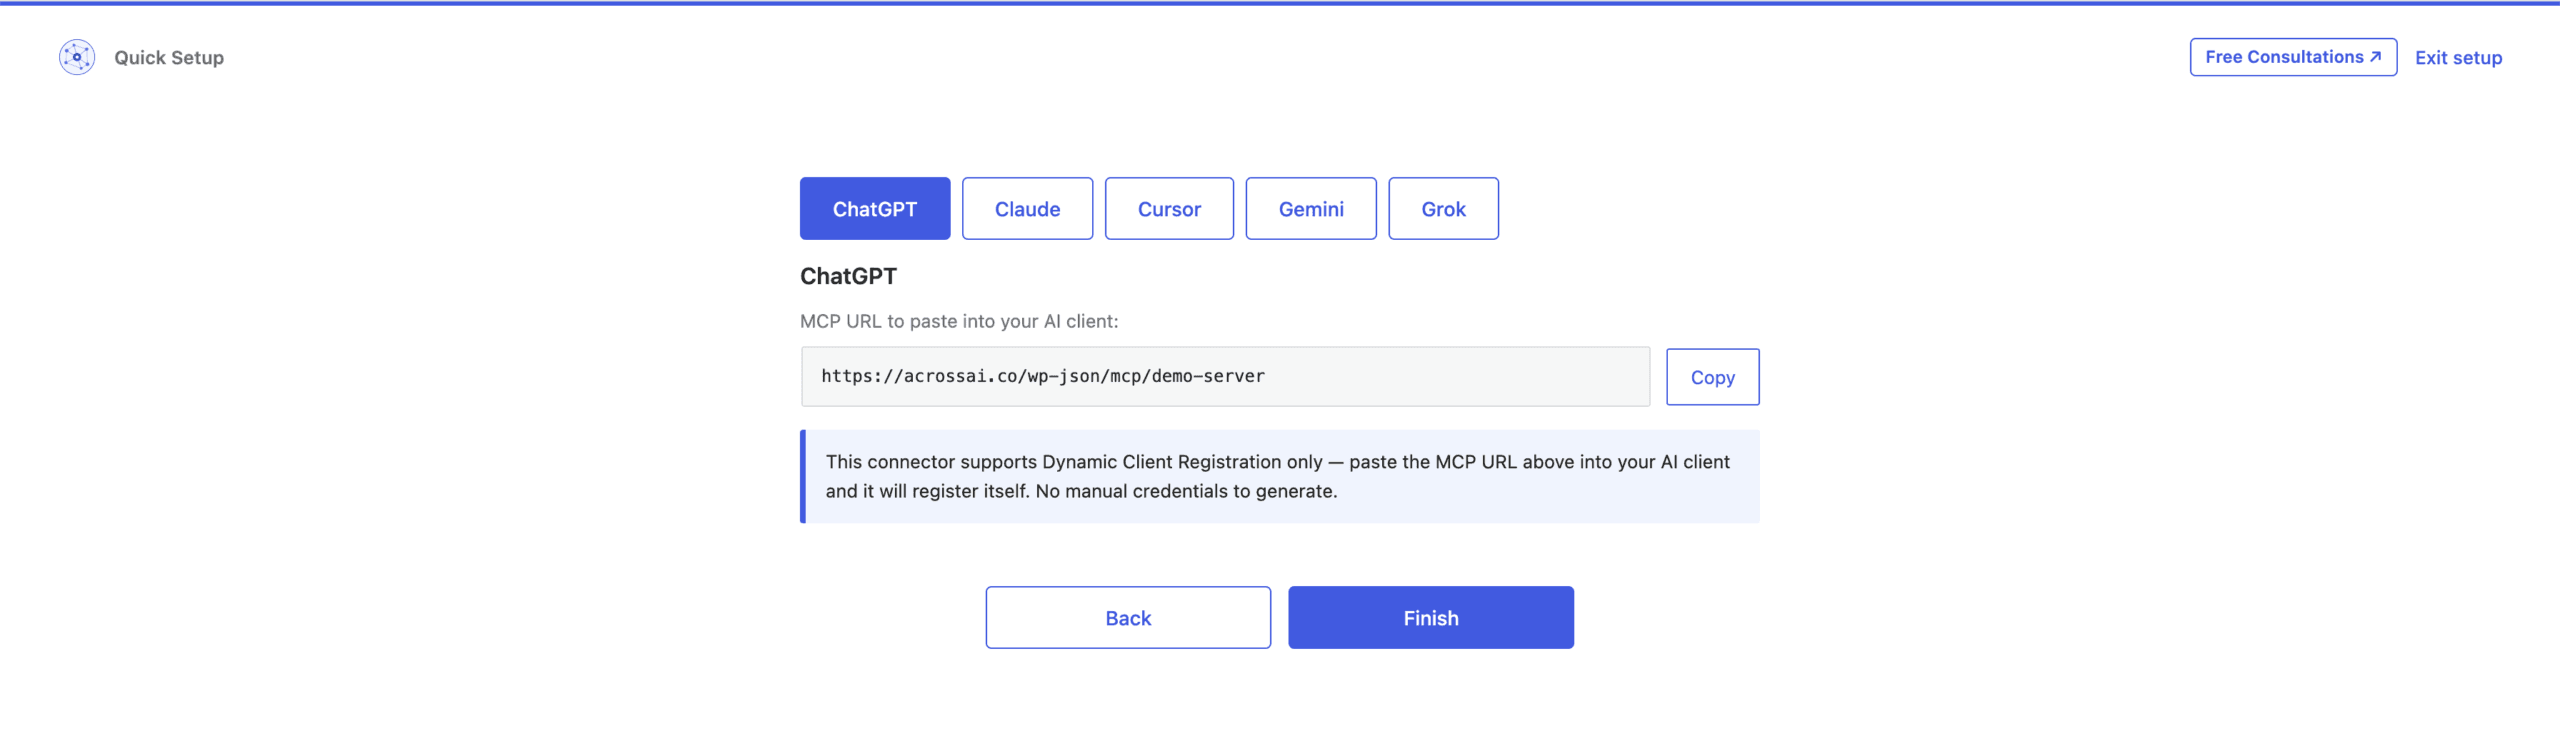
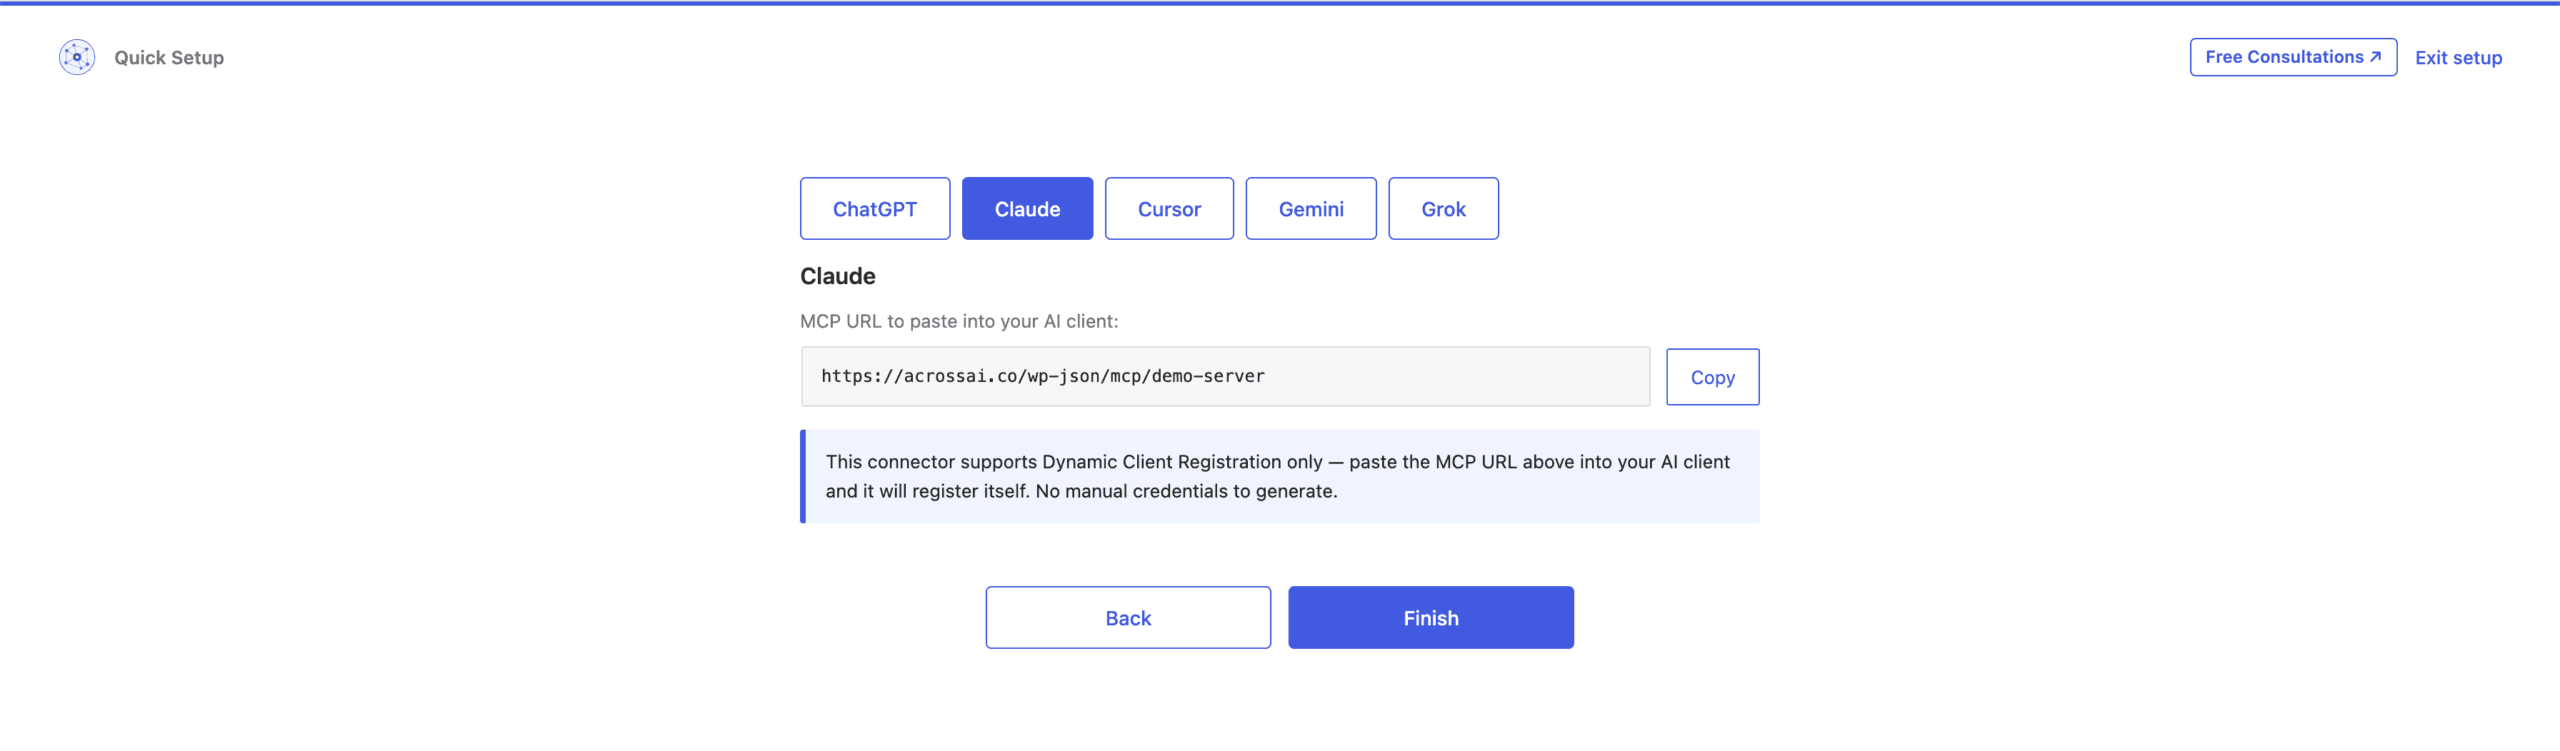
This is the fastest route and the one most people should take. The wizard shows a single MCP URL. Copy it, paste it into your AI client, approve the consent screen, and you are connected. There is no application password to generate and no file to edit — the connector supports Dynamic Client Registration, so the client registers itself.
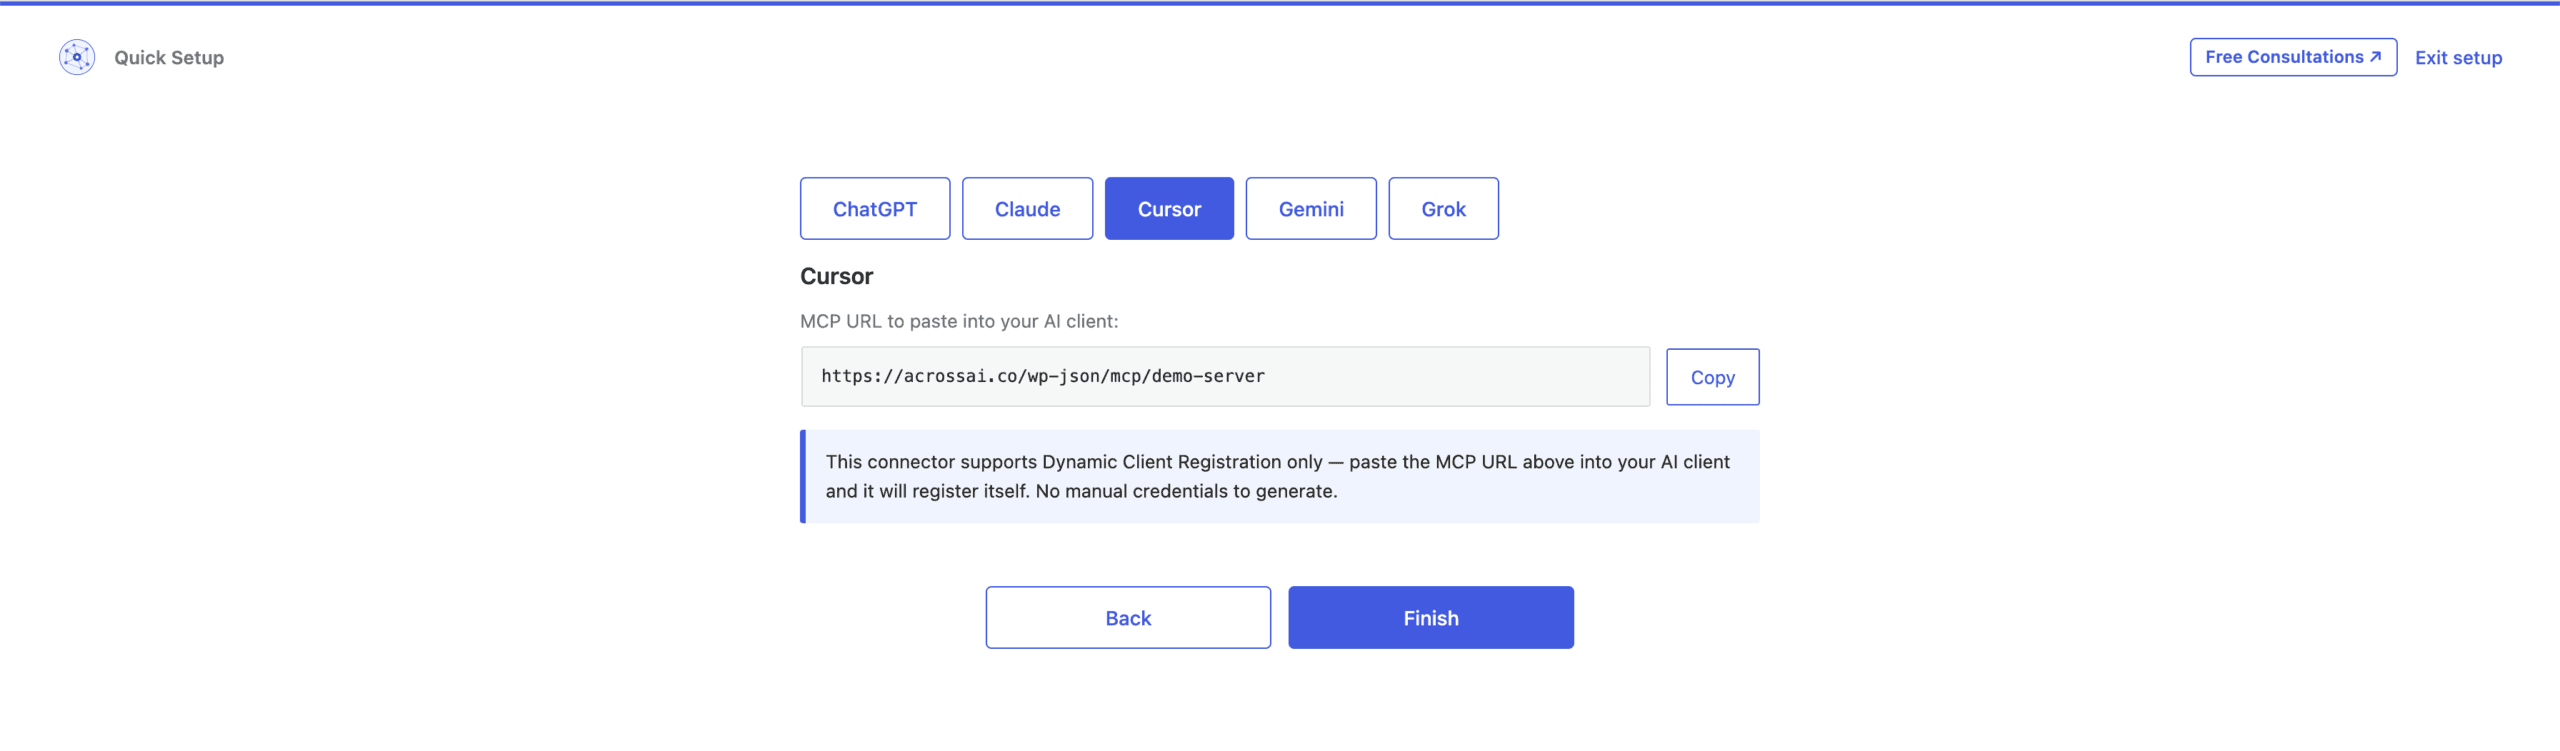
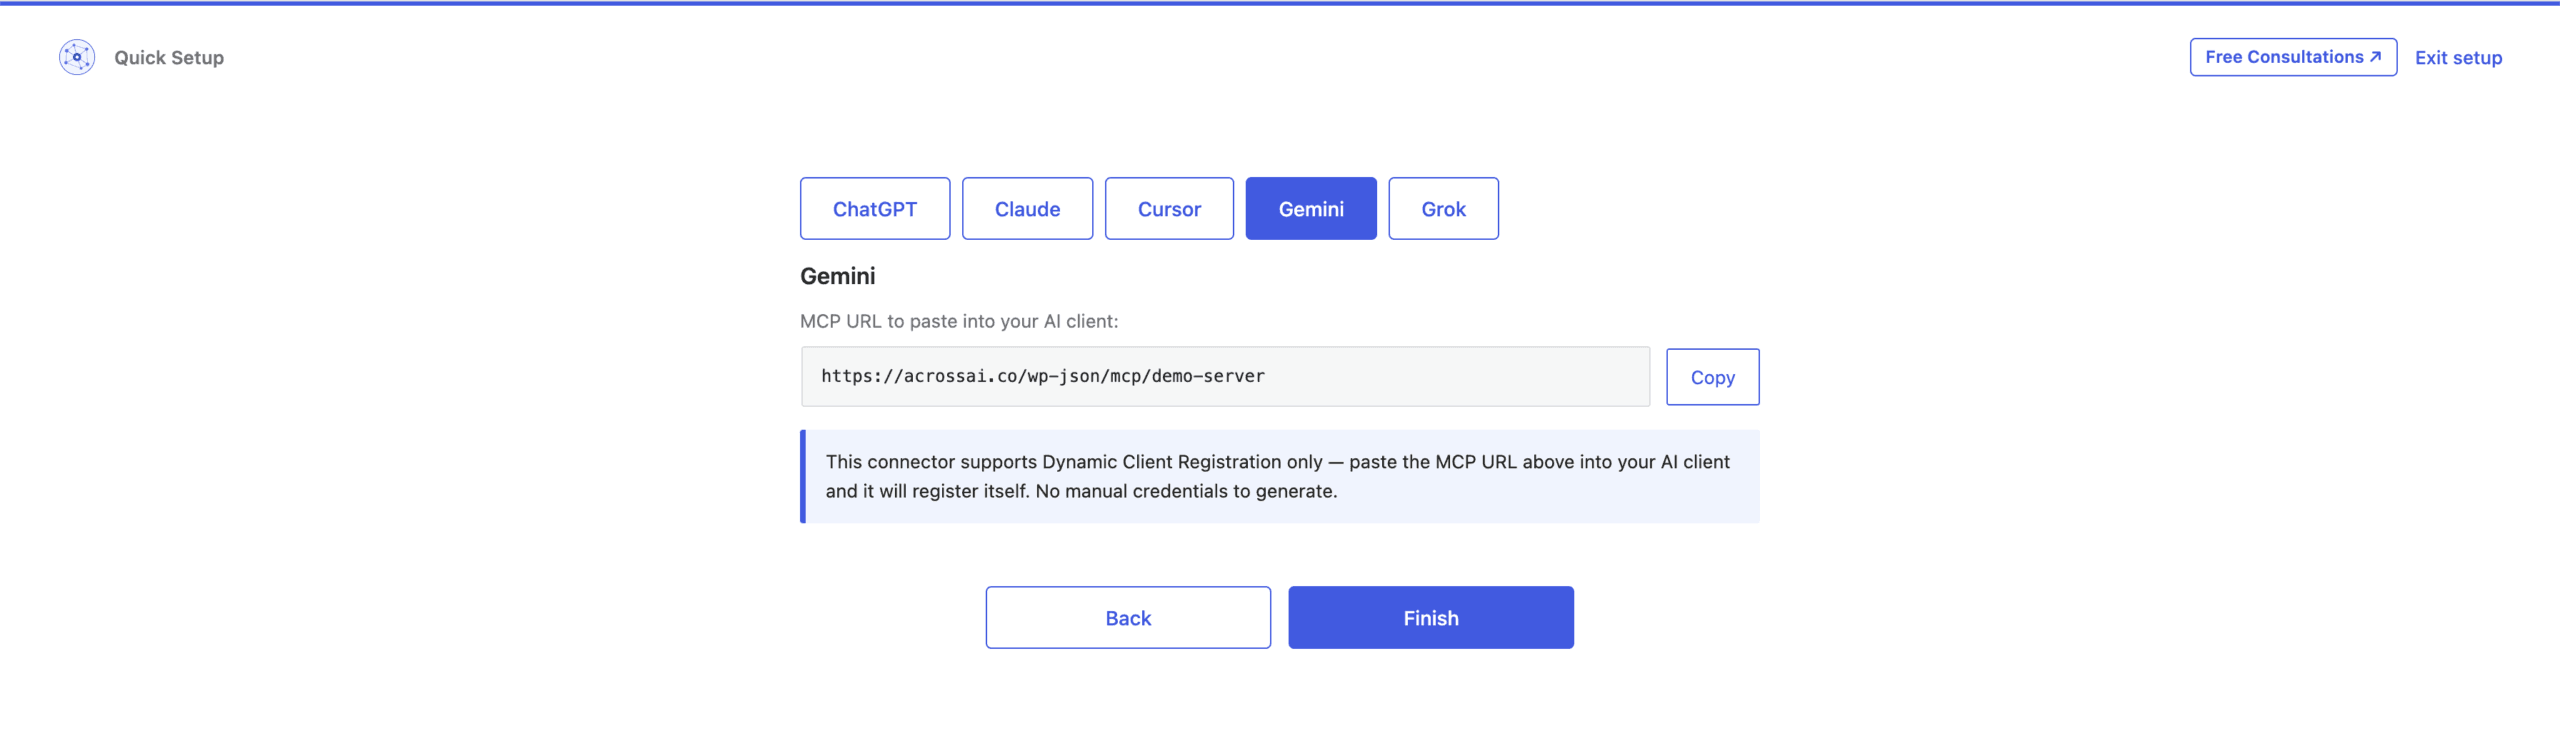
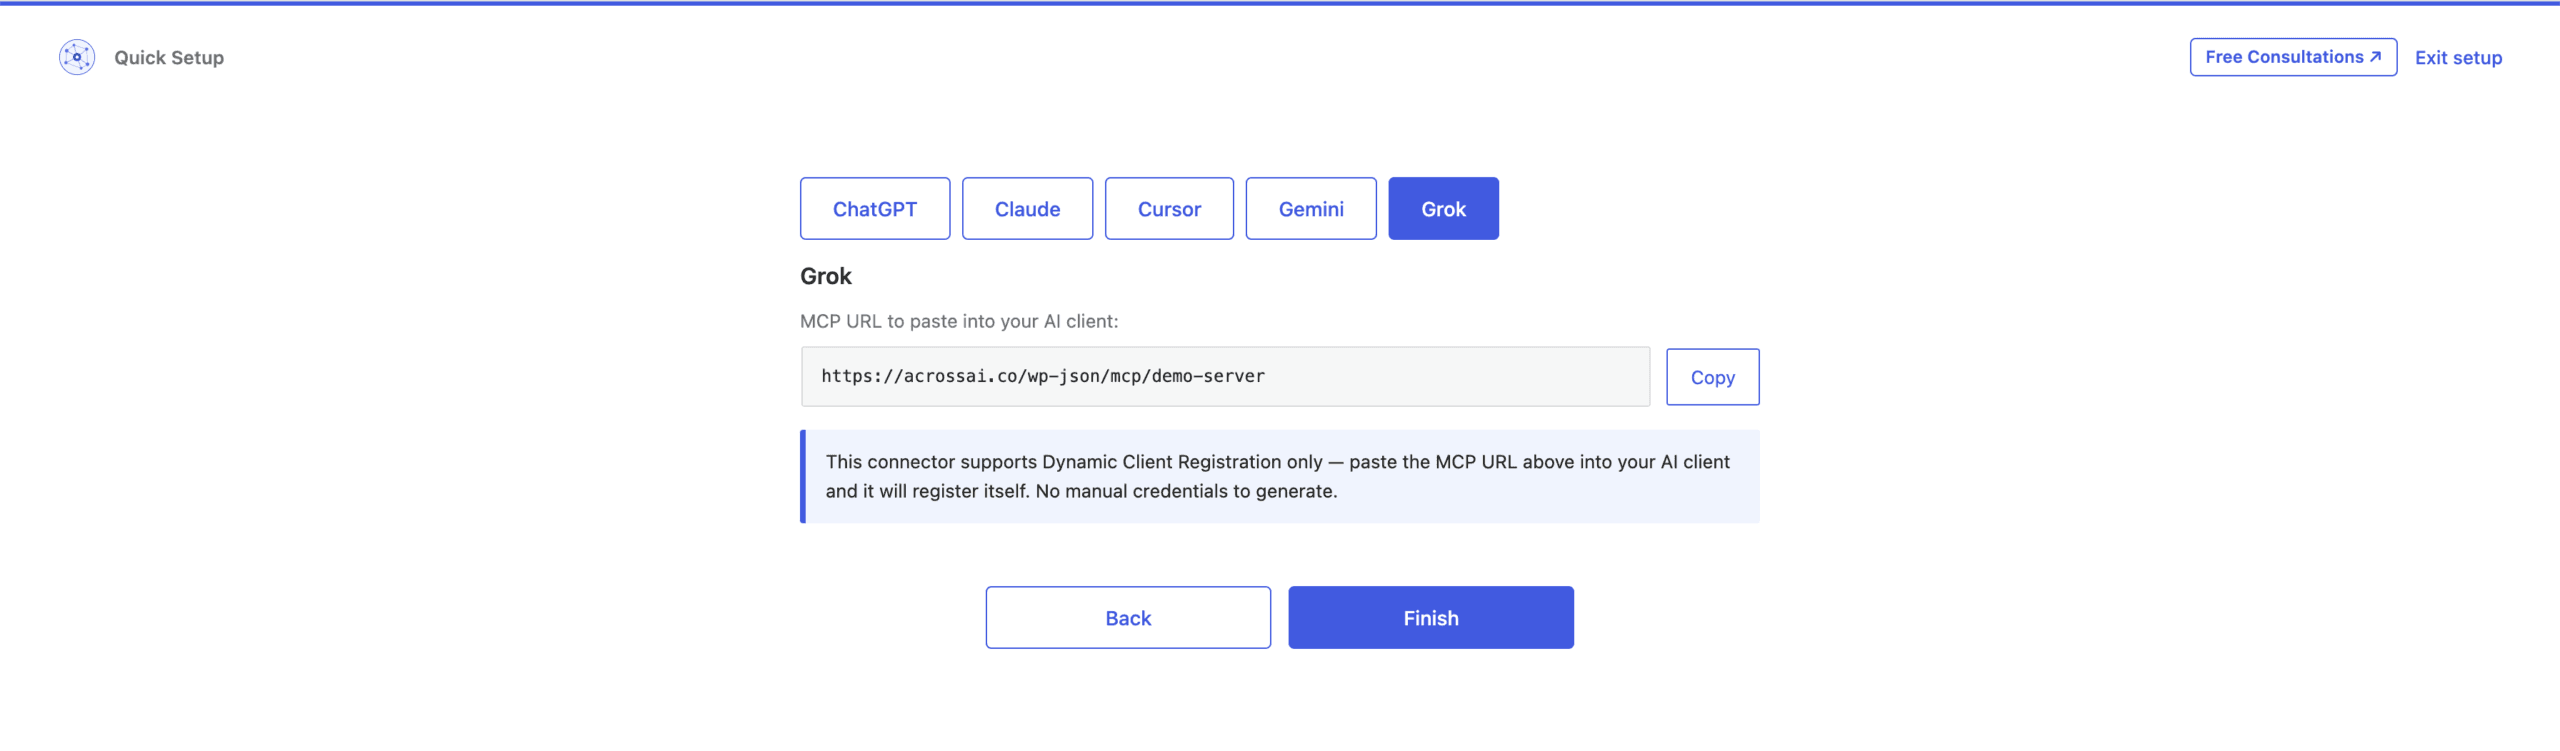
Each provider gets its own tab, and each one hands you the same endpoint:
Step-by-step guides for each client:
- Connect Claude to WordPress in a minute
- Connect ChatGPT to WordPress in a minute
- Connect Gemini to WordPress in a minute
- Connect Grok to WordPress in a minute
- Connect Cursor to WordPress in a minute
OAuth connectors are built into MCP Manager, with the OAuth server running on your own site.
Path B — MCP client config file
For editors and desktop apps that read a local JSON file. Pick your client from the tab strip and the wizard walks you through four short steps, filling in the parts that are easy to get wrong.
- Generate the password. One click creates a WordPress application password. It is shown once, so copy it now.
- Open the config file. The wizard gives you the exact path for your client —
~/.cursor/mcp.json,~/.claude.json, and so on. - Find the top-level key. Most clients use
mcpServers, but VS Code and GitHub Copilot useservers, Zed usescontext_servers, and Codex usesmcp_servers. Getting this wrong is the single most common reason a connection silently fails. - Paste the config. The JSON already has your password baked in. Copy, paste, restart the client.
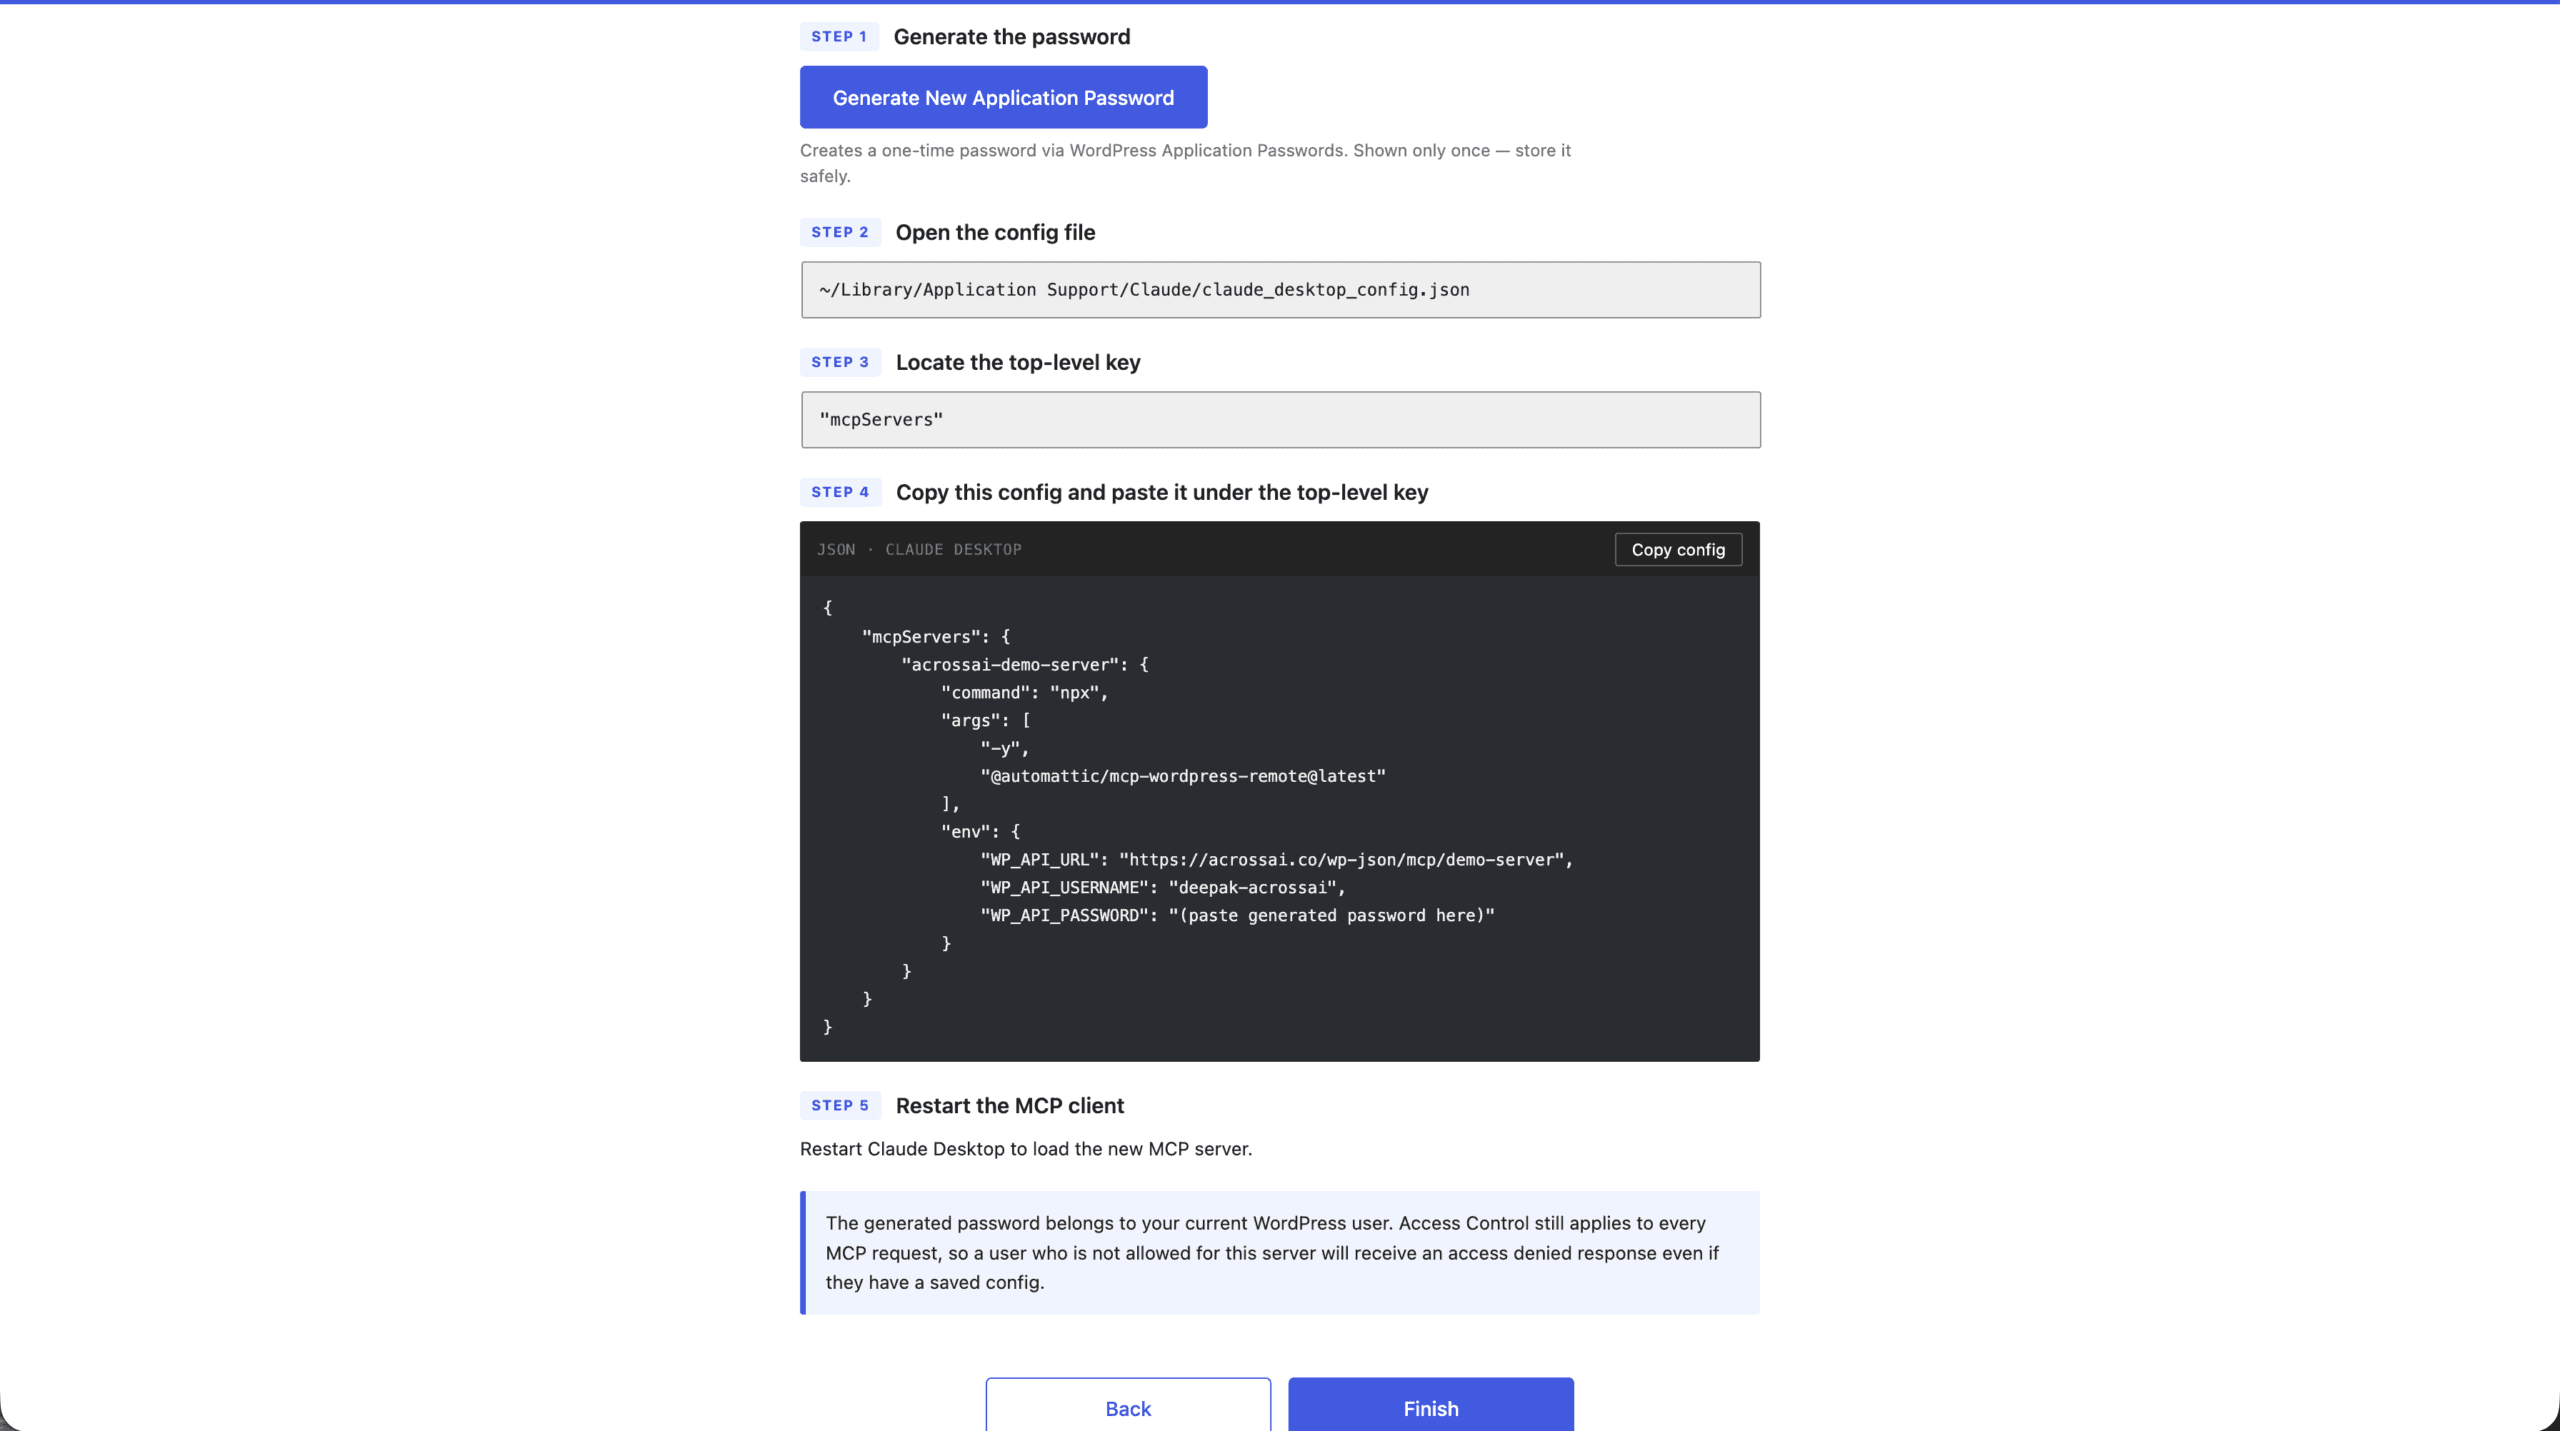
Sixteen clients are covered, including Claude Desktop, Claude Code, Cursor, VS Code, GitHub Copilot, Windsurf, Zed, Cline, Roo Code, Kilo Code, OpenCode, Codex, Gemini CLI, Amazon Q Developer and Antigravity — plus a generic template for anything else that speaks MCP.
The password belongs to your WordPress user, and Access Control still applies to every request. A user who is not permitted on this server gets an access denied response even with a valid config saved.
Path C — npm, one line
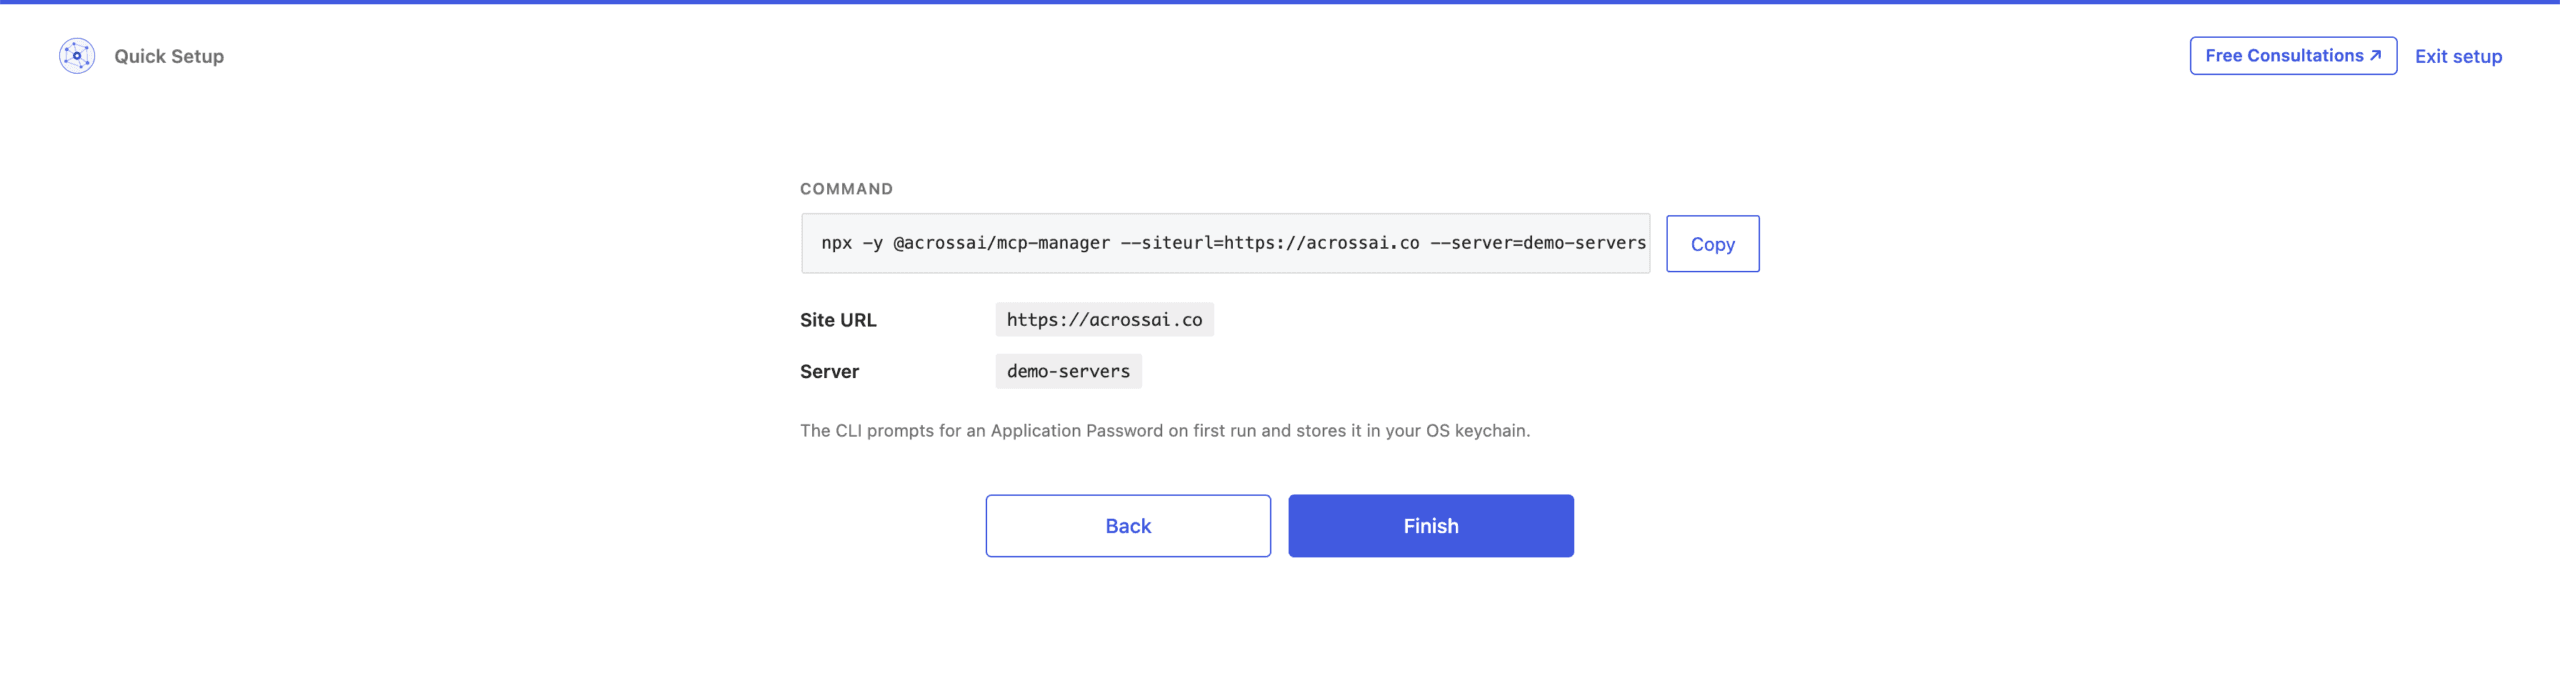
If you would rather not touch a JSON file at all, the wizard hands you a single npx command with your site URL and server slug already filled in. Run it and a local bridge boots against your site.
On first run it prompts for an application password and stores it in your operating system keychain, so you are not leaving credentials lying around in a config file.
Path D — WP-CLI over STDIO
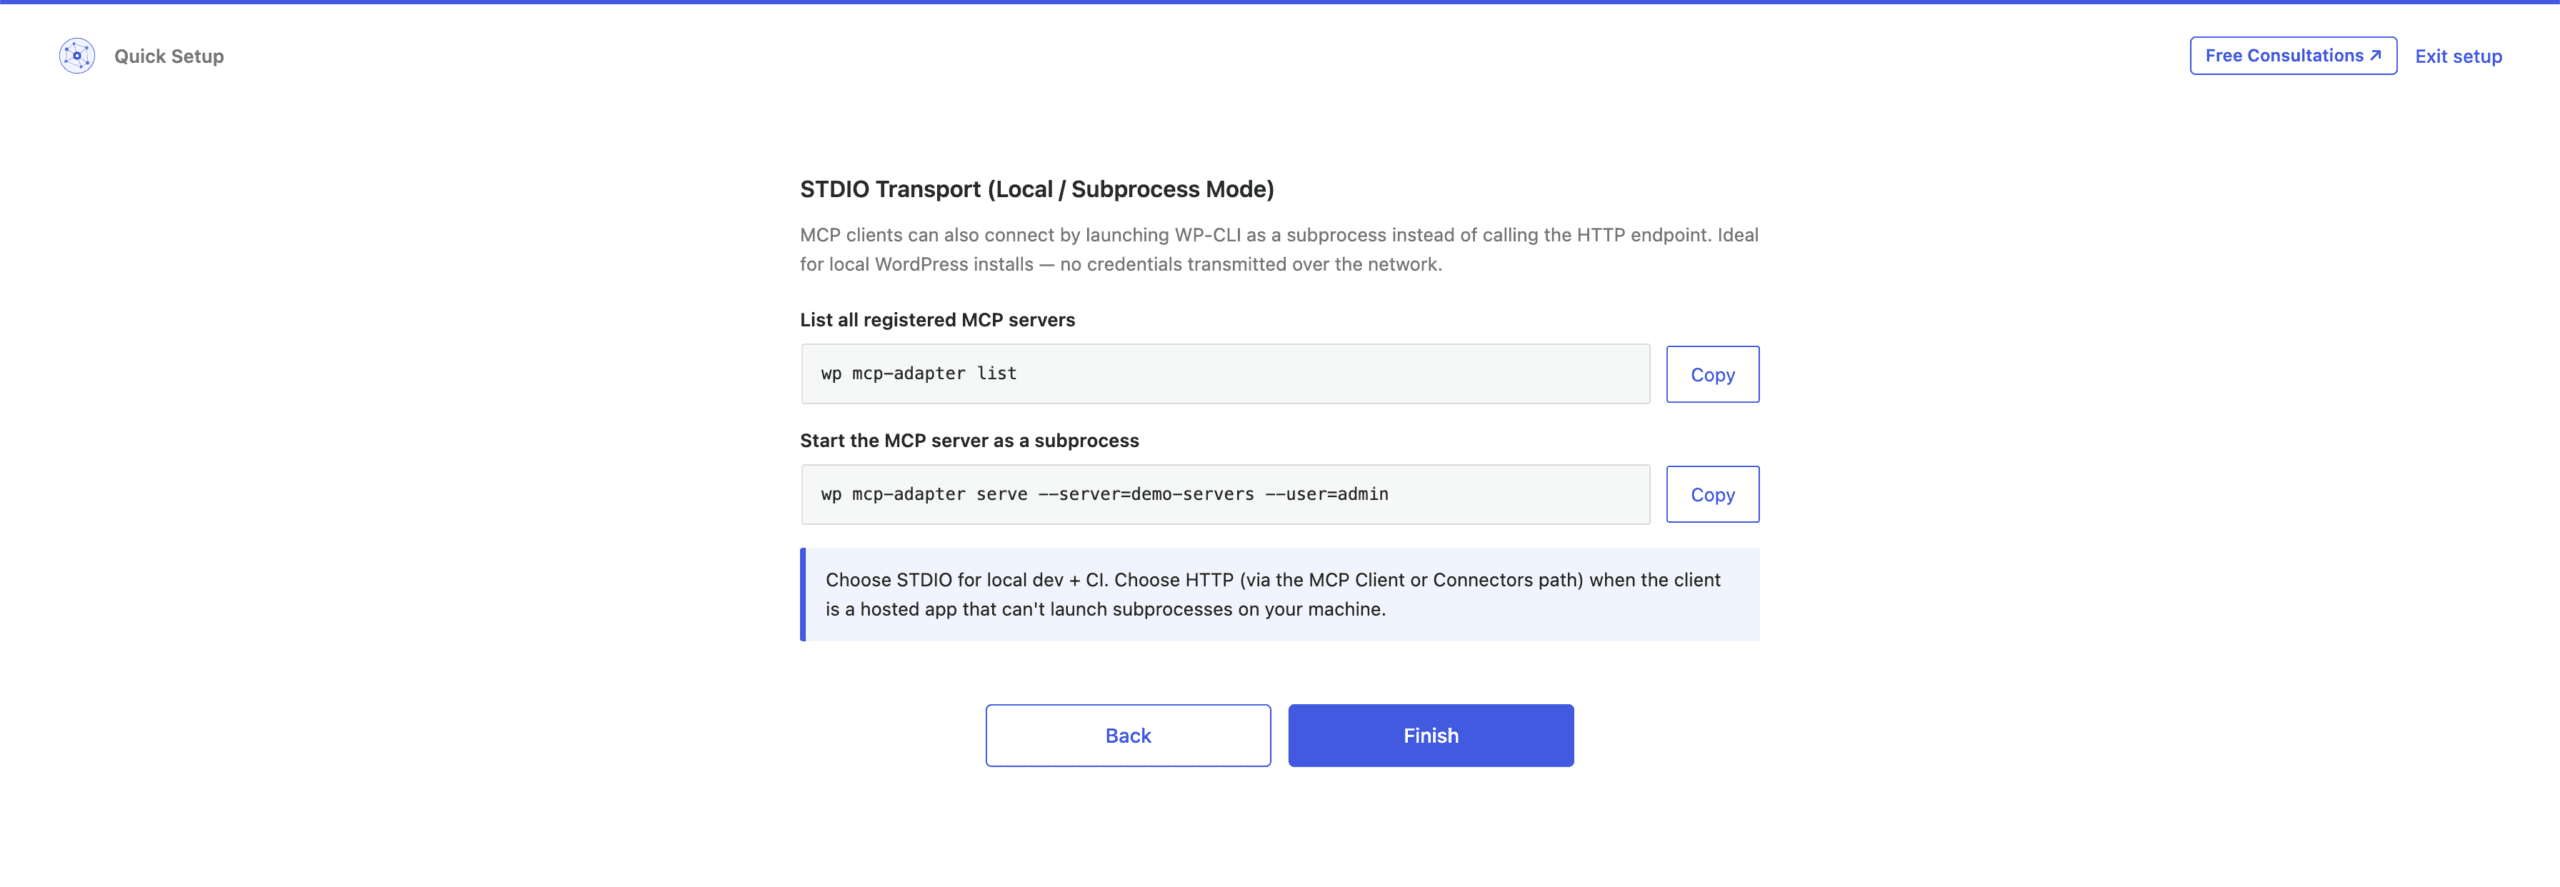
Instead of calling the HTTP endpoint, an MCP client can launch WP-CLI as a subprocess. Nothing crosses the network, which makes this the right choice for local development and CI.
List your registered servers with wp mcp-adapter list, then start one with wp mcp-adapter serve, passing the server slug and the user to run as.
Use STDIO for local work; use HTTP — the connector or client-config paths above — when the AI client is a hosted app that cannot spawn processes on your machine.
You’re all set
The final screen confirms what you configured: which server, what access rule is in force, how many abilities are enabled, and which method you connected with. From there you can open the server dashboard, run the wizard again for a second server, or dismiss it. It stays available from the admin bar whenever you need it.

Then go and ask your AI client to do something. “List my draft posts” is a good first test — if that comes back, the connection is live.
Run it on your own site
MCP Manager and Abilities Manager are both free on WordPress.org. Install, open Quick Setup, and connect your first client.