
Here’s the whole journey at a glance. Every step is covered in more detail in its own guide.
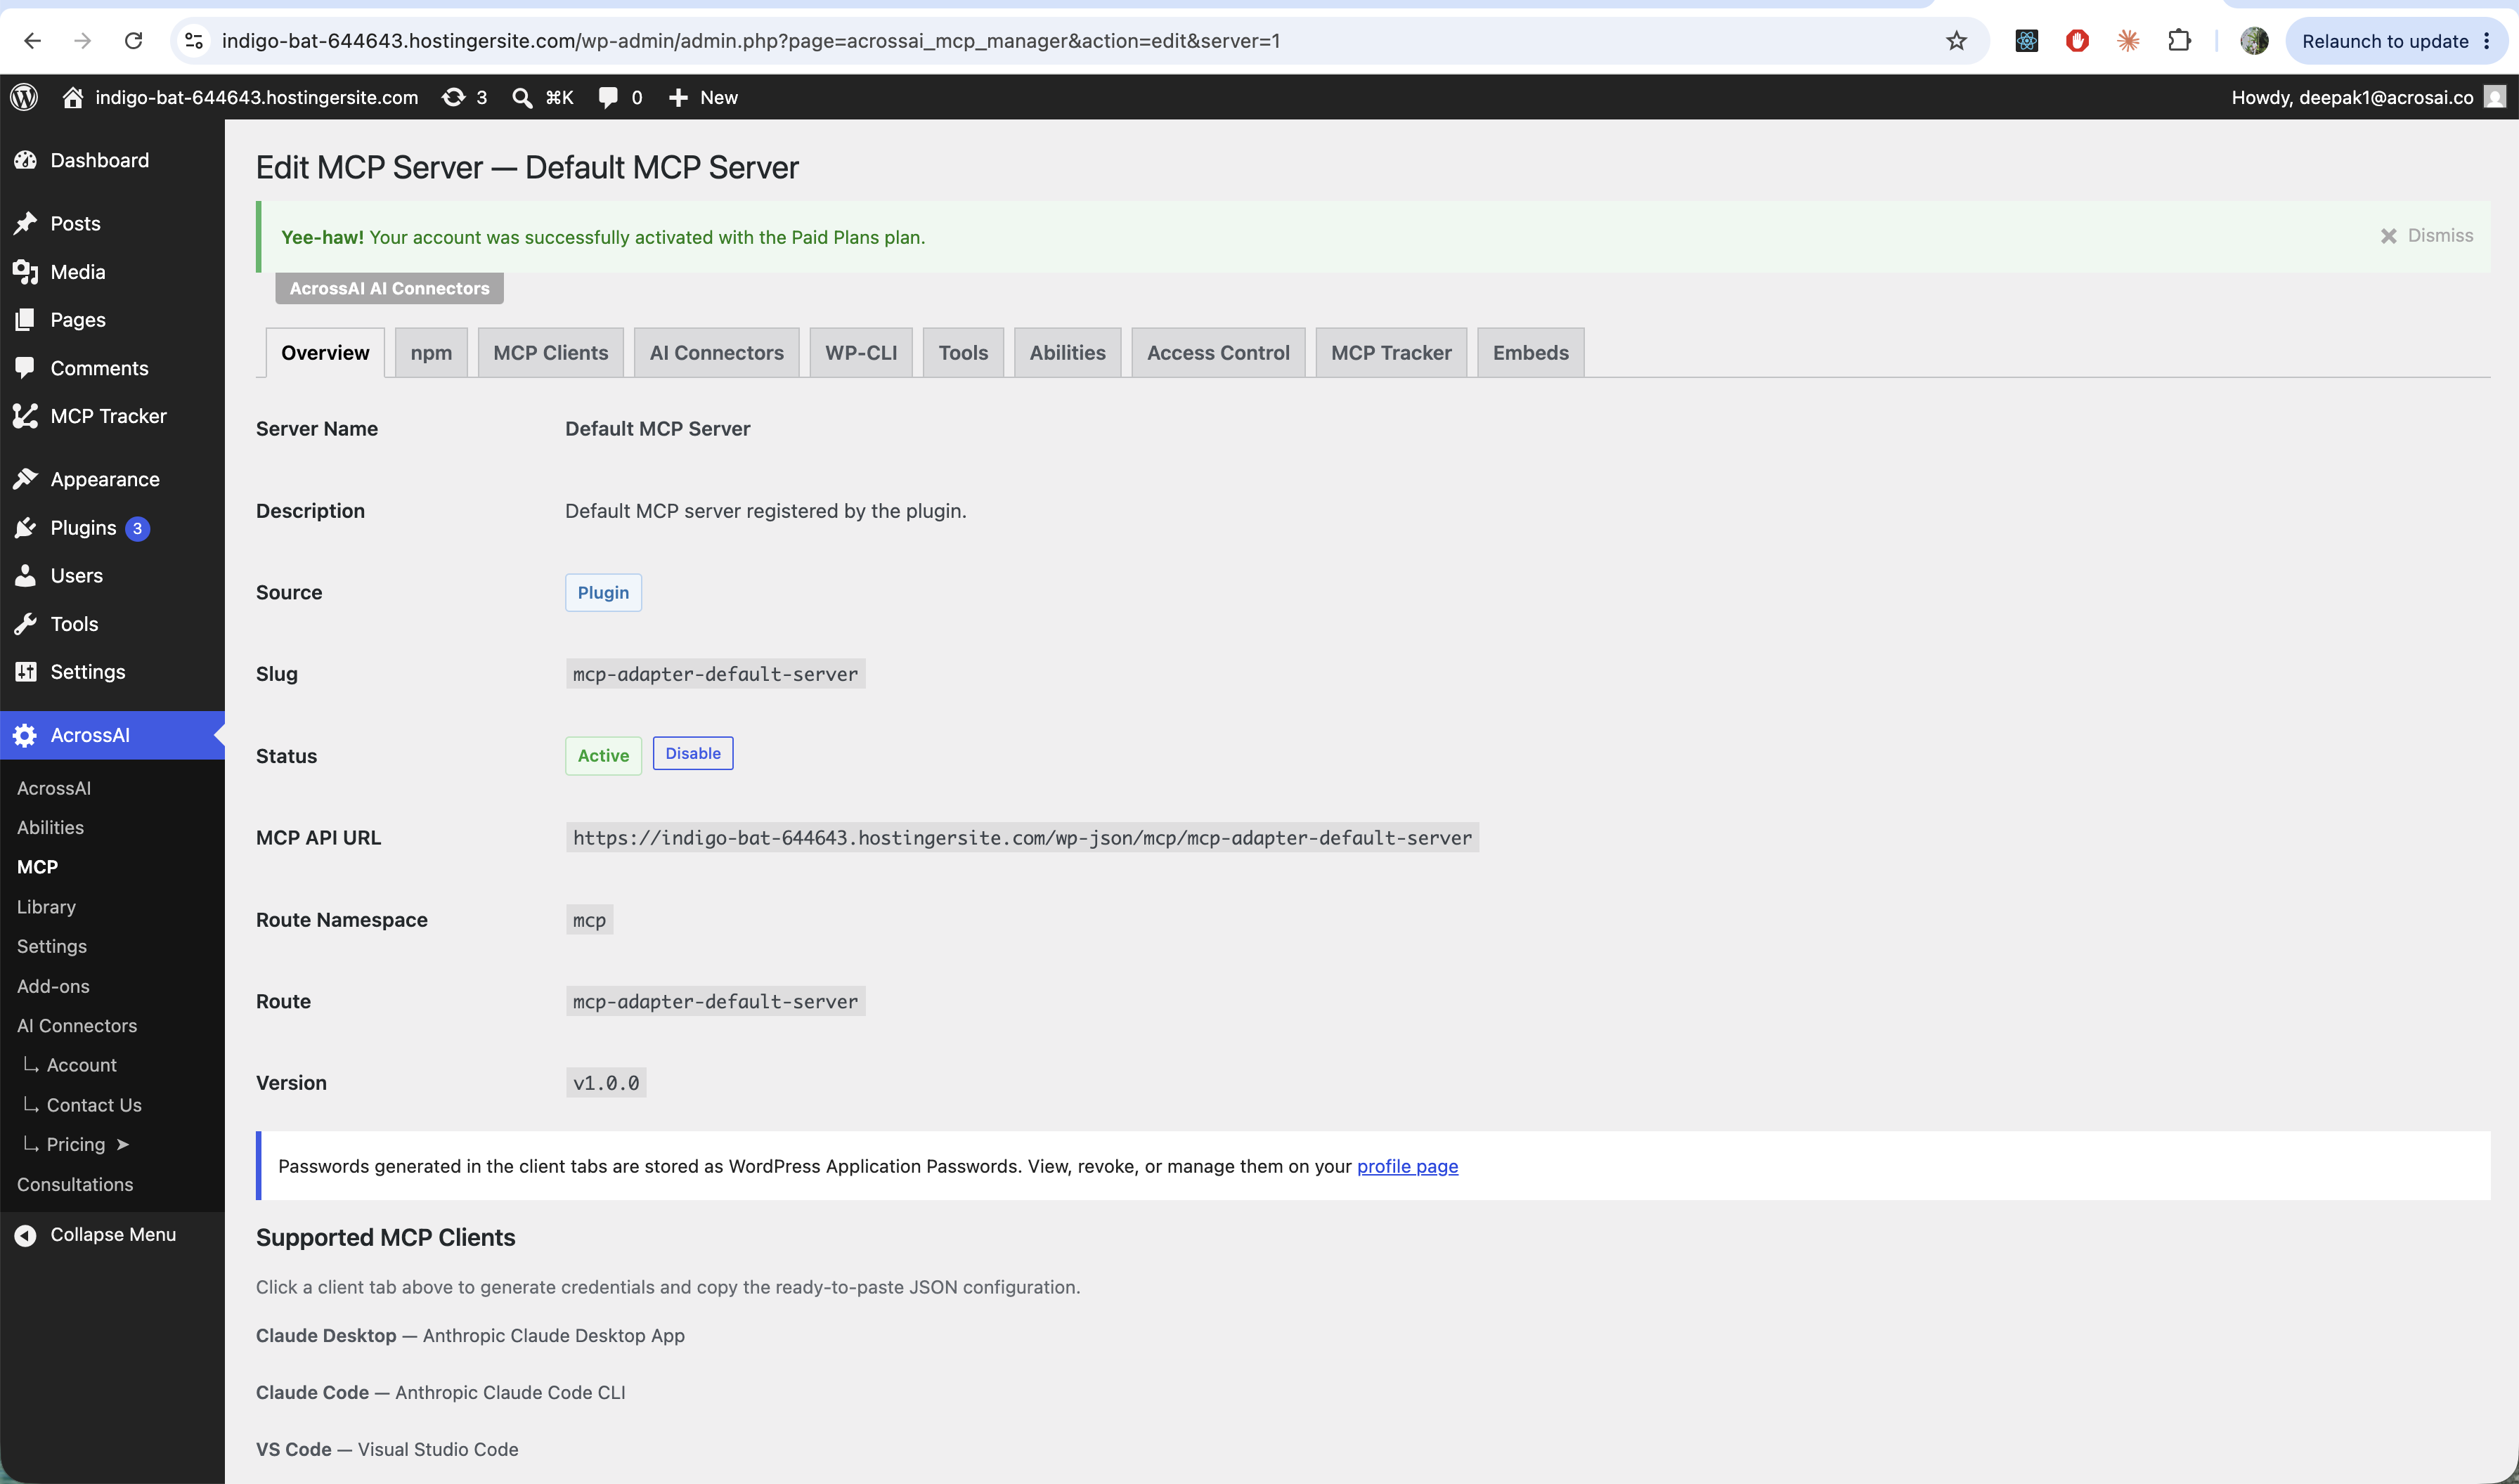
- Open AcrossAI → MCP. You’ll see the Default MCP Server ready to use.
- Click a server’s name to open it, then choose the MCP Clients tab.
- Pick your client — Claude Desktop, VS Code, GitHub Copilot, Codex, Cursor, Gemini CLI, or Custom.
- Click Generate New Application Password (it’s shown once — keep it safe).
- Click Copy Configuration and paste the JSON into your client’s config file (the exact path and key are shown on the page).
- Paste the generated password where the config says, then restart your client.
That’s it — your AI client can now talk to your site over MCP.
Good to know: Access control still applies after you connect. A user who isn’t allowed on a server gets an “access denied” response even if they have a saved config.