
Across the AcrossAI plugins, every ability and every MCP server has a User Access setting. A single Who can access dropdown decides who is allowed — and choosing an option reveals the controls for it. One rule always holds: administrators always have access, whatever you pick.
Here is every option, in order.
1. No user access added by admin

The default. No rule has been set, so the resource is locked to everyone except administrators. Use this when a feature should stay admin-only until you deliberately open it up.
2. Everyone (no restriction)

The opposite: every user is allowed, with no further checks. There are no extra controls to fill in.
3. WordPress Role
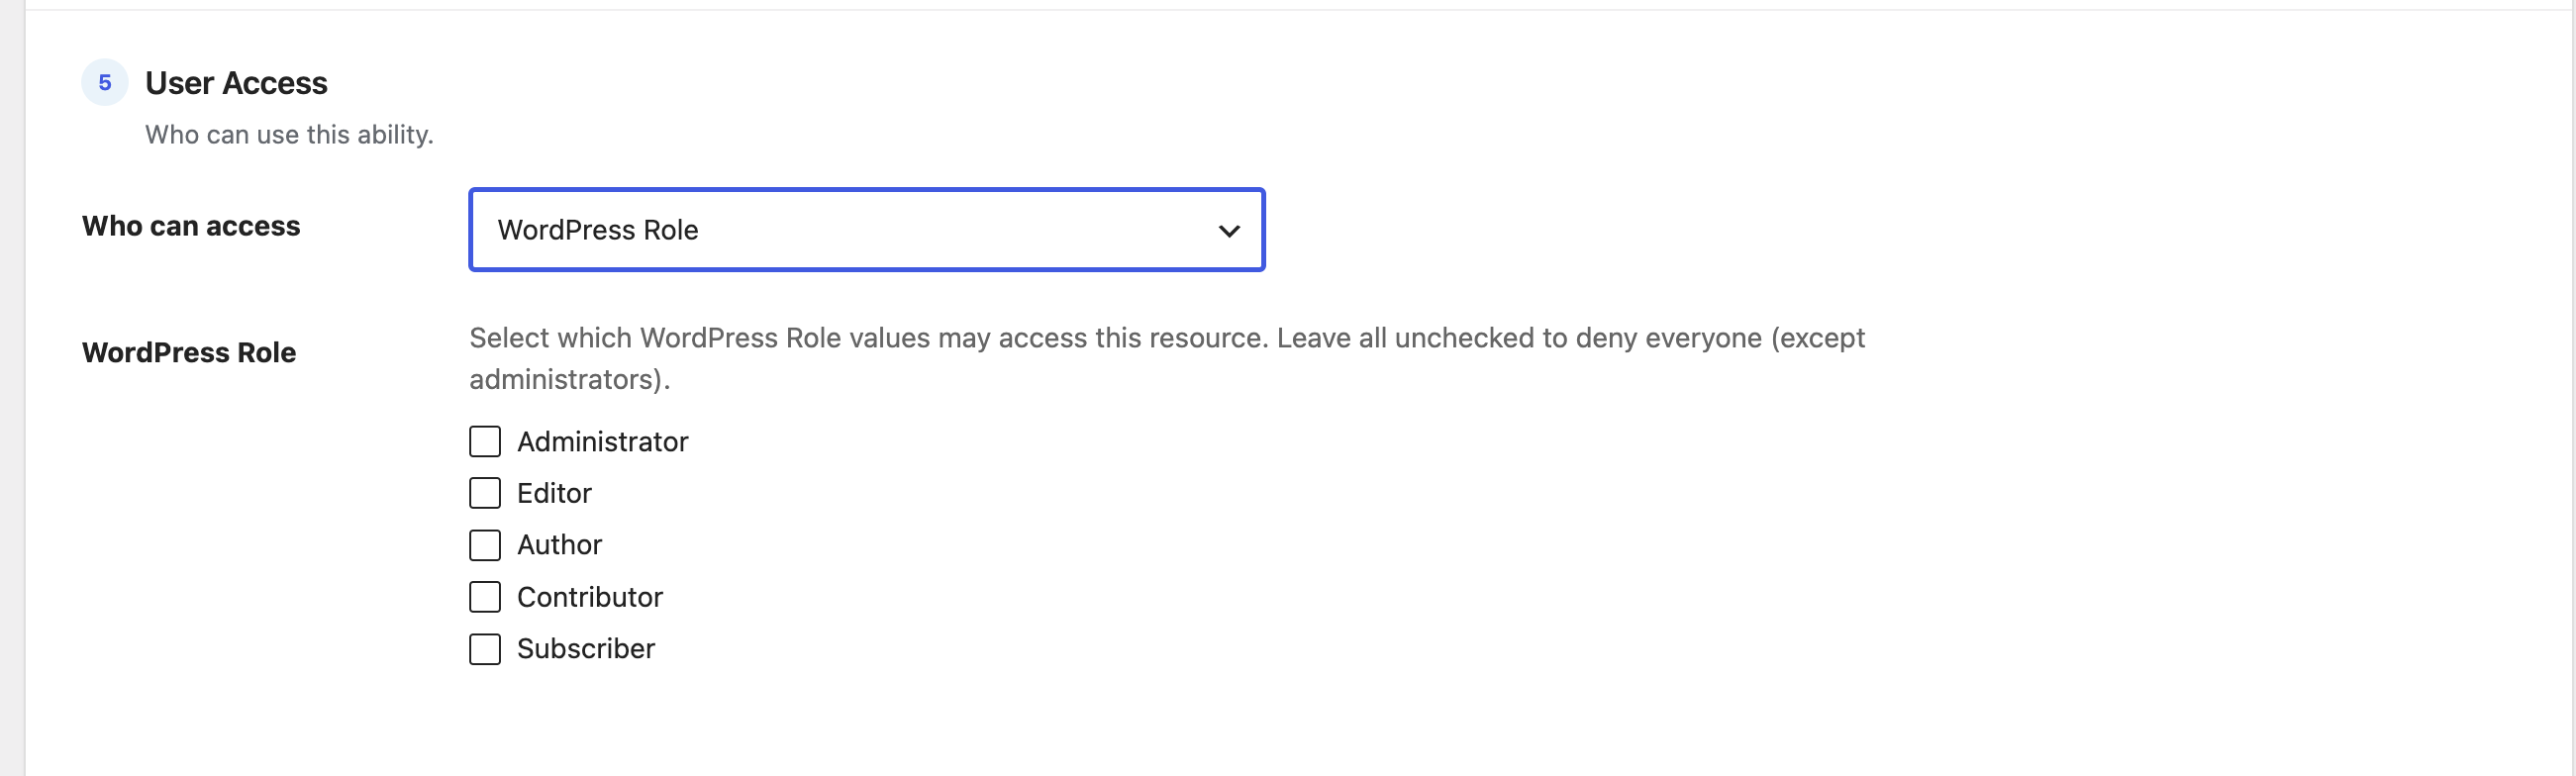
Restrict by role. Tick one or more roles — Administrator, Editor, Author, Contributor, Subscriber, plus any custom roles on your site. A user is allowed if they have any ticked role. Leaving all boxes unchecked denies everyone (except administrators).
4. Users
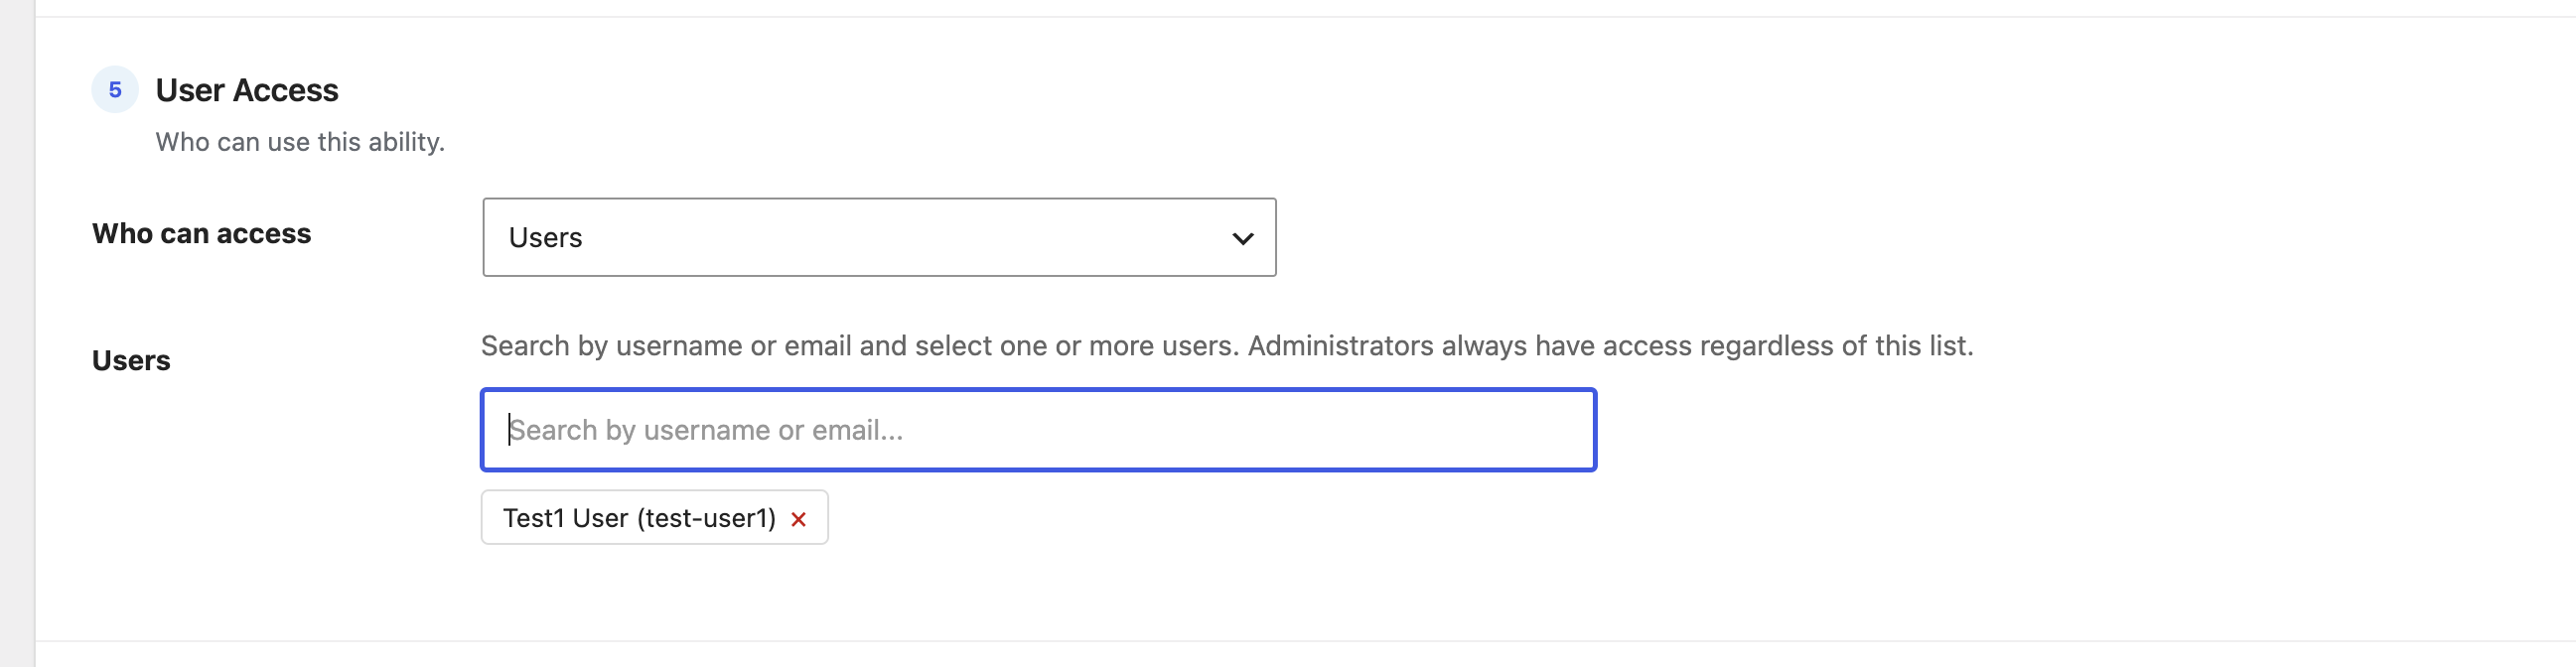
Pick specific people. Search by username or email, then select one or more users; each chosen person appears as a removable tag. Only those exact users are allowed (administrators always are, regardless of the list).
5. WordPress Capability
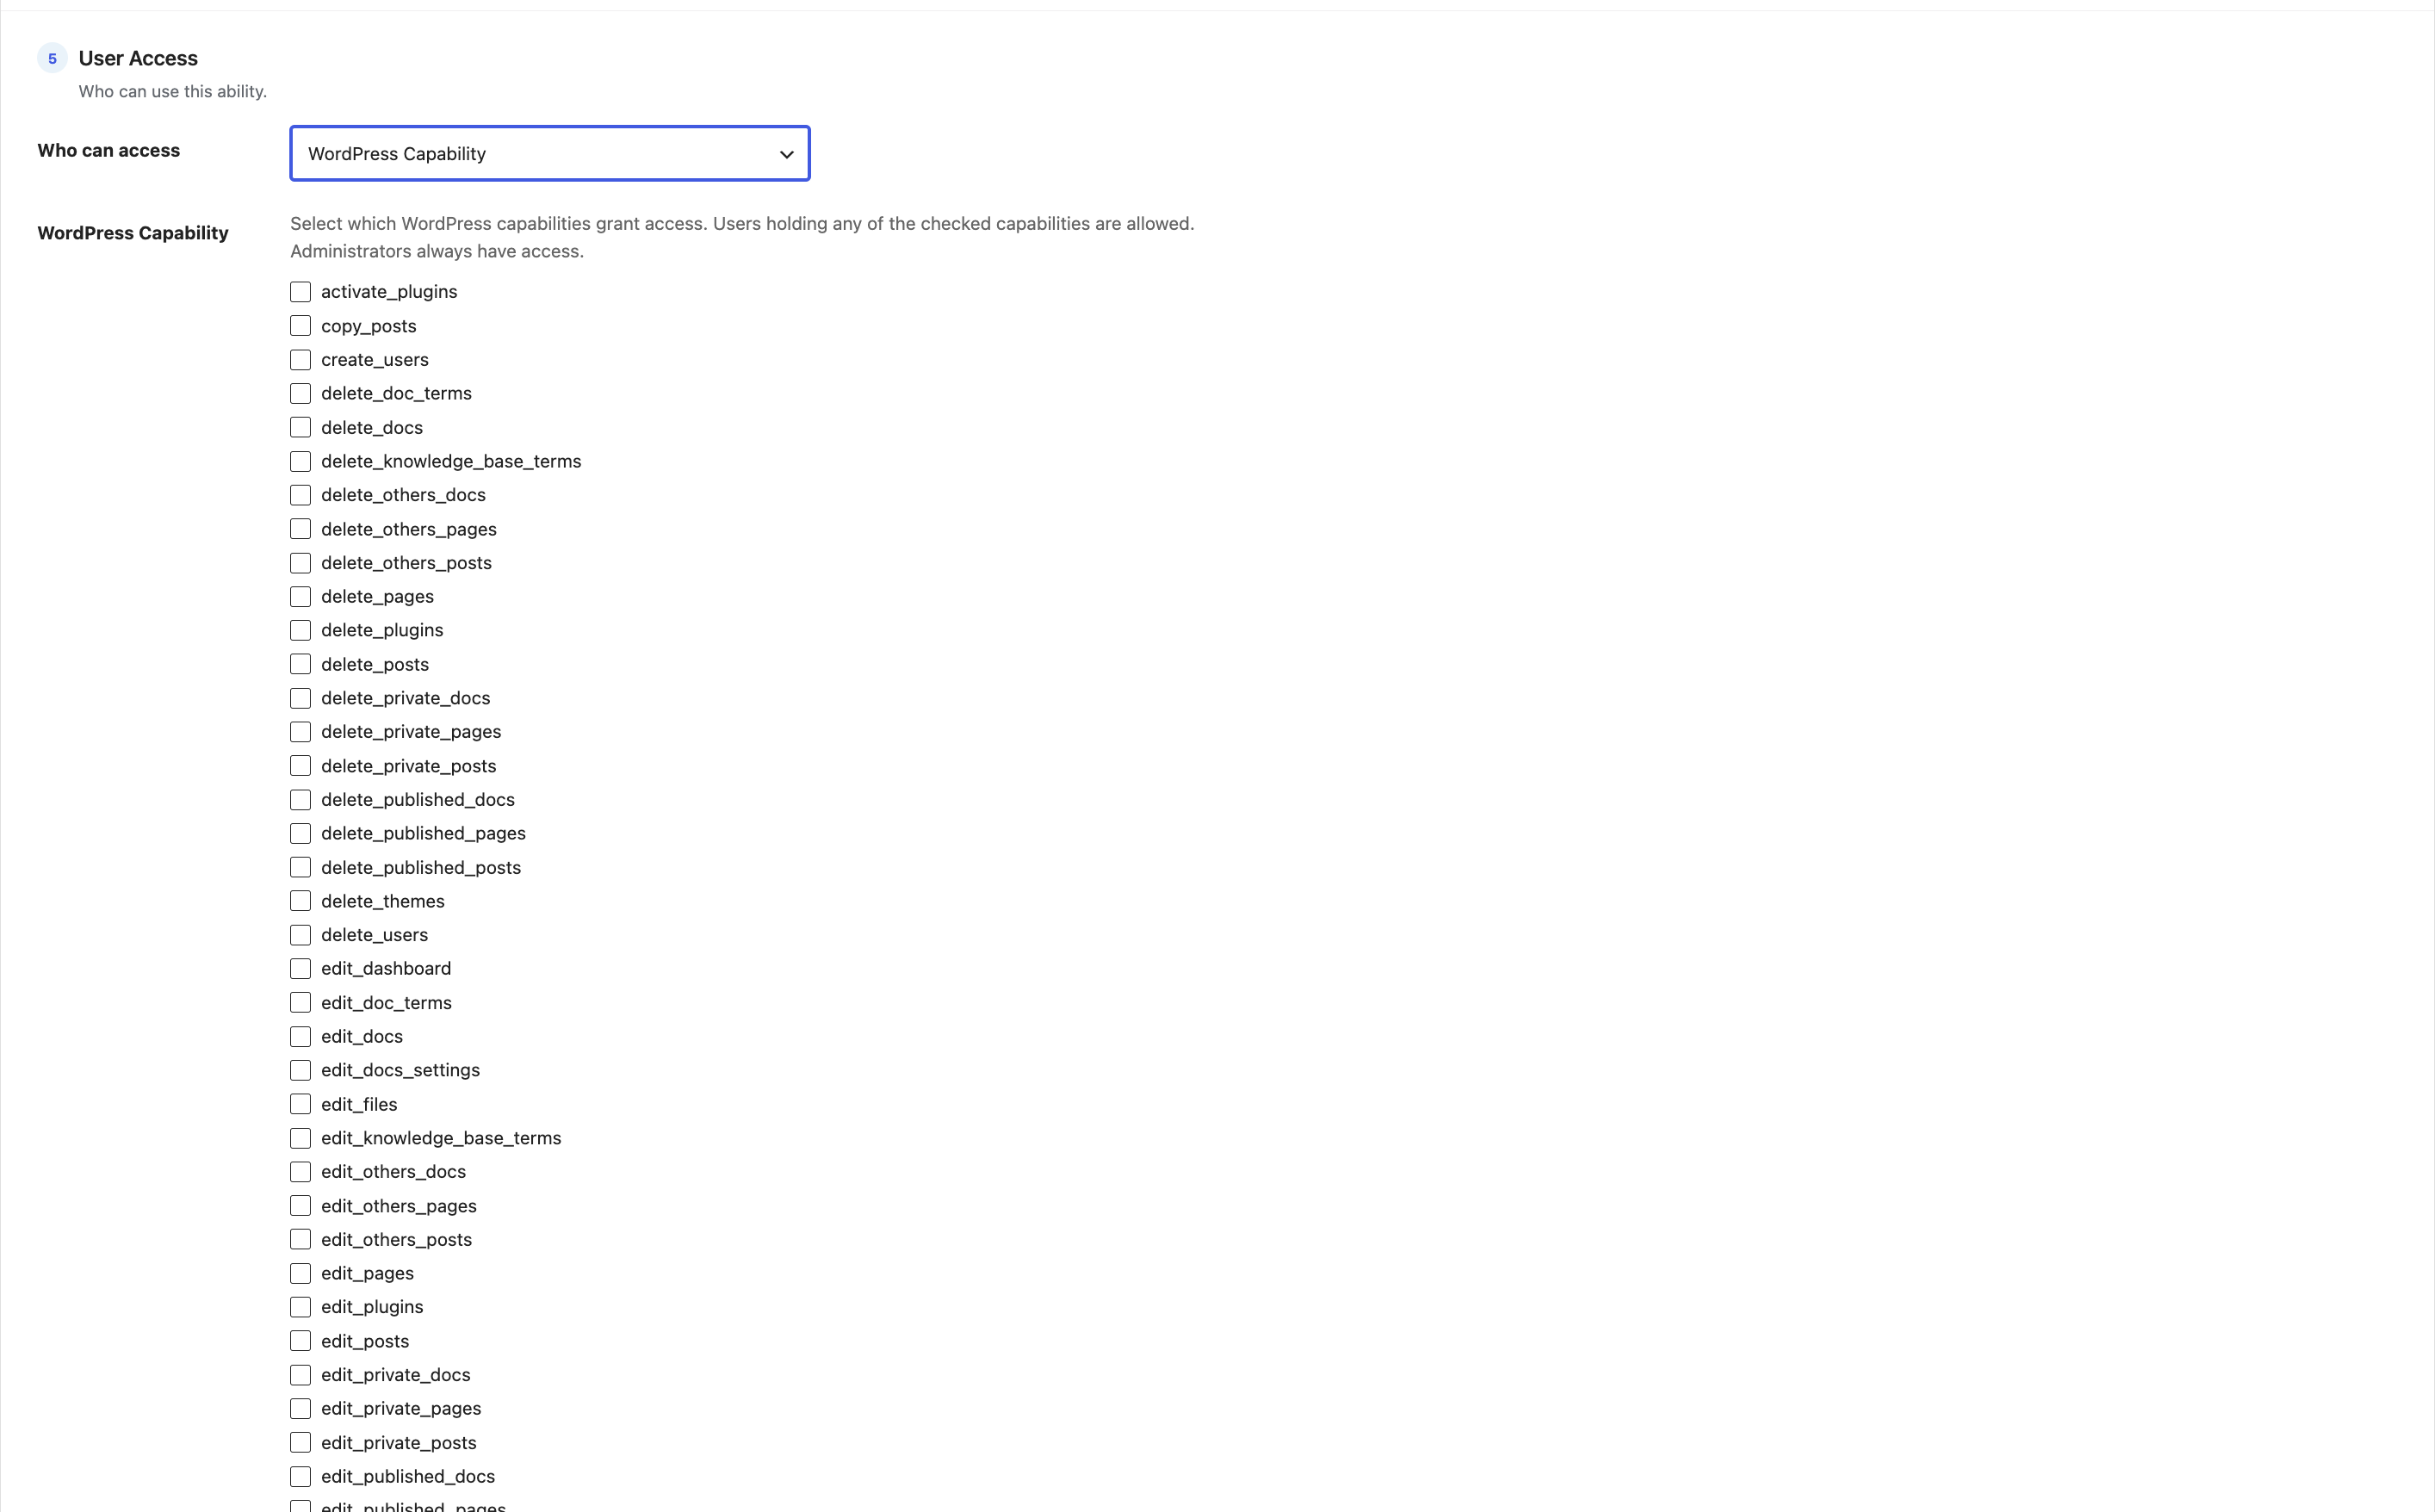
Restrict by capability — the granular permissions behind roles (edit_posts, manage_options, activate_plugins, and so on). The list is built from every role on your site, so capabilities added by other plugins (WooCommerce, Members, and the like) appear automatically. A user is allowed if they hold any ticked capability.
6. BuddyBoss Profile Type
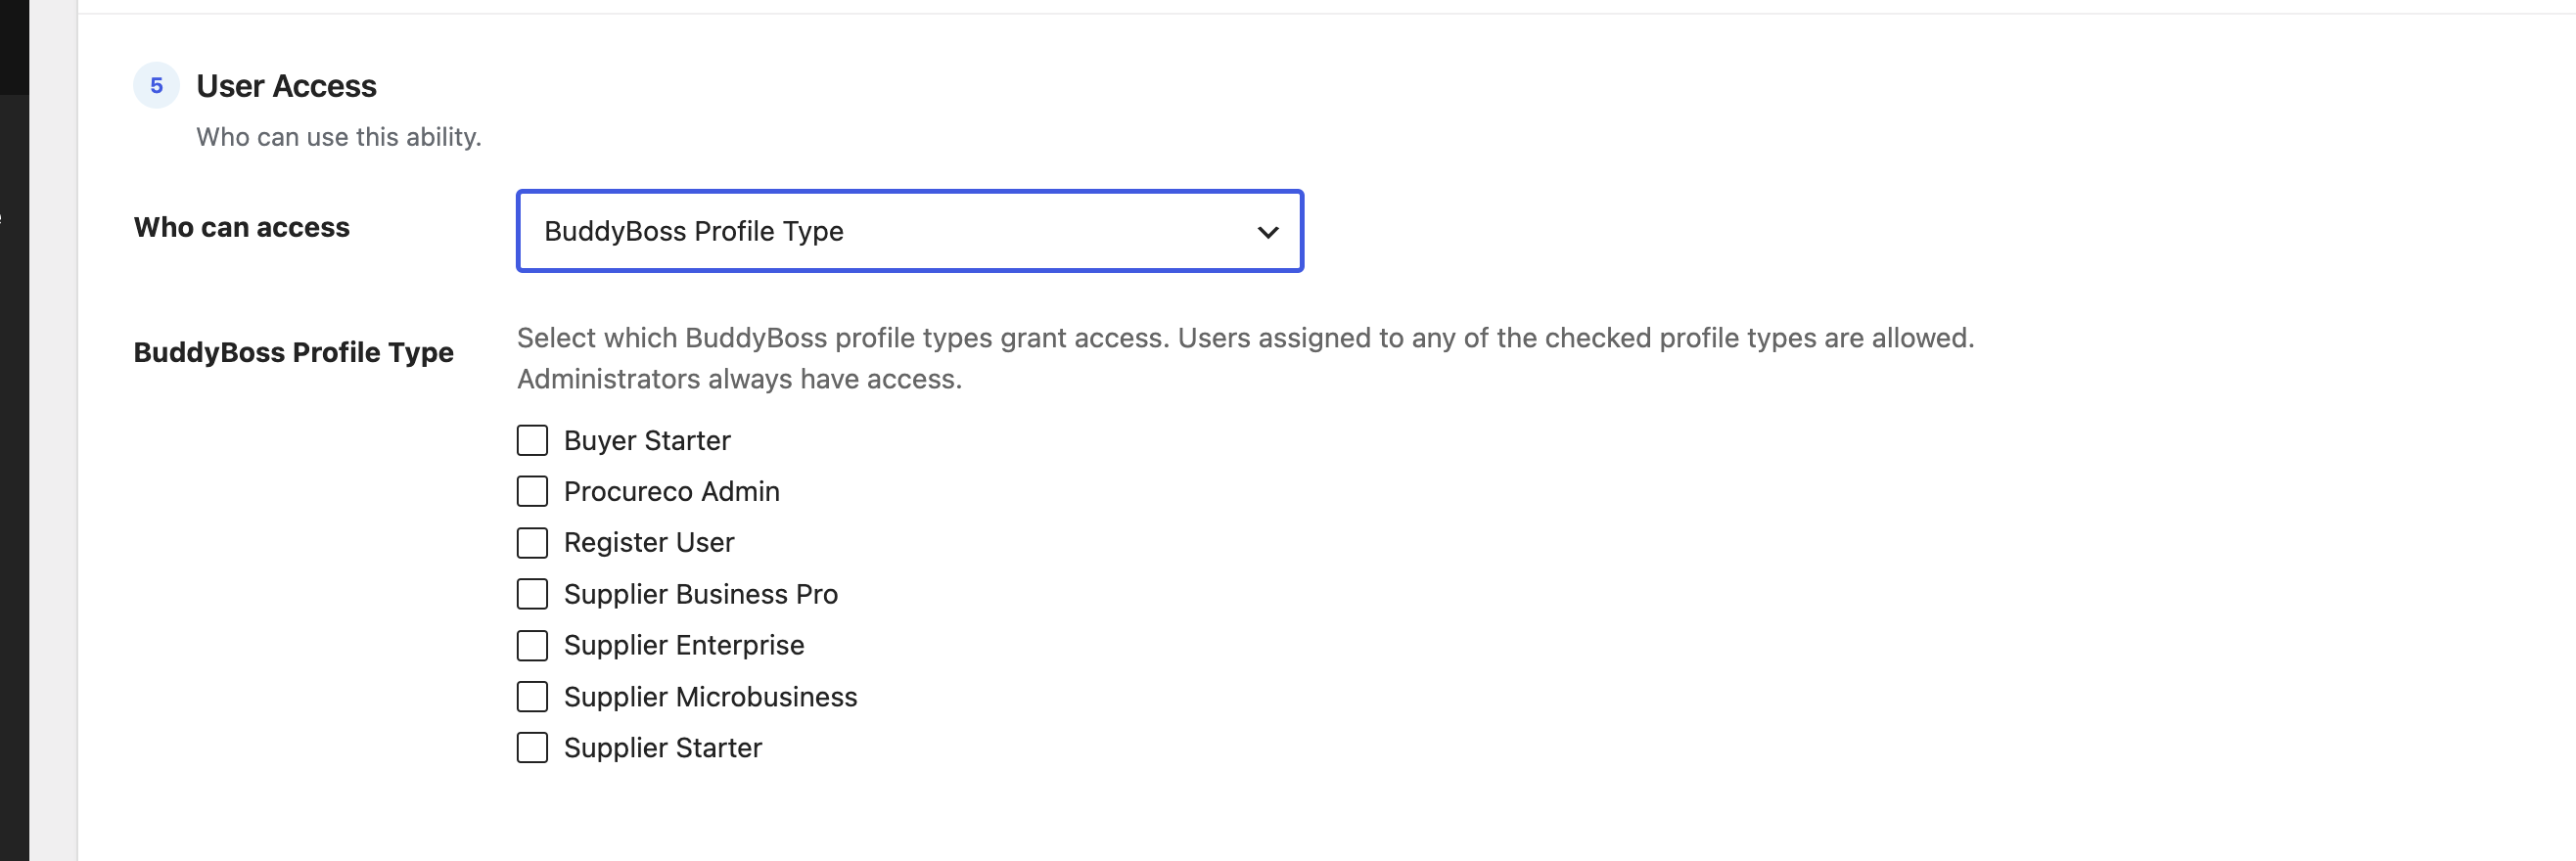
If you run BuddyBoss, restrict by profile type (member type). Tick the profile types that should have access; a user is allowed if they’re assigned to any ticked type. This option only appears when BuddyBoss is active and the feature is enabled.
7. MemberPress Membership
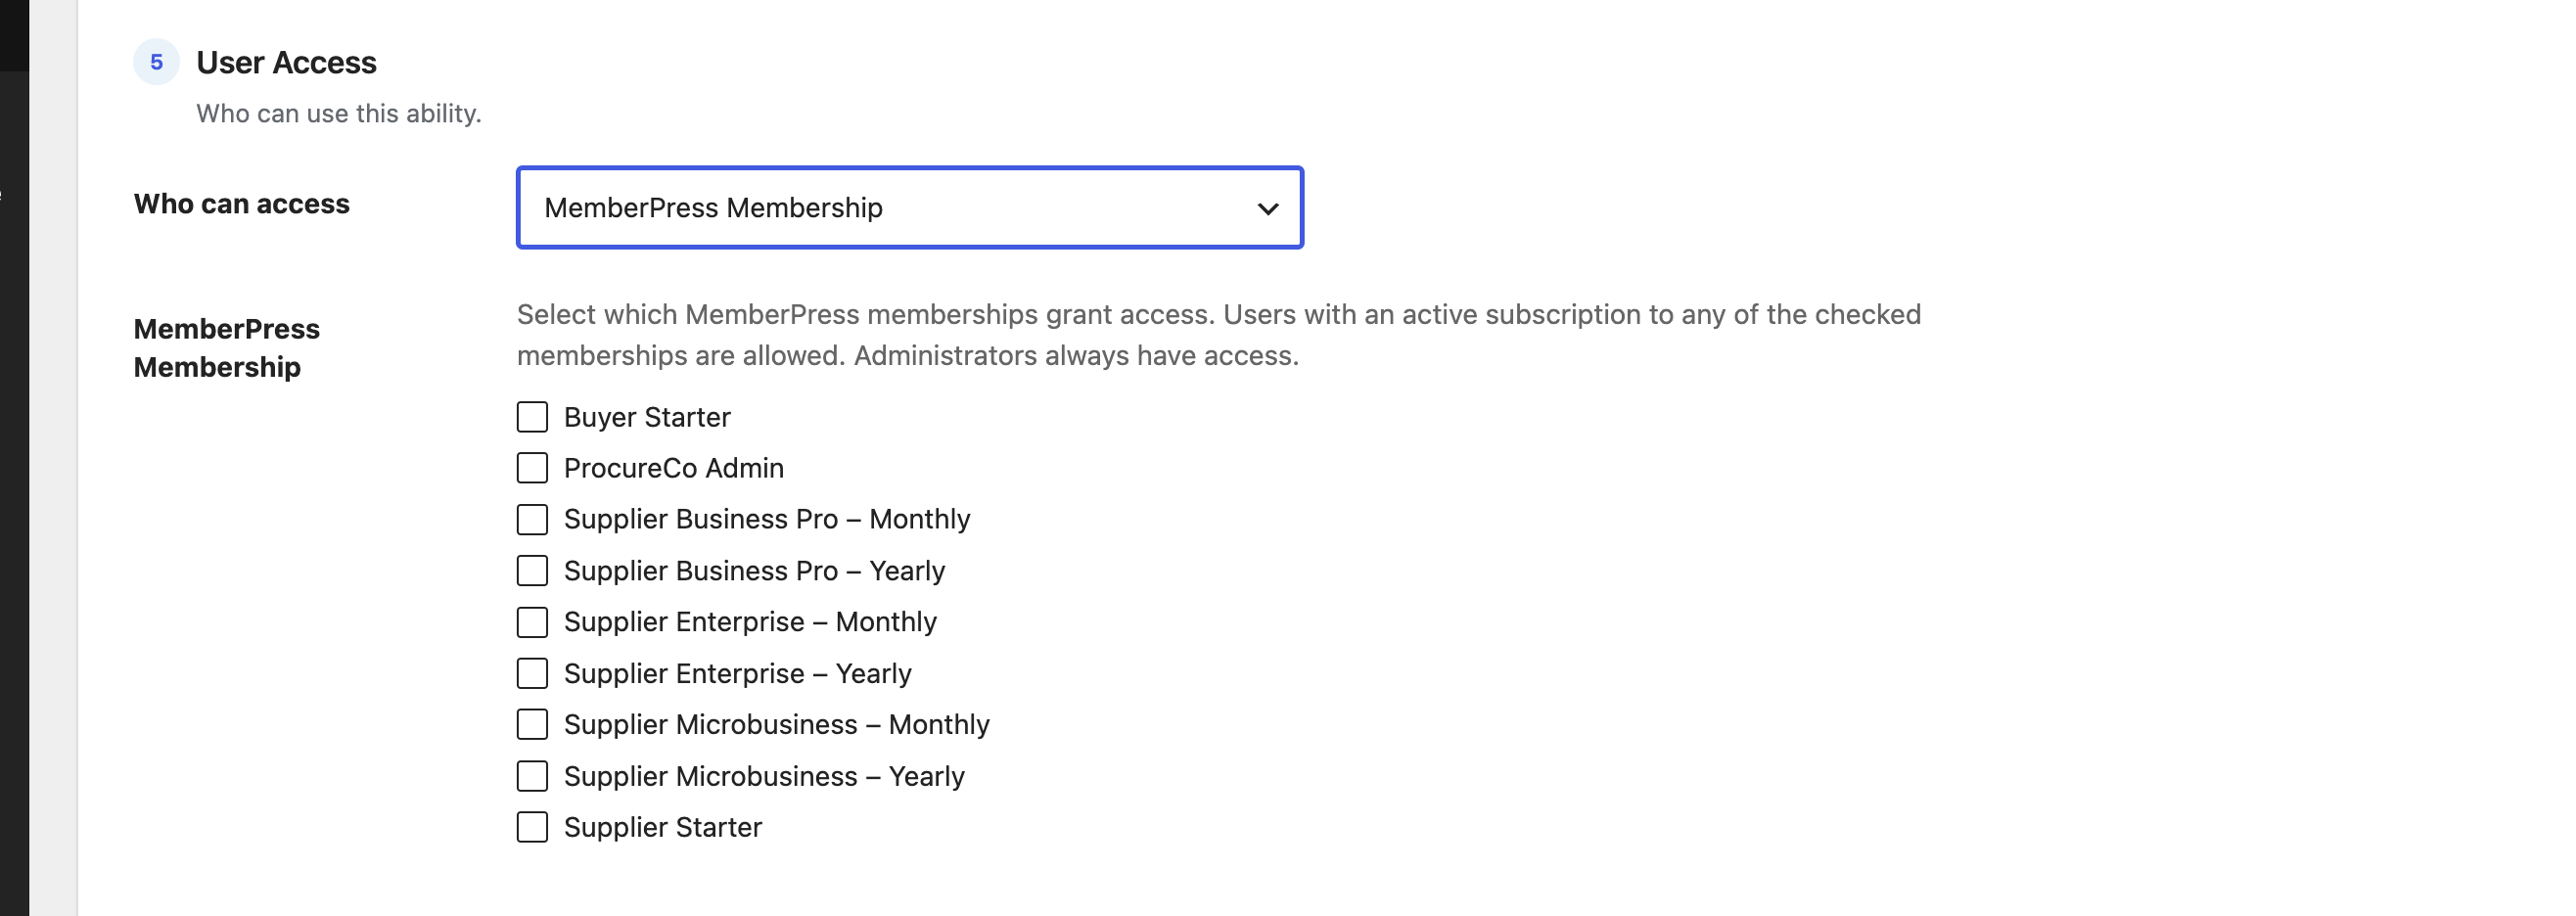
If you sell access with MemberPress, restrict by membership. Tick the plans that should unlock the resource; a user is allowed if they have an active subscription to any ticked membership. Like BuddyBoss, this only appears when MemberPress is active and enabled.
All checks are “any of”: for roles, capabilities, profile types and memberships, holding any one of the ticked items grants access. And administrators are always allowed. See How access is decided for the exact order.