
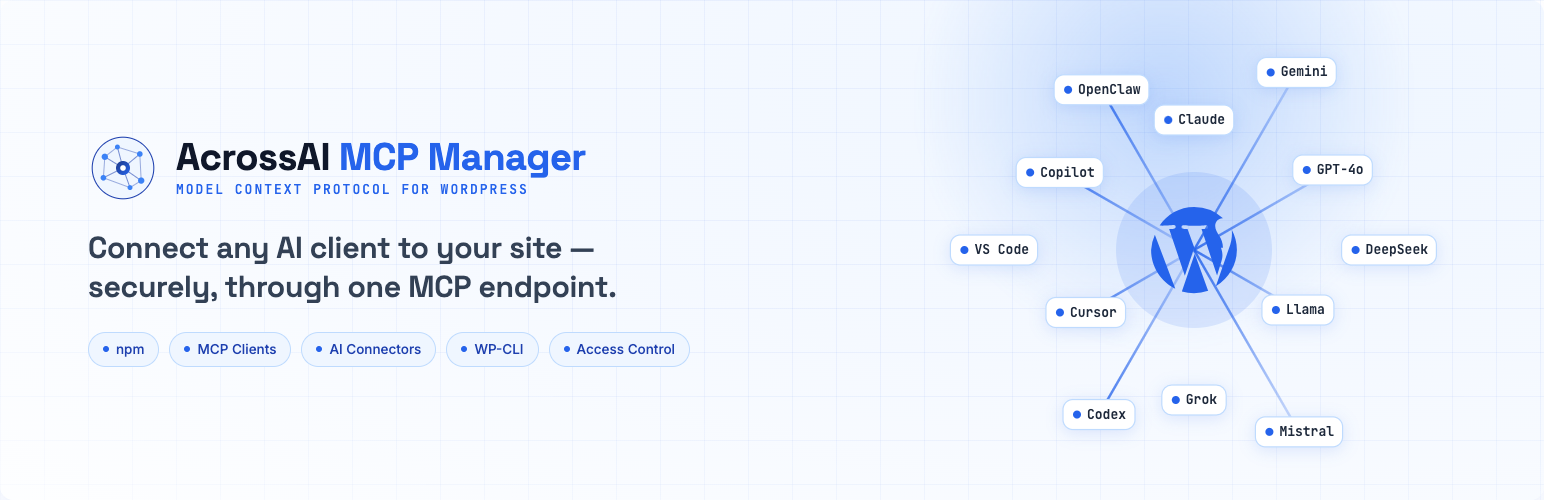
AcrossAI MCP Manager connects your WordPress site to AI assistants and code editors — Claude, VS Code with Copilot, ChatGPT (Codex), Cursor, Gemini and more — over the Model Context Protocol (MCP). It uses WordPress Application Passwords, so you never hand over your main login. No custom code required.
This page is the short tour. Every section links to a full guide when you need more detail.
Install in about a minute
Requirements: WordPress 7.0+, PHP 8.1+, and an administrator account.
- Go to Plugins → Add New Plugin.
- Search for AcrossAI MCP Manager.
- Click Install Now, then Activate.
After activation, open AcrossAI → MCP. That’s the MCP Servers screen. Pairing with the free AcrossAI Abilities Manager plugin is optional but recommended if you want fine-grained control over each ability.
→ Full steps: Install & activate the plugin
Connect your first AI client
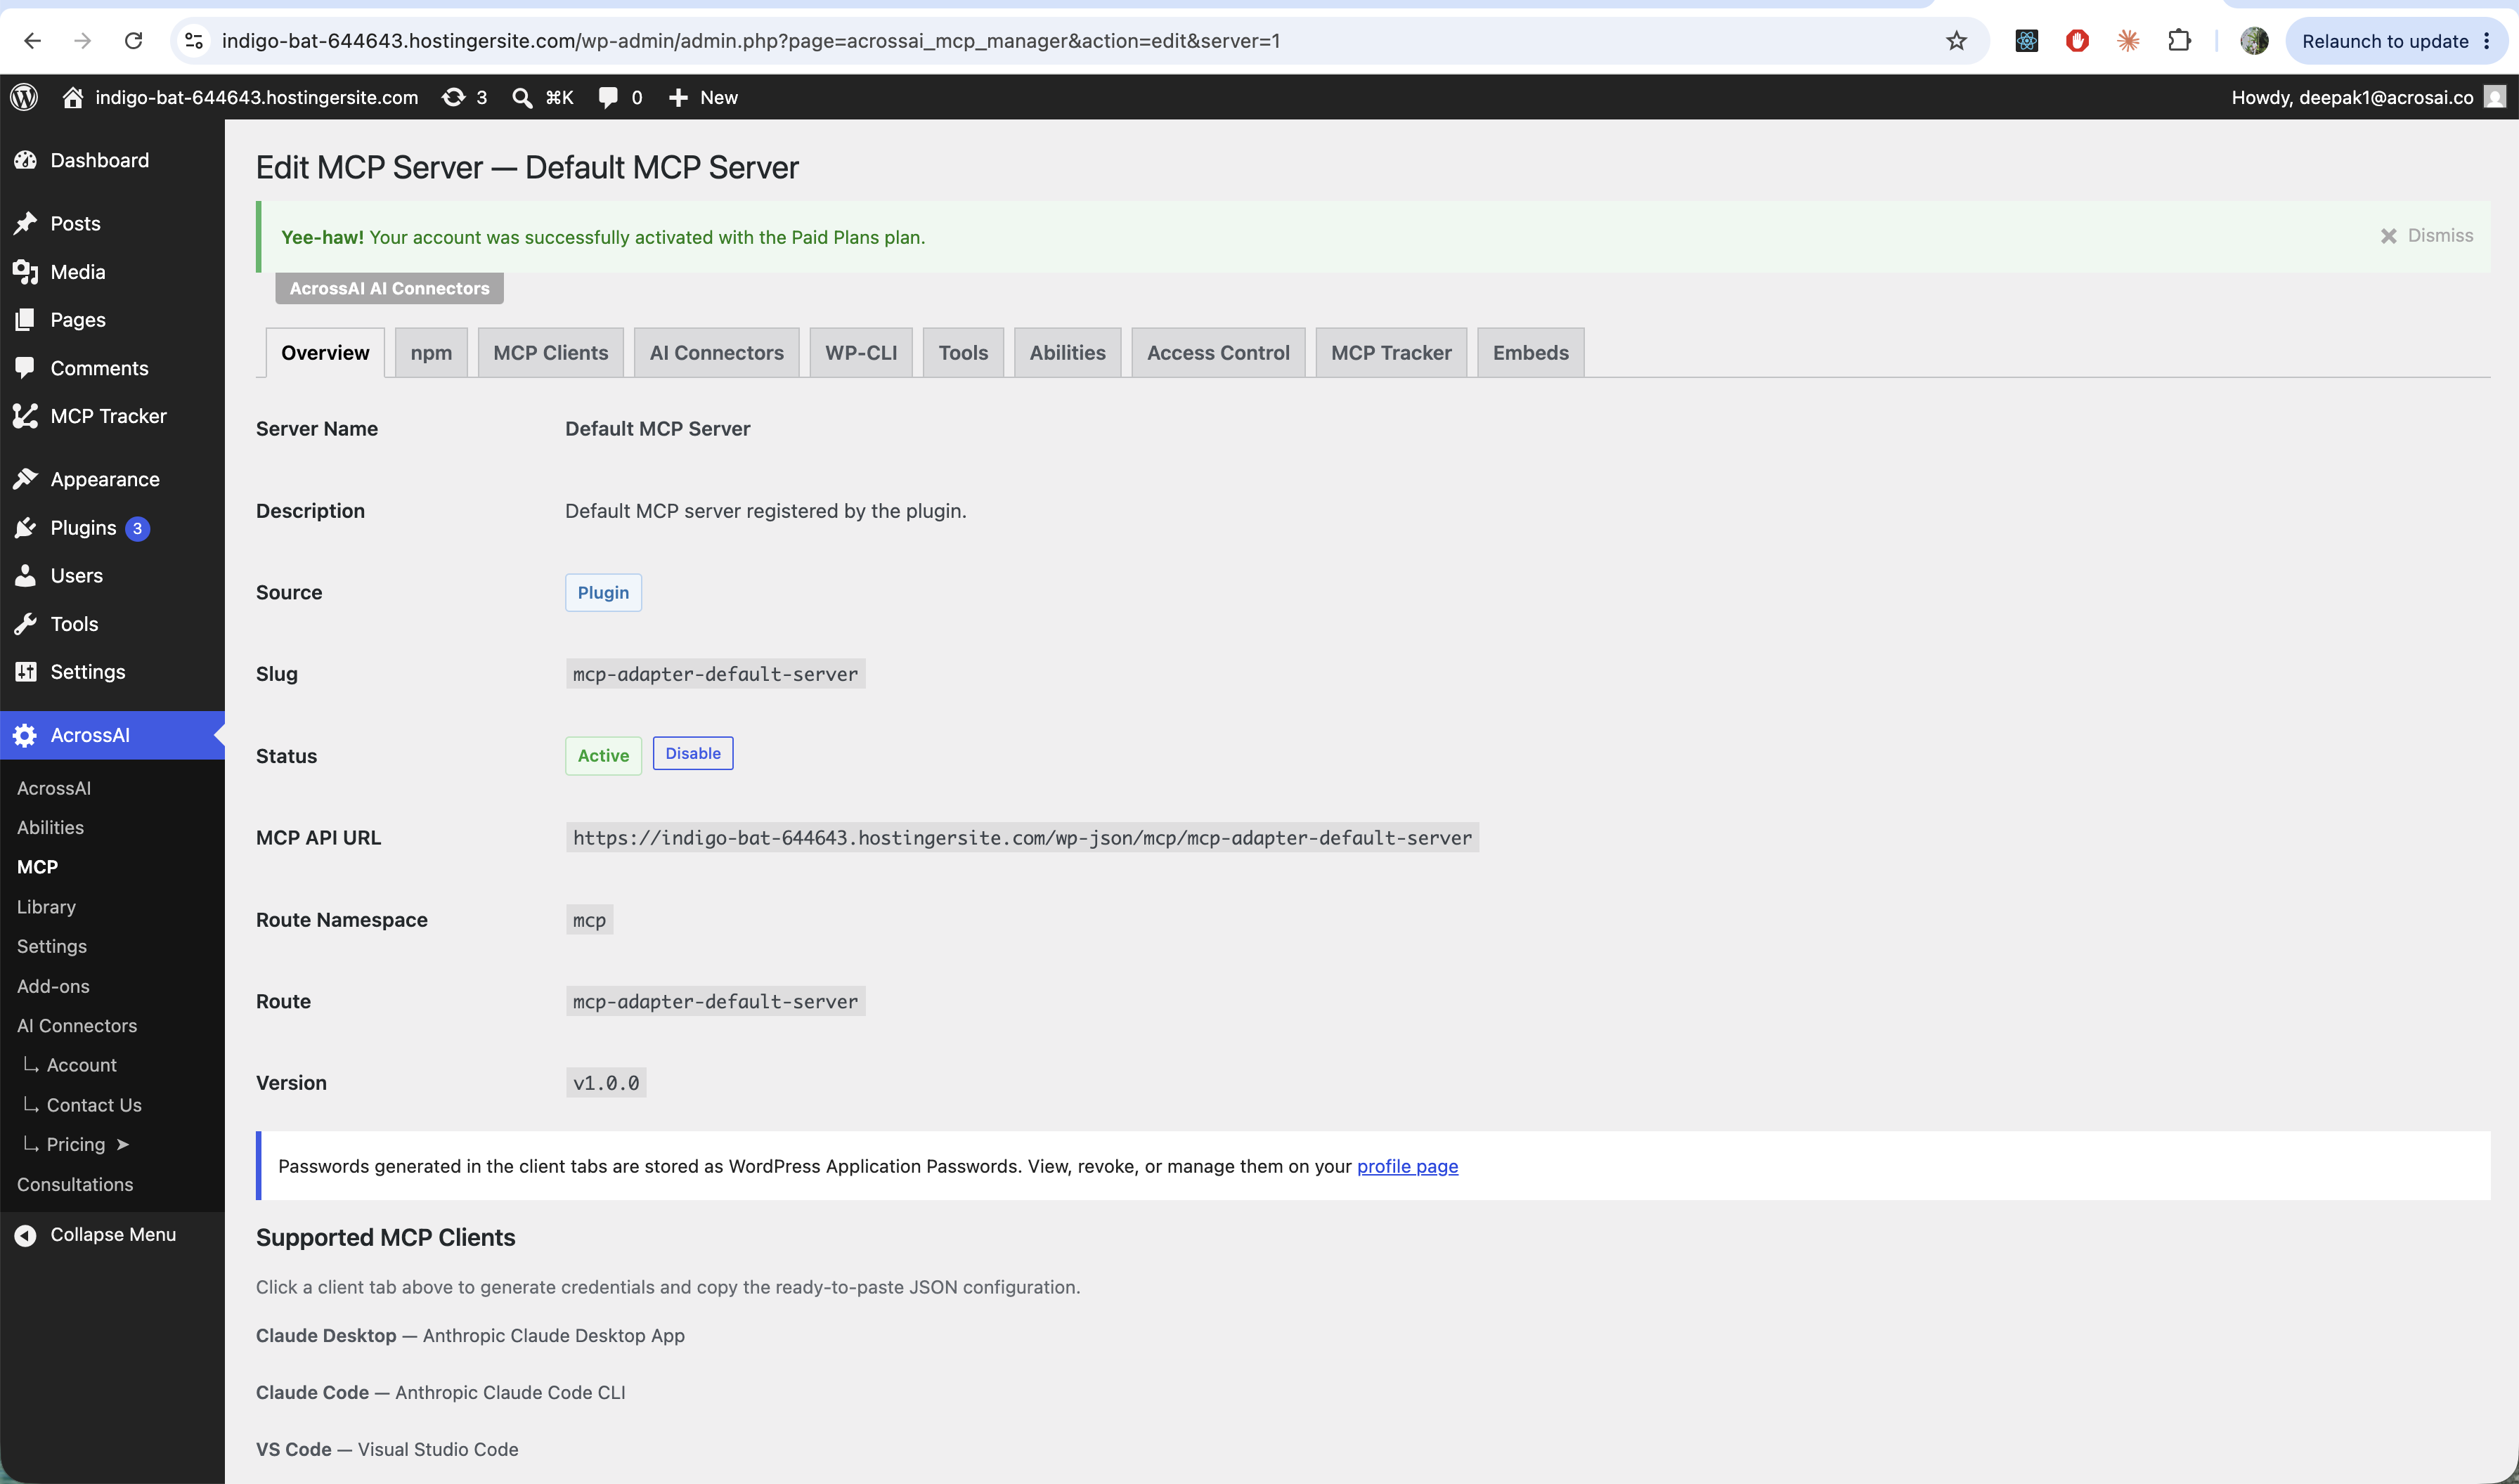
From a fresh install to a working connection:
- Open AcrossAI → MCP and click the Default MCP Server (or any server).
- Open the MCP Clients tab and pick your client (Claude Desktop, VS Code, Copilot, Codex, Cursor, Gemini CLI, or Custom).
- Click Generate New Application Password (shown once — copy it).
- Click Copy Configuration, paste the JSON into the path shown on the page, replace the password placeholder, save, and restart the client.
→ Getting started: connect your first AI client · Connecting an AI client (MCP Clients tab)
Servers, passwords and security
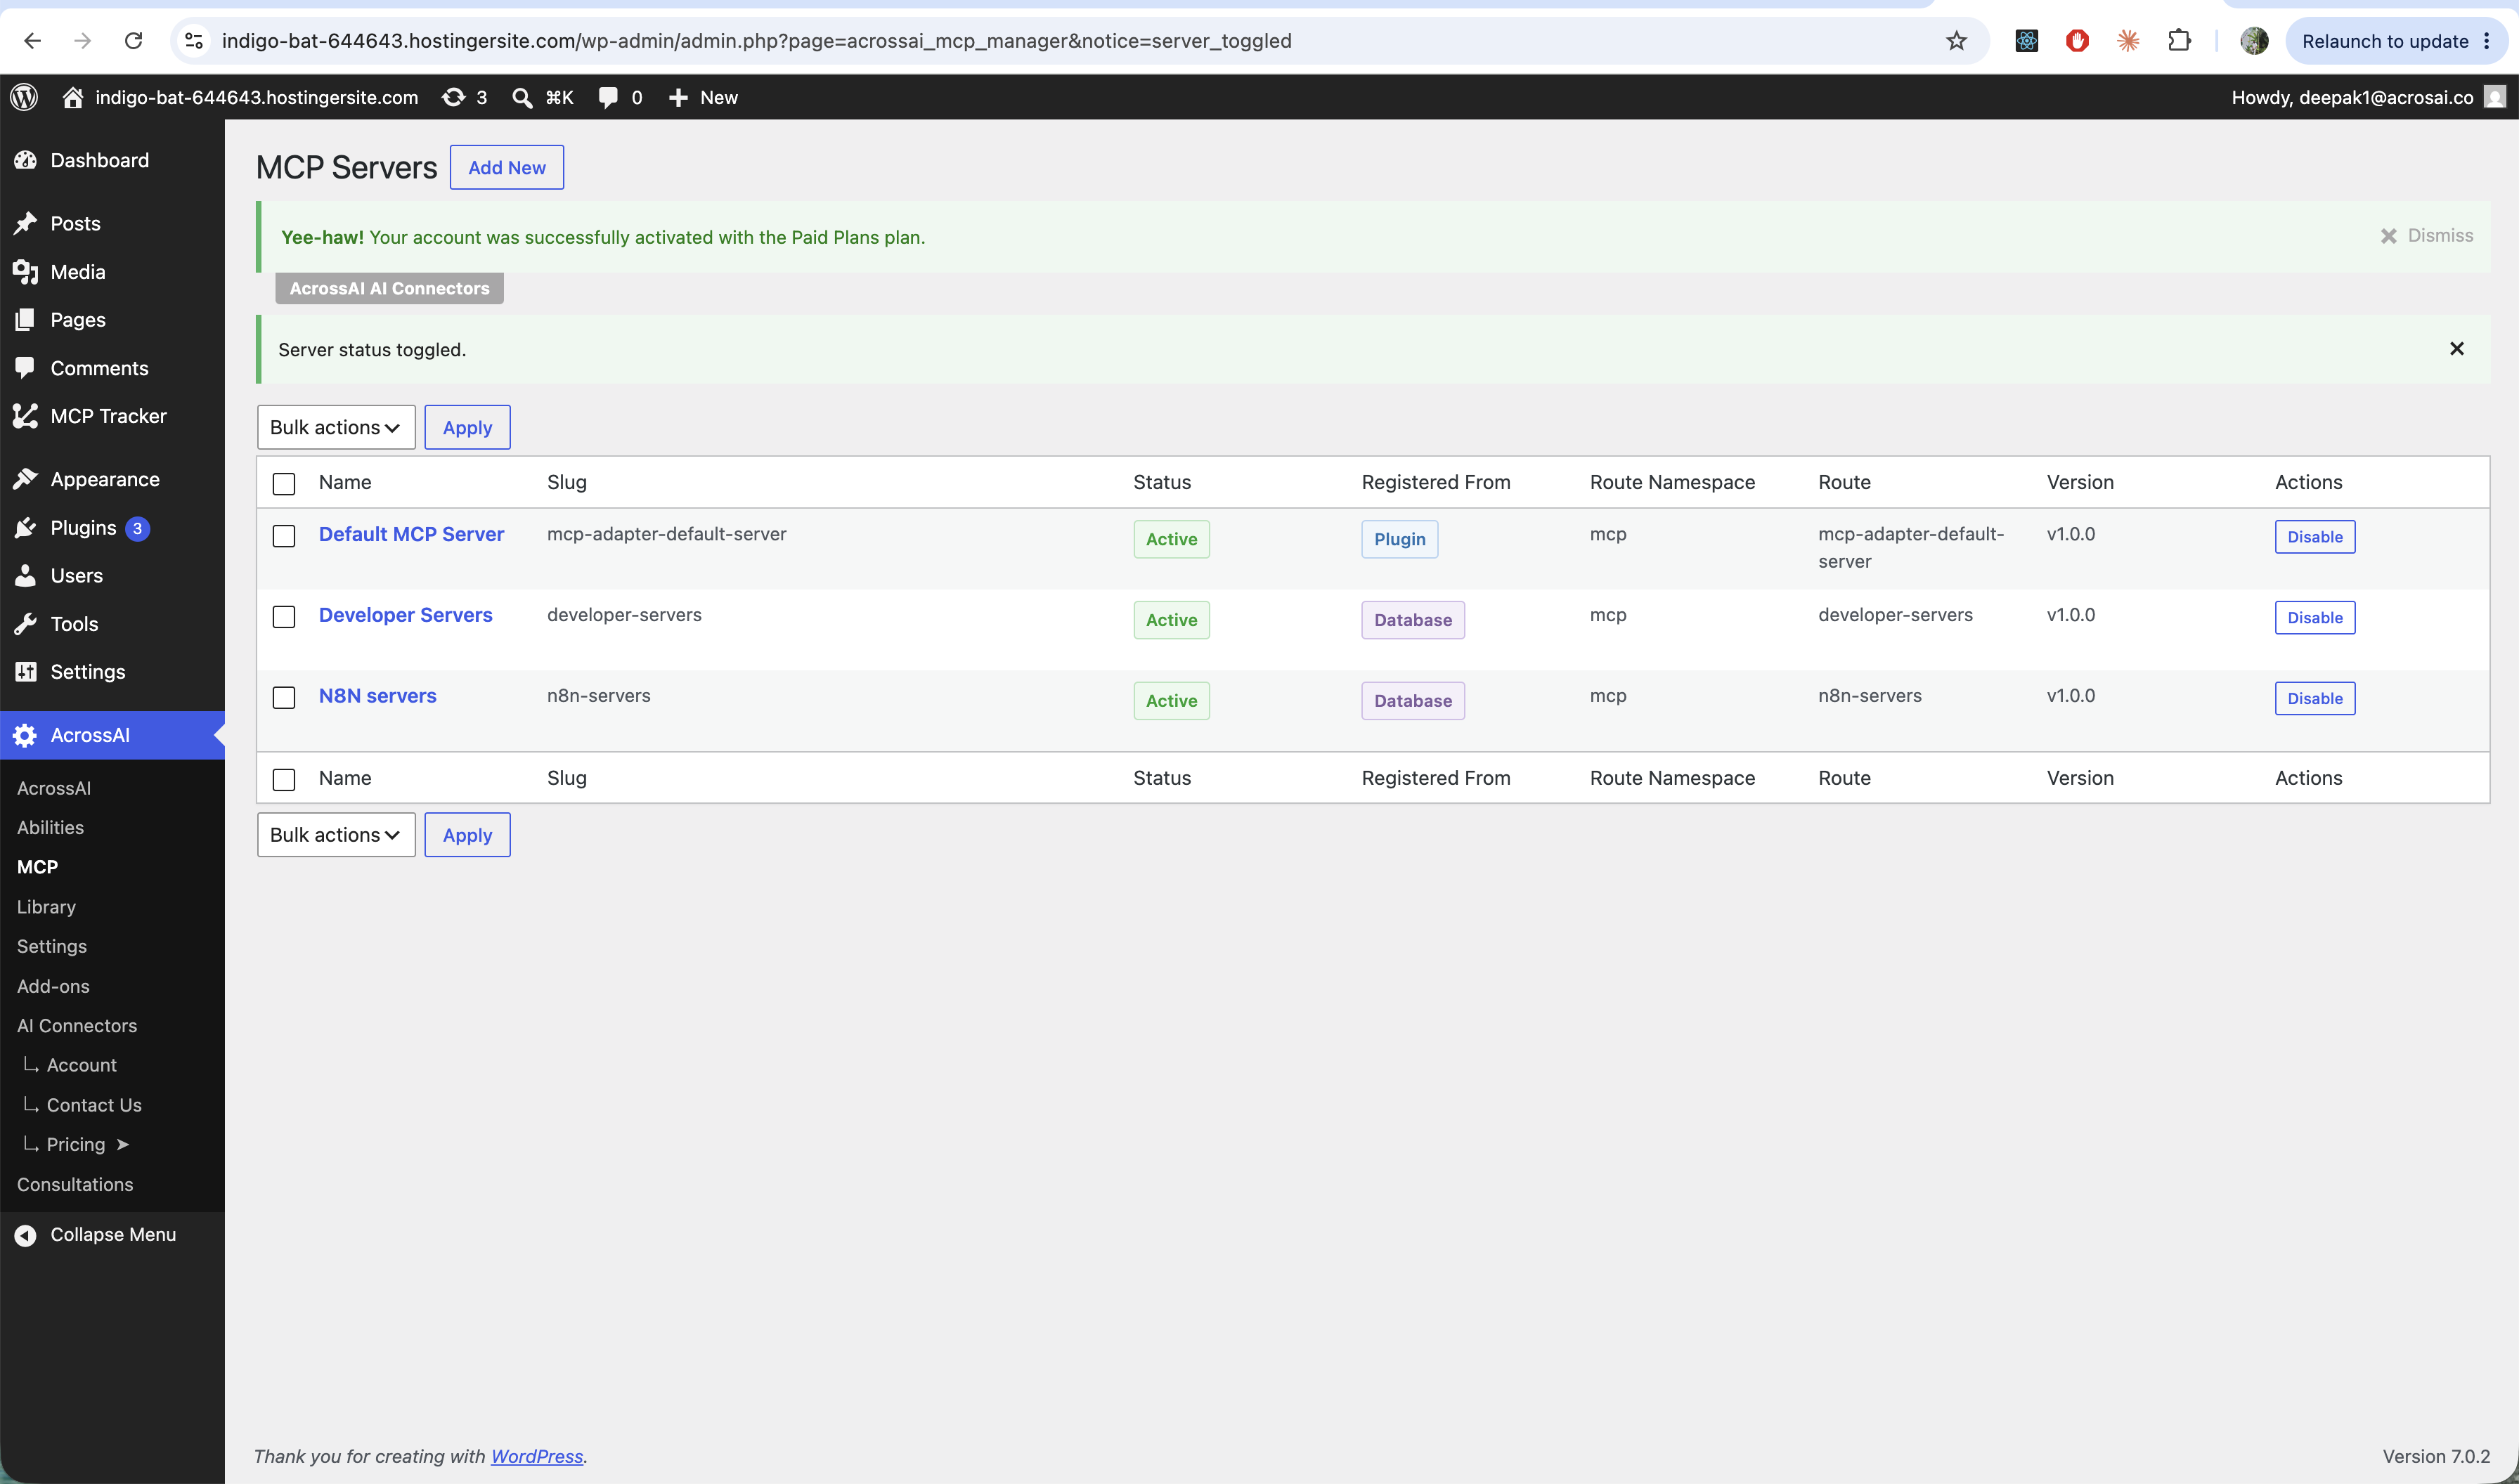
- MCP servers — each server is its own endpoint with clients, tools and access rules. Add new ones, enable or disable them, and read the route / API URL from Overview.
- Application passwords — separate, revocable credentials tied to your user. Create one per client; revoke any time from Users → Profile → Application Passwords. Your main WordPress password is never used or stored.
- Two layers — a valid password only reaches the server; Access Control still decides whether that user may use it.
→ MCP servers: add, enable & disable · Application passwords & security
CLI, WP-CLI and what to expose
- CLI (npm / npx) — one command, browser approval, config written for you. Off by default; enable in Settings for local/trusted use.
- WP-CLI (STDIO) — for local installs, the client launches
wpas a subprocess — no network credentials. Best for development; HTTP/npx for remote sites. - Tools & Abilities tabs — decide exactly what each server offers. Add abilities as tools, or expose/hide from the full catalogue. Expose only what the AI needs.
→ CLI connections (npm / npx) · WP-CLI (STDIO transport) · Choosing which tools & abilities to expose
Access, AI Connectors and embeds
- Access Control — who may connect to each server (roles, users, capabilities, and more). Administrators always have access. Optional per-server permission override for MCP-only calls.
- AI Connectors — optional add-on for one-click remote connectors (Claude, ChatGPT, Grok): paste one URL, approve consent. Standard Application Password flow still works without it.
- Embeds — publish connection guides on the front end with
or the matching block, for teams and members who shouldn’t need wp-admin.
→ Access control & permissions · Access Control guide · AI Connectors: one-click Claude, ChatGPT & Grok · Embed connection guides (shortcode & block)
FAQ highlights
- Passwords are WordPress Application Passwords — secure, per-client, revocable.
- Supported clients include Claude Desktop/Code, VS Code, Copilot, Codex, Cursor, Gemini CLI, and any standard MCP client.
- If a client won’t connect: server Active, correct config key, user allowed under Access Control, client restarted.
- Works on multisite; each site is configured independently.
All MCP Manager guides
- What is AcrossAI MCP Manager?
- Install & activate the plugin
- Getting started: connect your first AI client
- MCP servers: add, enable & disable
- Connecting an AI client (MCP Clients tab)
- Application passwords & security
- CLI connections (npm / npx)
- WP-CLI (STDIO transport)
- Choosing which tools & abilities to expose
- Access control & permissions
- AI Connectors: one-click Claude, ChatGPT & Grok
- Embed connection guides (shortcode & block)
- FAQ & troubleshooting
New here? Install MCP Manager, open the Default server’s MCP Clients tab, generate a password, and paste the config into Claude or VS Code. Tighten tools and Access Control once the connection works.