
Clicking Edit on any row opens the full settings screen for that ability. It has six sections down the middle and a live summary panel on the right. It looks like a lot, but you only ever touch the parts you need — everything else quietly stays on its default. Here is what each section does.
1. Identity
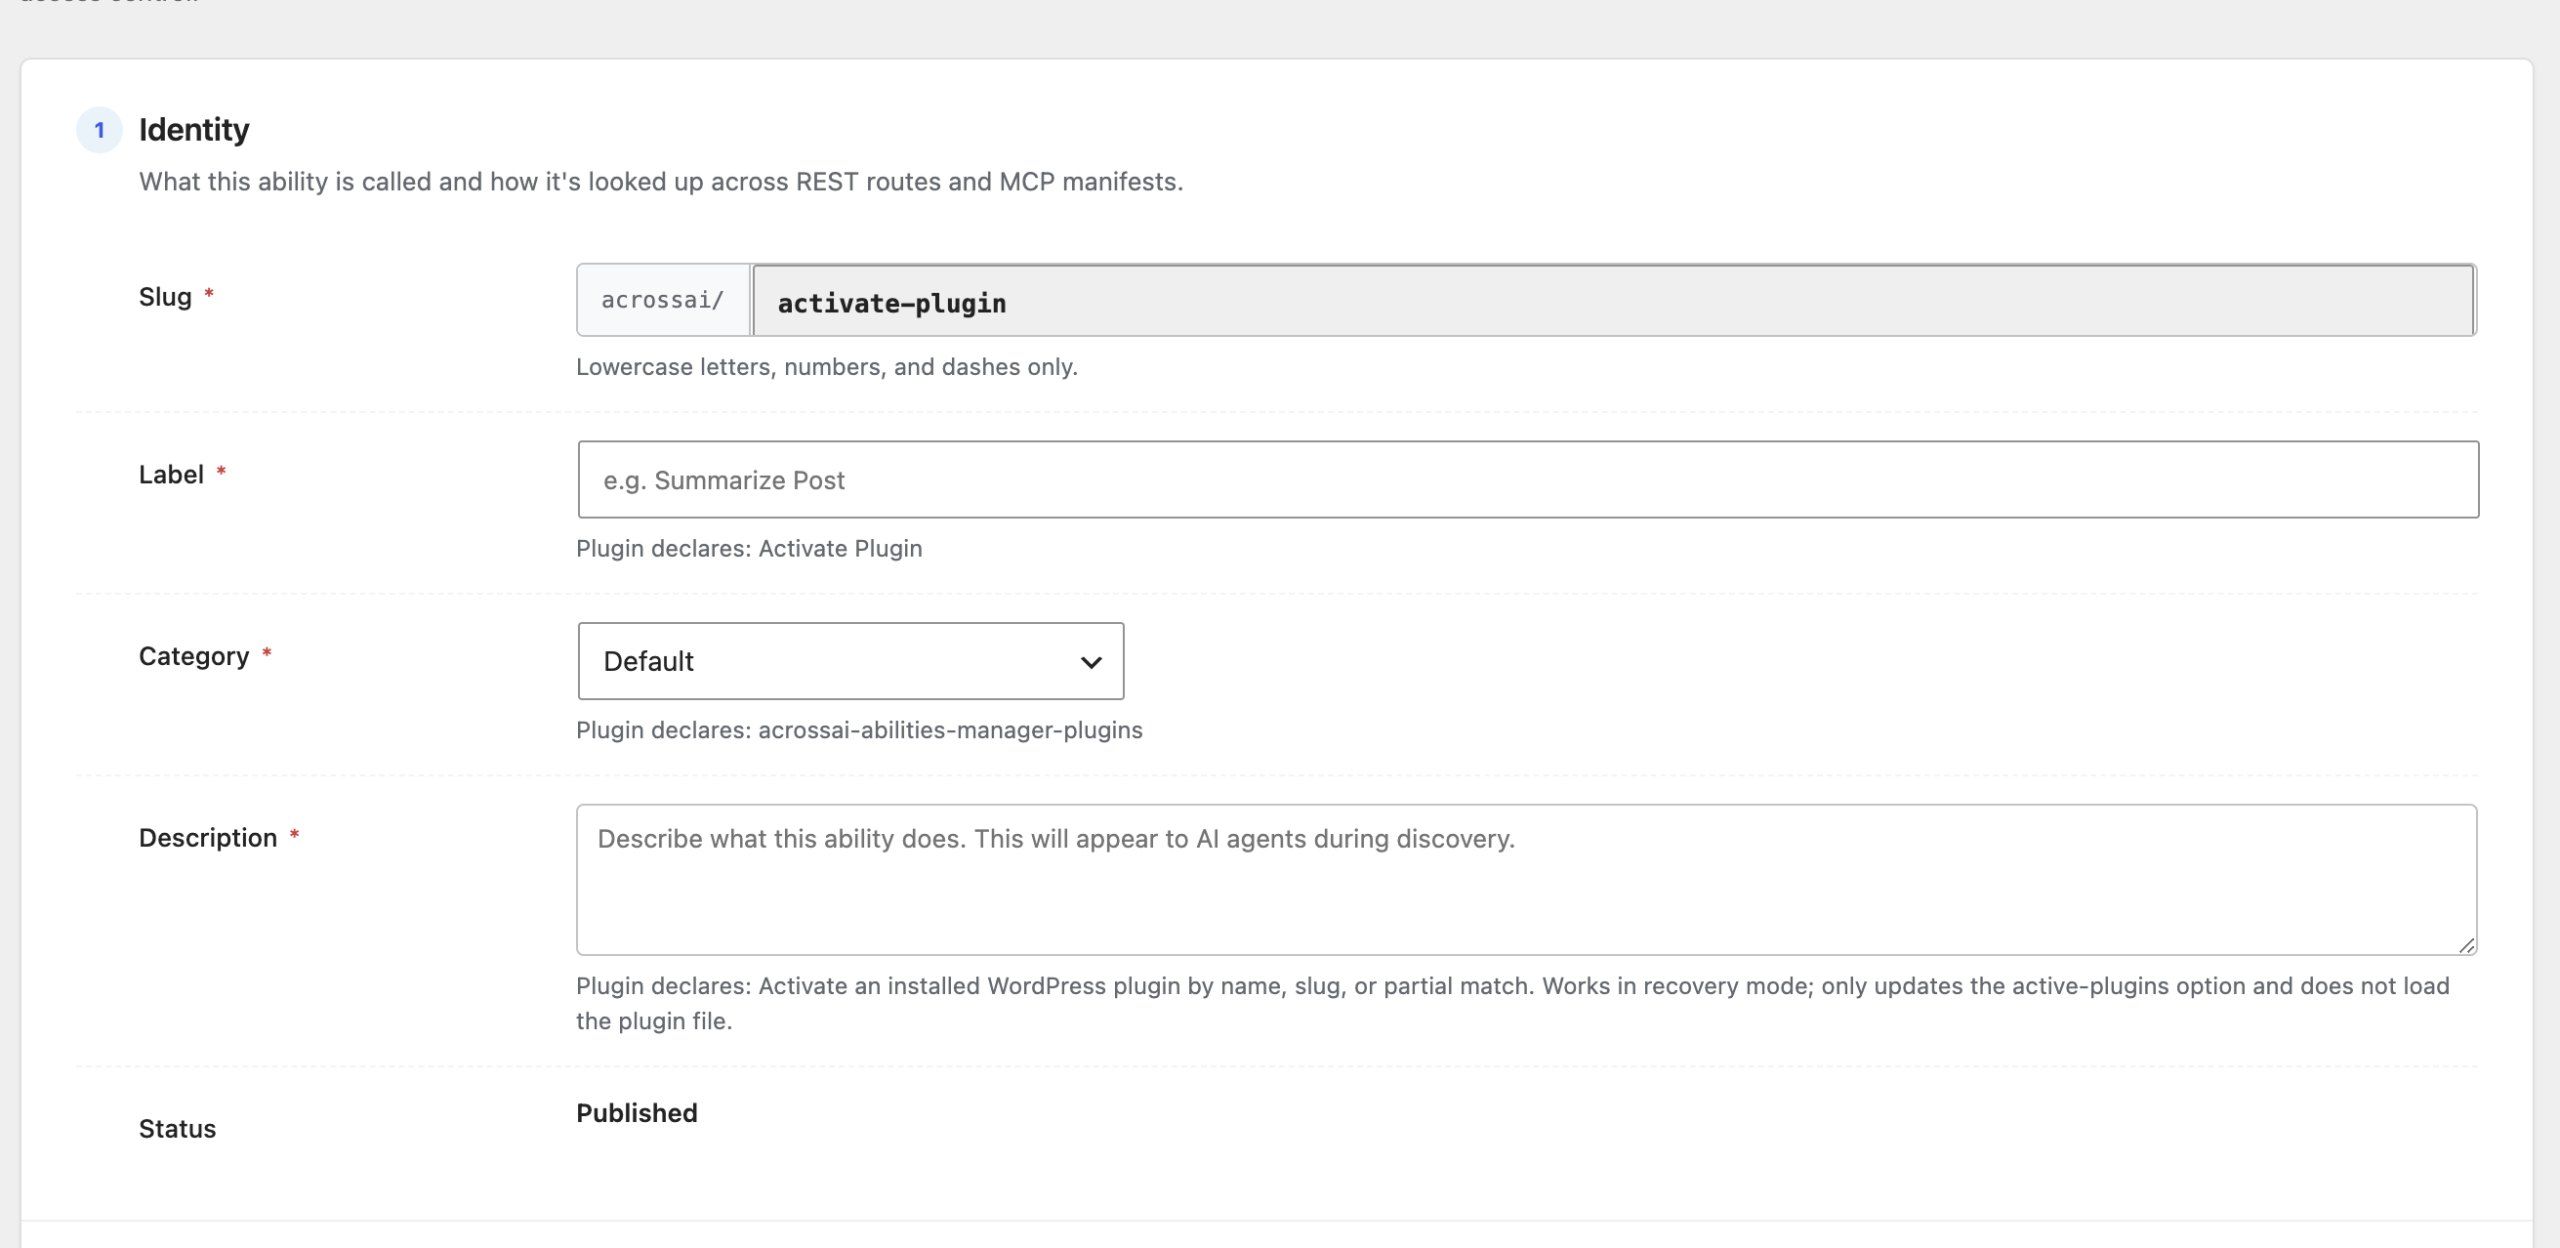
Identity is what the ability is called and how it’s looked up: its slug (a unique name like acrossai/activate-plugin), label, category and description. For abilities that come from a plugin, theme or WordPress core these fields are read-only — they’re defined by whoever built the ability. They only become editable for custom abilities you create yourself.
2. Site Permission
Decides whether the ability may run on your site at all. Under Site Access, pick Force Allow, Inherit (use the ability’s own default), or Force Block. This is the single most useful control — the full walk-through is in Allow or disallow an ability.

3. MCP Exposure
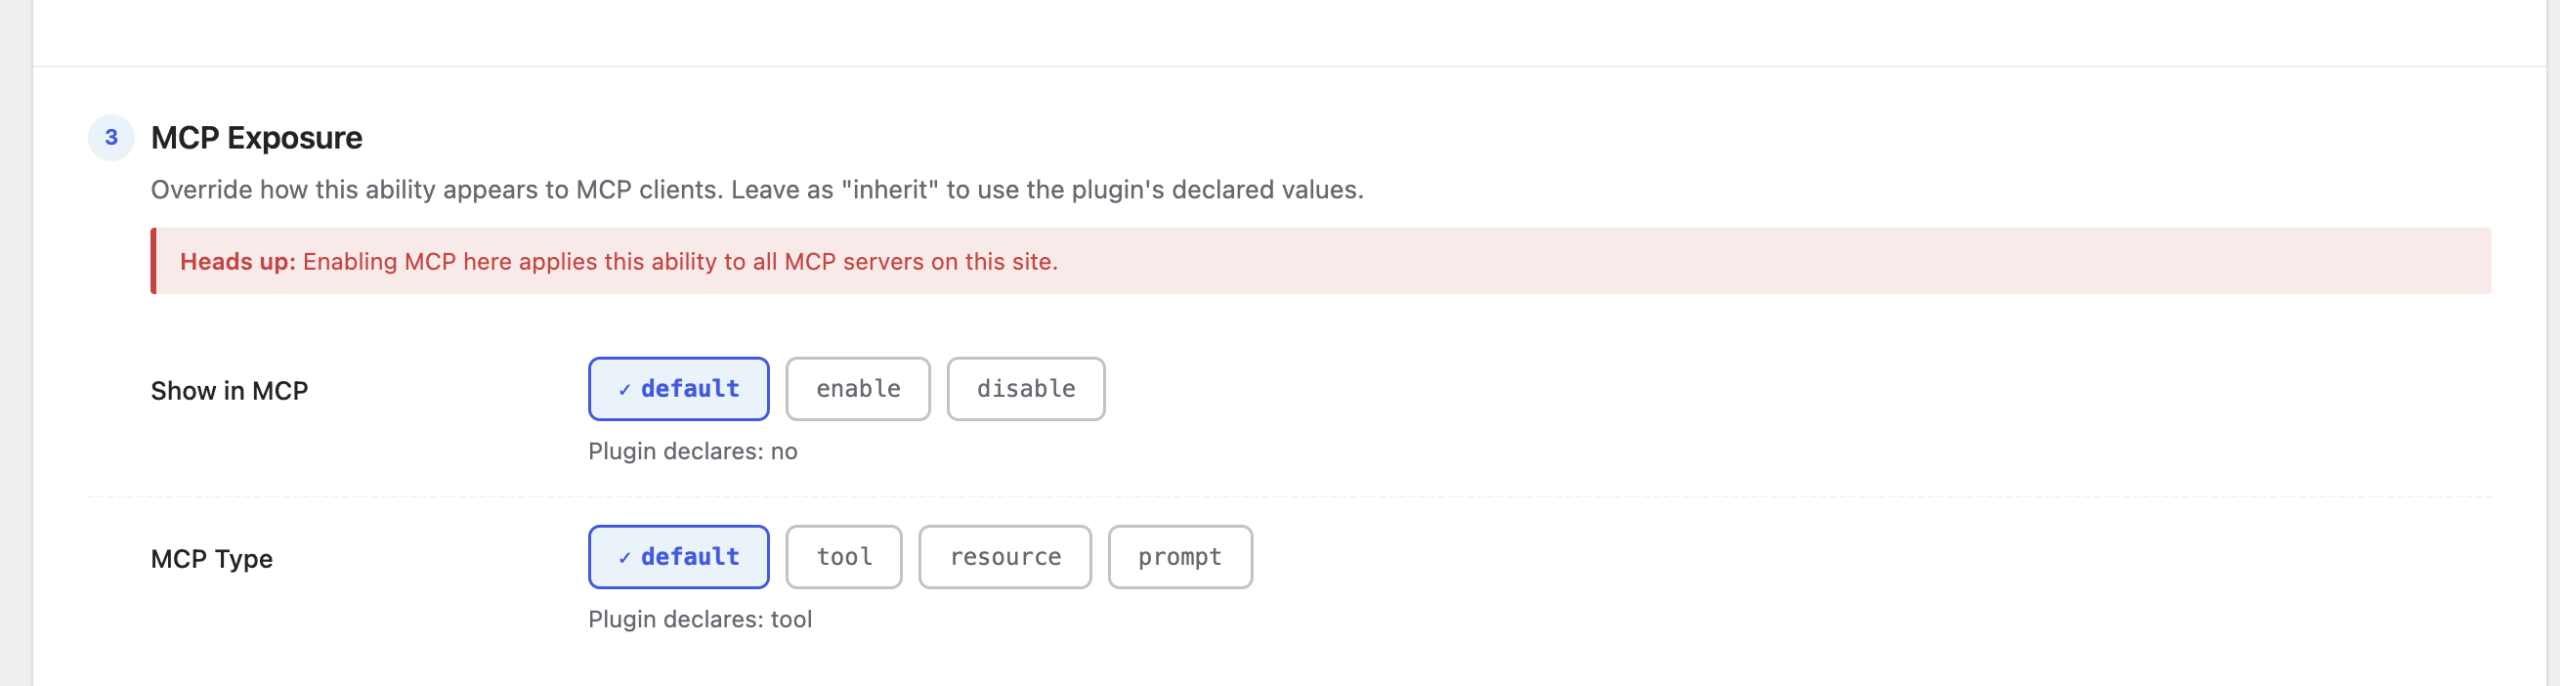
Controls how the ability appears to AI clients over MCP.
- Show in MCP — default (use the ability’s own value), enable, or disable.
- MCP Type — whether it’s a tool (an action), a resource (readable data), or a prompt. Leave on default unless you have a reason to change it.
Heads up: Turning MCP on here exposes the ability to all MCP servers connected to your site.
4. Annotation Overrides
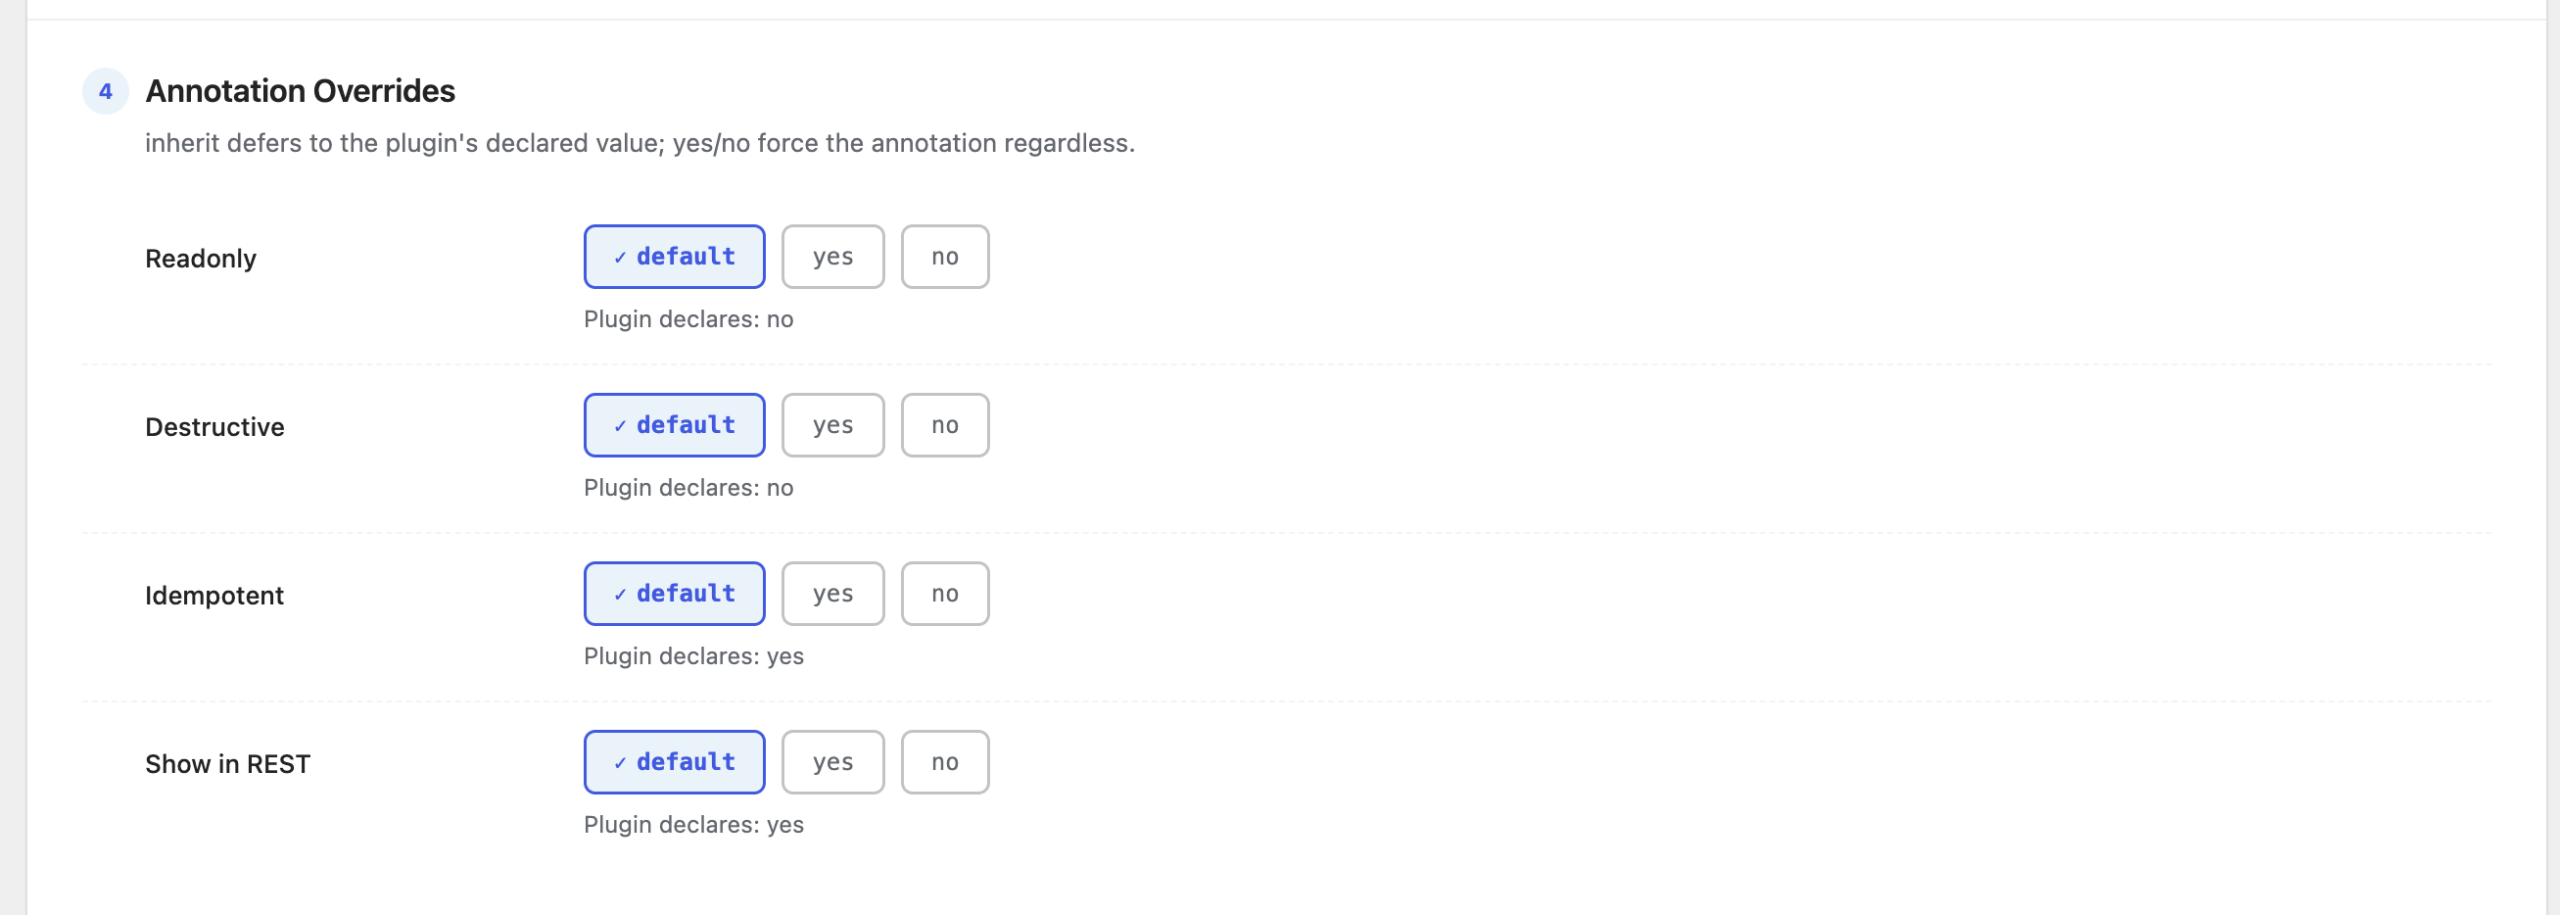
Annotations are hints that tell AI clients how careful to be with an ability. Each one is a simple default / yes / no choice:
- Readonly — the ability only reads data, it doesn’t change anything.
- Destructive — the ability can delete or overwrite data.
- Idempotent — running it twice has the same effect as running it once.
- Show in REST — whether the ability is available over the WordPress REST API.
In almost every case, leaving these on default (the value the ability’s author chose) is the right call.
5. User Access

User Access decides who may use the ability. By default there’s no admin restriction (“allow everyone”). Using the Who can access control you can limit it — for example, to a specific role such as Editor. When companion access plugins are active, more options (individual users, membership levels) appear here automatically.
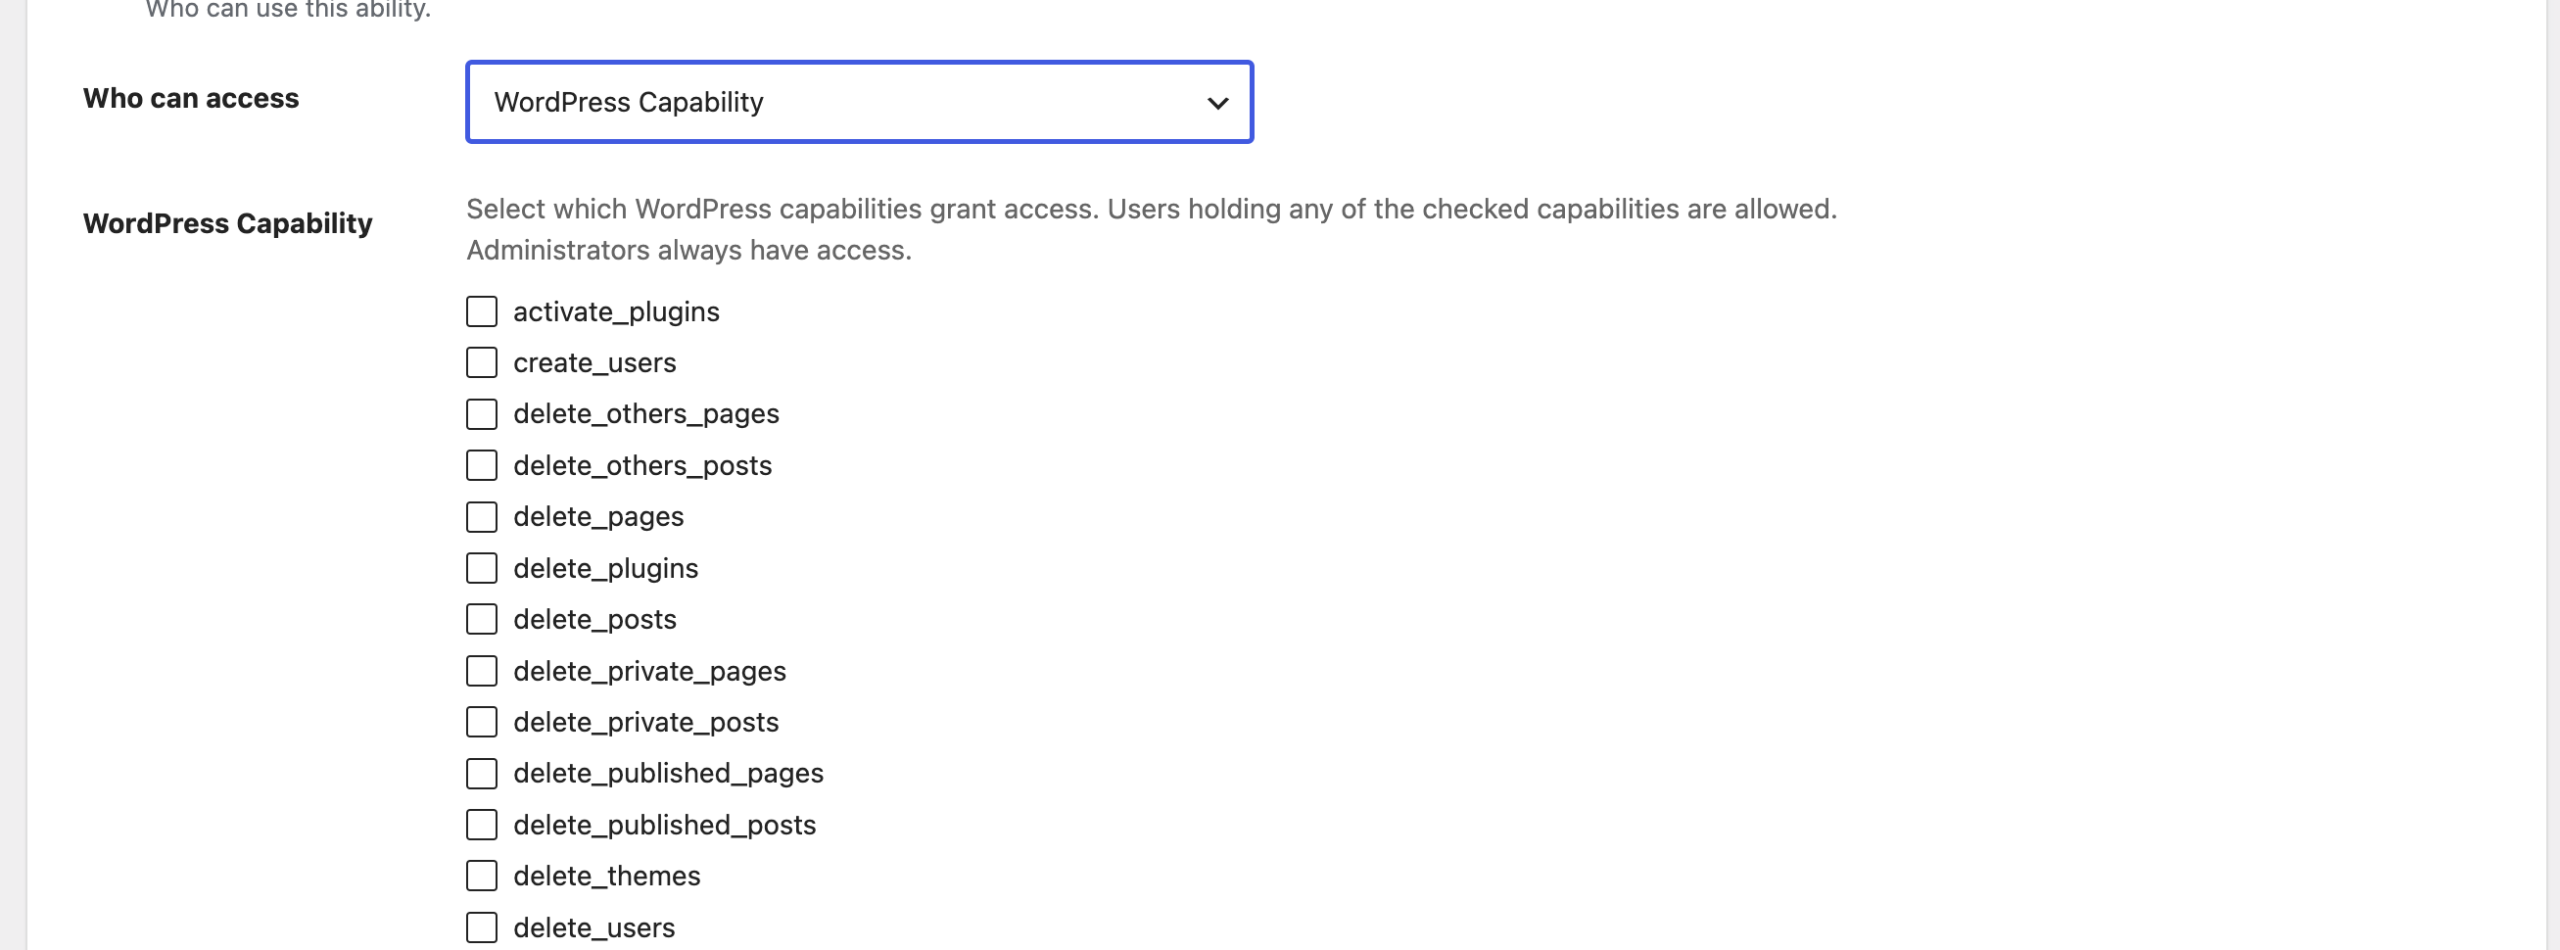
📖 Want the full picture? For every Who can access option and exactly how access is decided, read the dedicated Access Control guide.
6. Callback & Schema
These last two sections mostly matter for custom abilities you build yourself; for plugin abilities they show what the author defined.
- Callback — how the ability actually runs when it’s called. The Type can be keep as default, noop (does nothing), filter_hook, wp_remote_post (calls an external URL), or php_code.
- Schema — an Input Schema and Output Schema that describe the data going in and coming out. They’re used to validate requests and are shown to MCP clients so they know how to call the ability.
The summary panel (right side)
As you make changes, the panel on the right keeps you oriented:
- Save Changes — the button that stores your edits.
- Preview — the ability’s slug, label and source at a glance.
- Active Overrides — a running list of exactly what you’ve changed. If it says “No overrides set”, the ability is still entirely on its defaults.
- On Save — a plain-English summary of what will happen when you save (your override is stored, the MCP manifest refreshes, and the ability’s own definition is never modified).
Always reversible: Every change is saved as an override layered on top of the ability — the original is never touched. Set any control back to default, or use Force Reset, to return things exactly to how they were.