
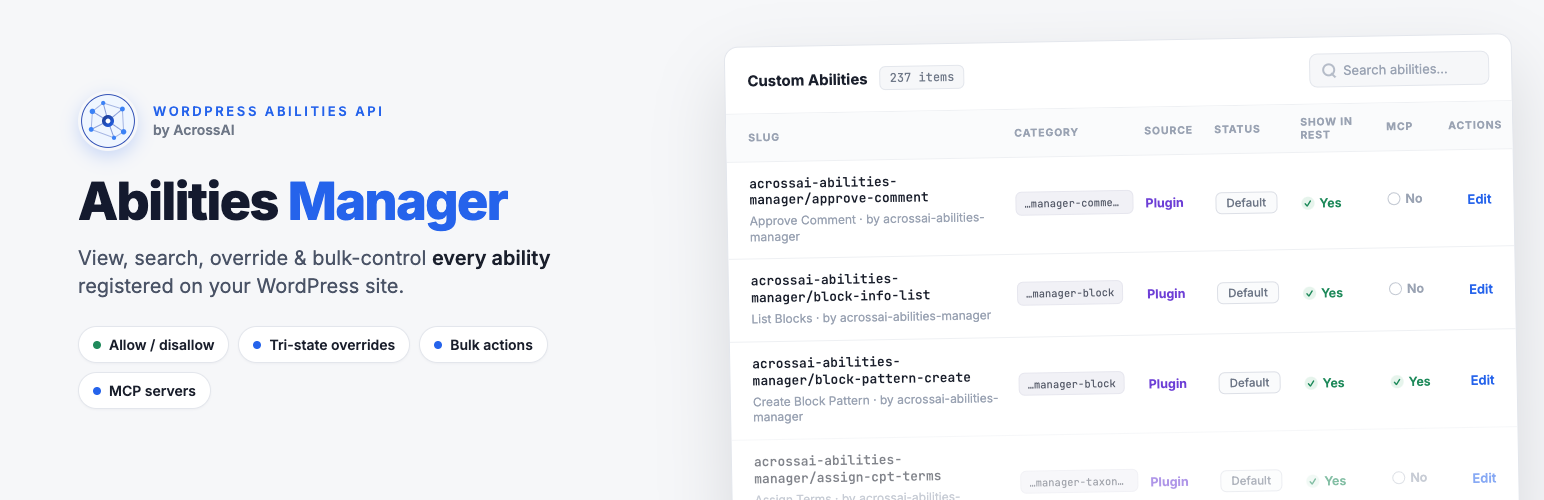
AcrossAI Ability Manager is the free WordPress control panel for AI “abilities” — the individual actions an AI assistant can take on your site (create a post, upload media, list users, and so on). One screen shows every ability WordPress and your plugins have registered. You decide, in plain clicks, which ones are allowed, which are blocked, who may use them, and which ones appear to AI clients over MCP.
This page is the short tour. Every section links to a full guide when you need more detail.
Install in about a minute
Requirements: WordPress 6.9+, PHP 8.1+, and an administrator account.
- Go to Plugins → Add New Plugin.
- Search for AcrossAI Abilities Manager.
- Click Install Now, then Activate.
After activation, open AcrossAI in the admin menu — you’ll see Abilities, Library, Settings, Add-ons and Consultations. Prefer a ZIP? Download it from WordPress.org and use Plugins → Add New → Upload Plugin.
→ Full steps: Install & activate the plugin
Your first five minutes
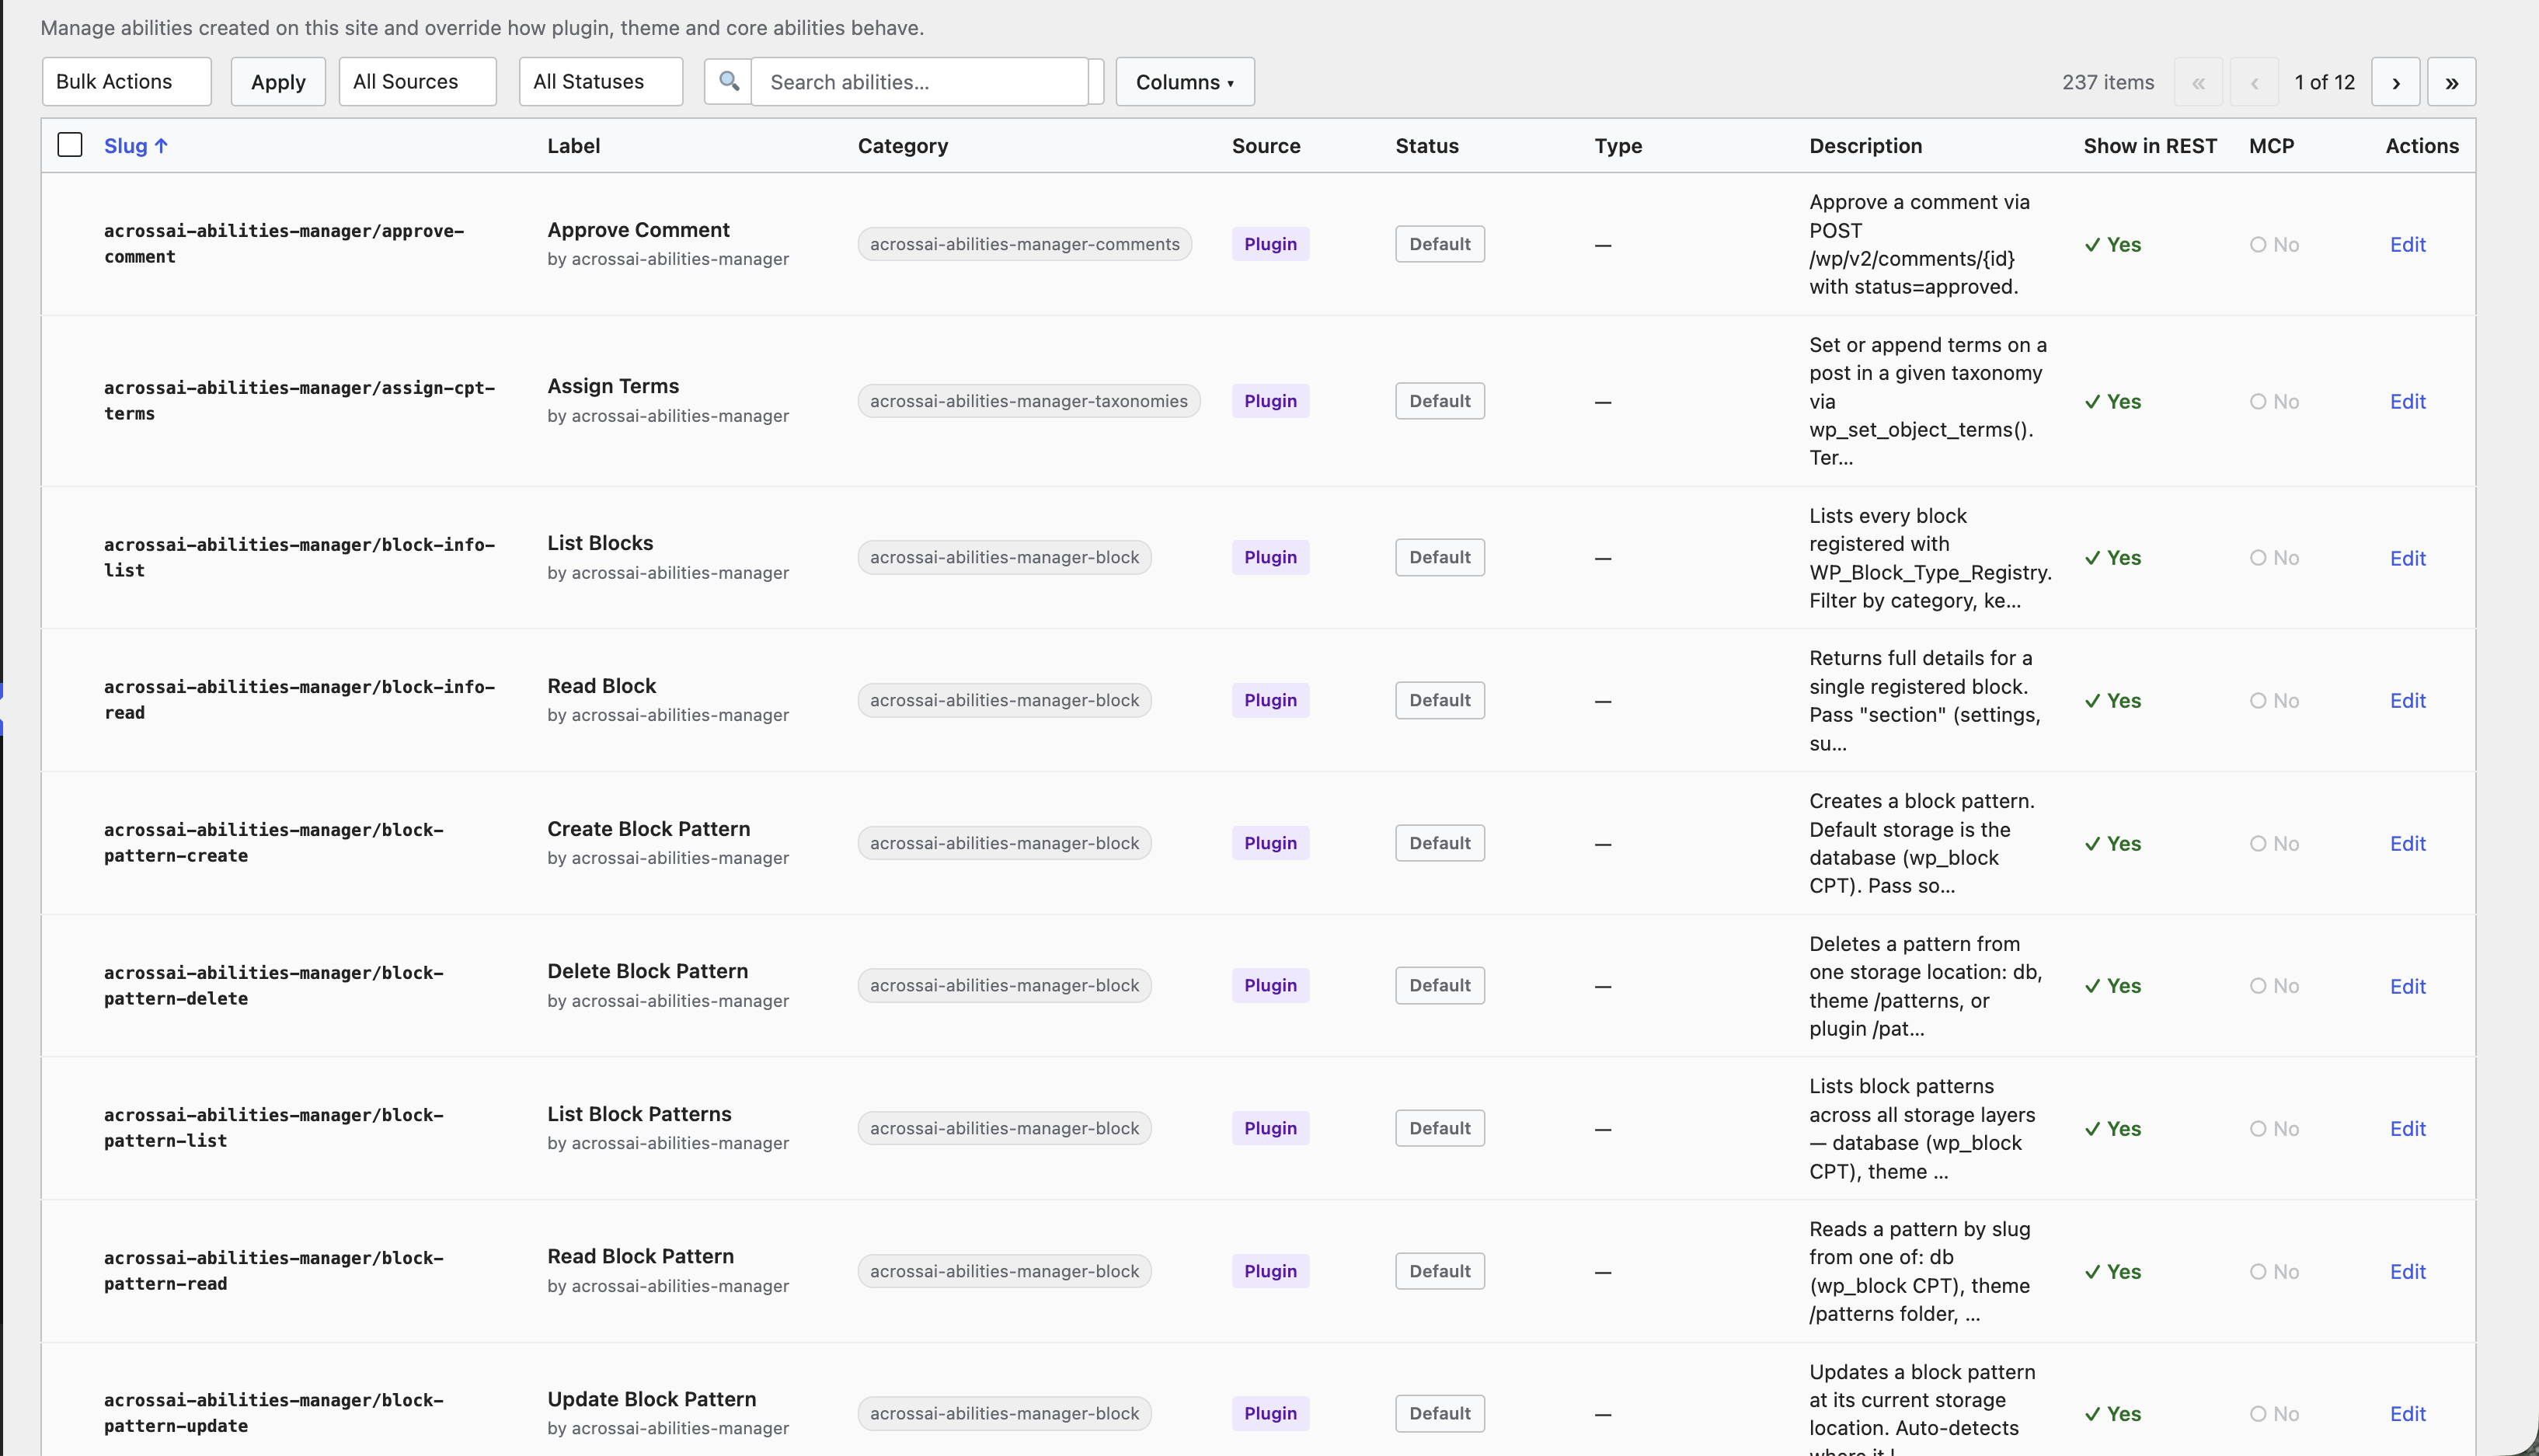
Open AcrossAI → Abilities. You’ll see a table of every ability on the site. Search for words like post or media, read a row’s name and source, then try blocking one ability you don’t want AI to use. Nothing on this screen changes your content — you only set permissions.
→ Getting started: your first five minutes · Browsing the Abilities table
Allow, block and edit abilities
The day-to-day work is deciding what AI may do:
- One ability — Edit → Site Permission → Force Allow, Inherit, or Force Block, then Save.
- Many at once — tick rows, open Bulk Actions (Site Access, MCP Exposure, User Access, or Force Reset), Apply.
- Full edit screen — Identity, Site Permission, MCP Exposure, annotations, User Access, callback/schema, plus a live overrides summary on the right. Changes are always overrides; the original ability is never rewritten.
→ Allow or disallow an ability · Bulk actions · Editing an ability
Library, MCP and who can access
- Ability Library — switch whole families (Media, Users, Database, Plugins…) on or off from cards and tabs, instead of row by row.
- MCP exposure — control whether each ability is offered to AI clients over the Model Context Protocol (Show in MCP, MCP Type). Pair with the free MCP Manager add-on to connect Claude, VS Code, Cursor and more.
- User Access — limit who may run an ability (roles, users, capabilities, and more). Full detail lives in the Access Control docs.
→ The Ability Library · MCP servers & exposure · Access Control guide
Settings, add-ons and help
- Settings — abilities per page on the table, and which file types the upload-media ability may accept (does not change normal Media Library uploads).
- Add-ons — install companions such as MCP Manager, Model Manager, or Turn Off AI Features from one screen.
- Consultations — book a free 30-minute call, or email support if you’re stuck.
- FAQ — permissions don’t alter content; overrides are safe to reset; admin-only menu; multisite not fully tested yet.
→ Settings: display & upload media · Add-ons & companion plugins · Get help & book a consultation · FAQ & troubleshooting
All Ability Manager guides
- What is AcrossAI Abilities Manager?
- Install & activate the plugin
- Getting started: your first five minutes
- Browsing the Abilities table
- Bulk actions
- Editing an ability
- Allow or disallow an ability
- MCP servers & exposure
- The Ability Library
- Settings: display & upload media
- Add-ons & companion plugins
- Get help & book a consultation
- FAQ & troubleshooting
New here? Install the plugin, spend five minutes on the Abilities screen, then block anything you don’t want AI to touch. Expand into Library, MCP and User Access when you’re ready.